Once again, this week’s top events come completely from Zwift’s community organizers! We’ve got two popular race series, a couple of feel-good group rides, and an extra-long ride with three pace options. See our picks below!
 CTT Winter Series on Zwift
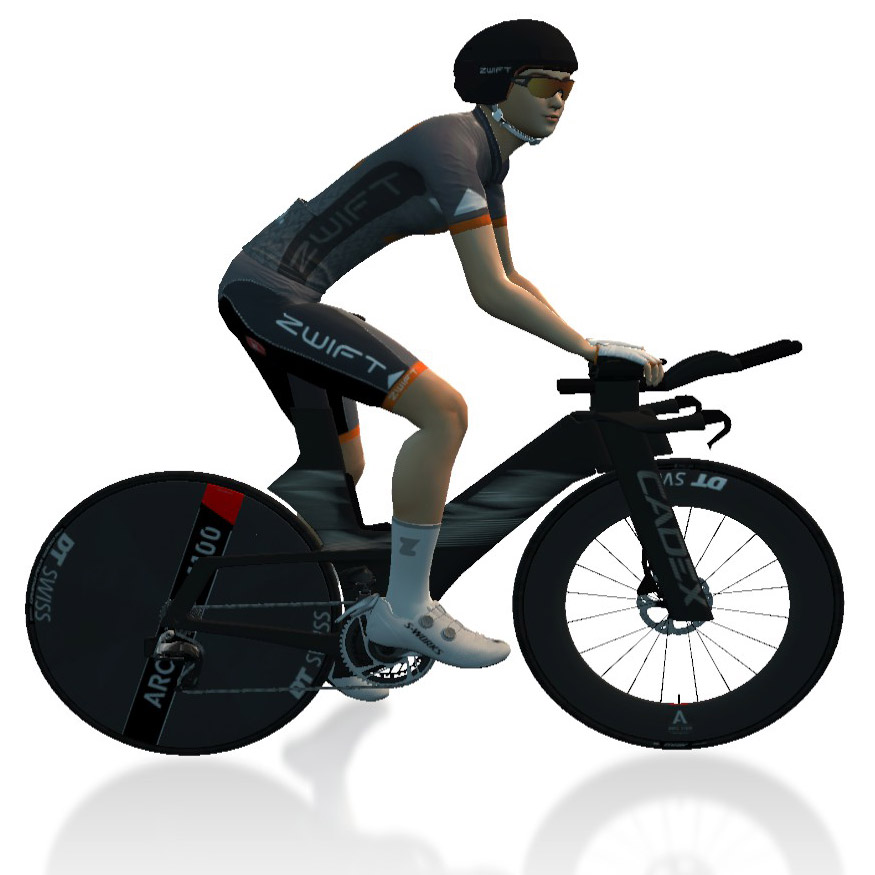
 Popular Race of Truth
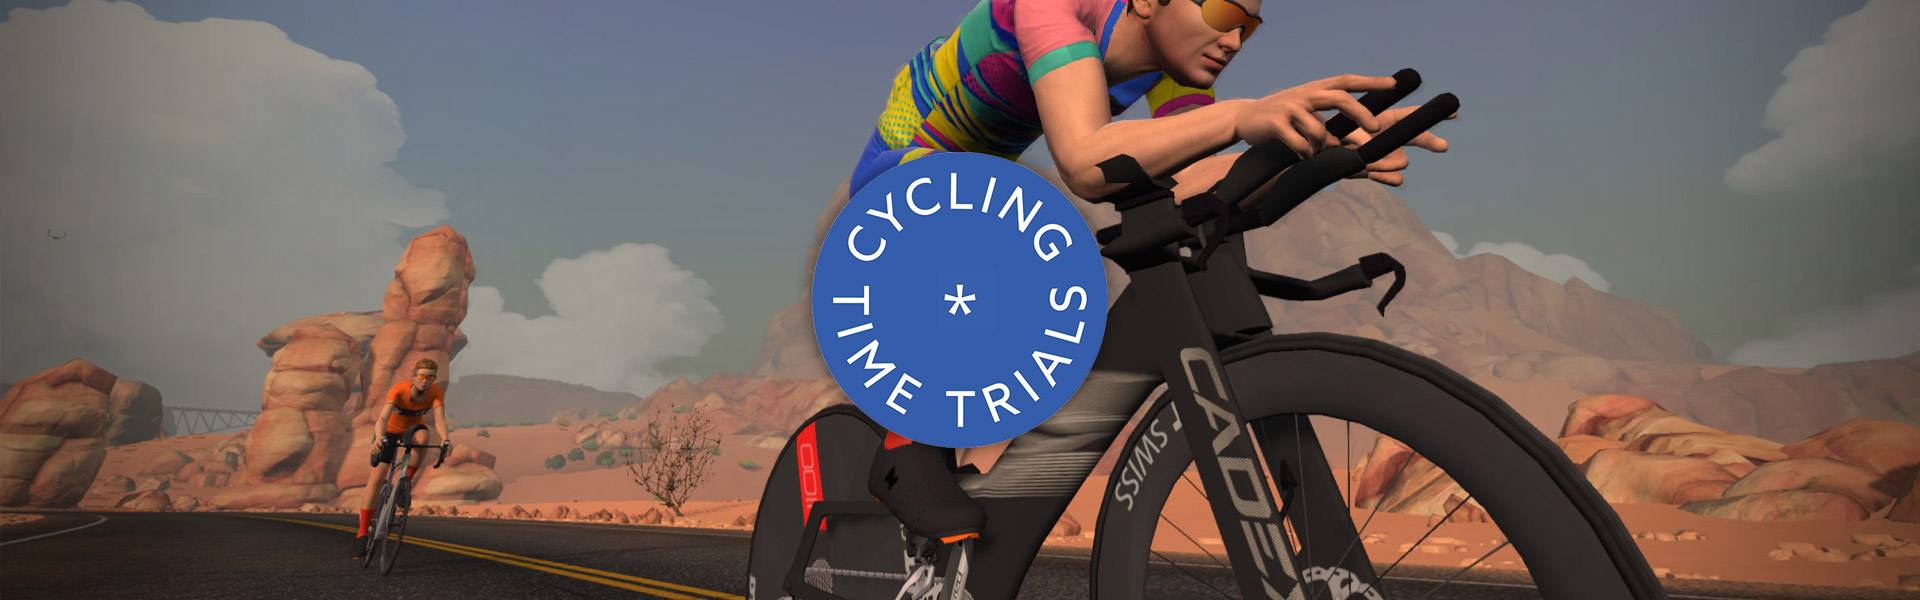
Cycling Time Trials (CTT) – the national governing body for time trials in England, Scotland, and Wales – launched their Winter Time Trial Series last week on Zwift. It’s proving hugely popular, with over a thousand finishers last week!
Learn all about the Cycling Time Trials Winter Series >
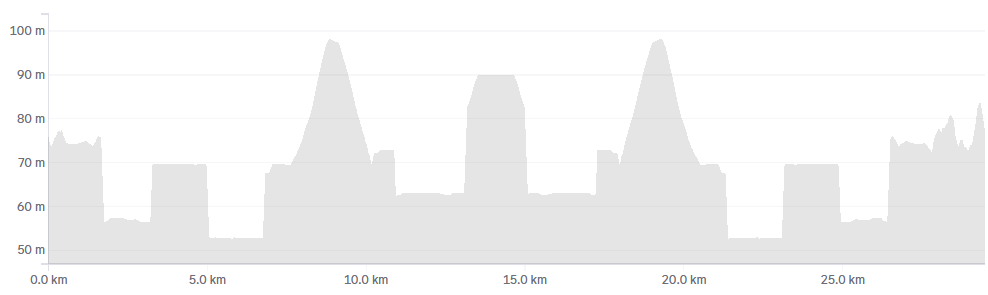
This week, due to popular demand, they’ve expanded their Saturday offering to two different events to accommodate riders in different time zones. Everyone is racing on Watopia’s Triple Twist (24.5km, 201m).
Two time slots on Saturday, November 22
Sign up at zwift.com/events/tag/cyclingtimetrials
 Giant Bagel Rolls Ride – Whitney’s Comeback
Good Cause Endurance
Regular ride leader Whitney Stidham was in a terrible bike crash back in September, and this Saturday is her first Saturday back, leading the 100km Giant Bagel Rolls Ride she’s led in the past. Join her, support her recovery, give her a Ride On, and get some endurance miles in!
Riders will be on Watopia’s Sugar Cookie route for 100km, at a 2.6-2.8 W/kg pace.
Sunday, November 22 @ 2pm UTC/9am ET/6am PT
Sign up at zwift.com/events/view/5210821
Puchar Polski ZTPL CYCLING CLUB Etap II
Unique Event Popular Polish
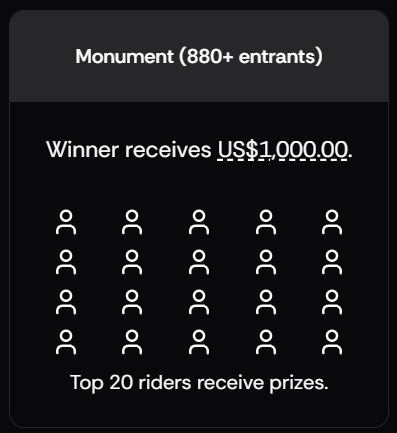
This event’s description text is entire in Polish, but it’s also got a lot of signups, earning it a spot on this list!
This is the second stage of a 5-week series which features a unique categorization scheme. Riders are categorized based on Zwift Racing Score, but into just two categories: 0-500, and 500-1000, with the higher category racing a longer route!
0-500 racers will be on Spinfinity (19.5km, 155m) while 500-1000 riders will be on Spinfinity Ultra (35km, 291m).
Saturday, November 22 @ 4pm UTC/11am EST/8am PST
Sign up at zwift.com/events/view/5197966
GXY – Gaby’s Fabulous 80th Birthday Ride
Popular Happy Birthday Beginner-Friendly
The Galaxy squad is celebrating teammate Gaby’s 80th birthday with a beginner-friendly spin around France’s Three Musketeers route (37.8km, 209m) on Saturday. The ride is not rubberbanded, but will be led at a pace of 1.6-2.2 W/kg.
Lots of riders already signed up for this one, and Galaxy says, “Everyone is welcome! However, we are looking to be especially encouraging to see ladies who are newer to Zwift, those trying to boost their fitness and endurance, or wanting to learn how to get more from their training just like Gaby does!”
Saturday, November 22 @ 3pm UTC/10am EST/7am PST
Sign up at zwift.com/events/view/5151813
BMTR Flat 100 (Miles)
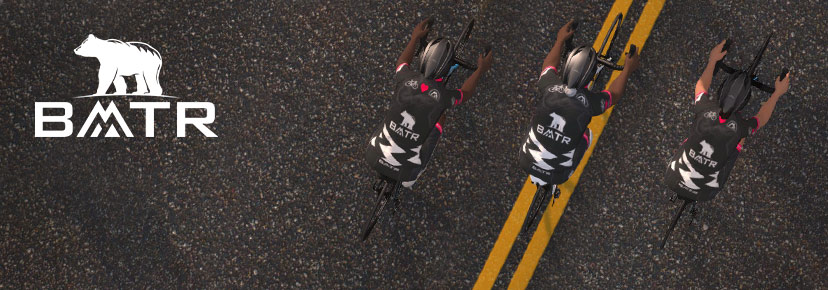
Popular Ride Legacy Leader Endurance Challenge Kit Unlock
A regularly featured event here on Zwift Insider, the BMTR Flat 100 consistently gets lots of joiners because it’s well-led and run consistently week after week, year after year.
This week’s ride is on Makuri Islands’ Wandering Flats, with three pace groups to choose from.
Saturday, November 22 @ 1:10pm UTC/8:10am EST/5:10am PST
Sign up at zwift.com/events/view/5210803
How We Make Our Picks
We choose each weekend’s Notable Events based on a variety of factors including:
- Is the event unique/innovative in some way?
- Are celebrities (pro riders, etc) attending/leading?
- Are signup counts already high, meaning the event is extra-popular?
- Does the ride include desirable unlocks or prizes?
- Does the event appeal to ladies on Zwift? (We like to support this under-represented group!)
- Is it for a good cause?
- Is it just plain crazy (extra long races, world record attempts, etc)?
- Is it a long-running, popular weekly event with a dedicated leader who deserves a shout out?
In the end, we want to call attention to events that are extra-special and therefore extra-appealing to Zwifters. If you think your event qualifies, comment below with a link/details and we may just include it in an upcoming post!


 )
)