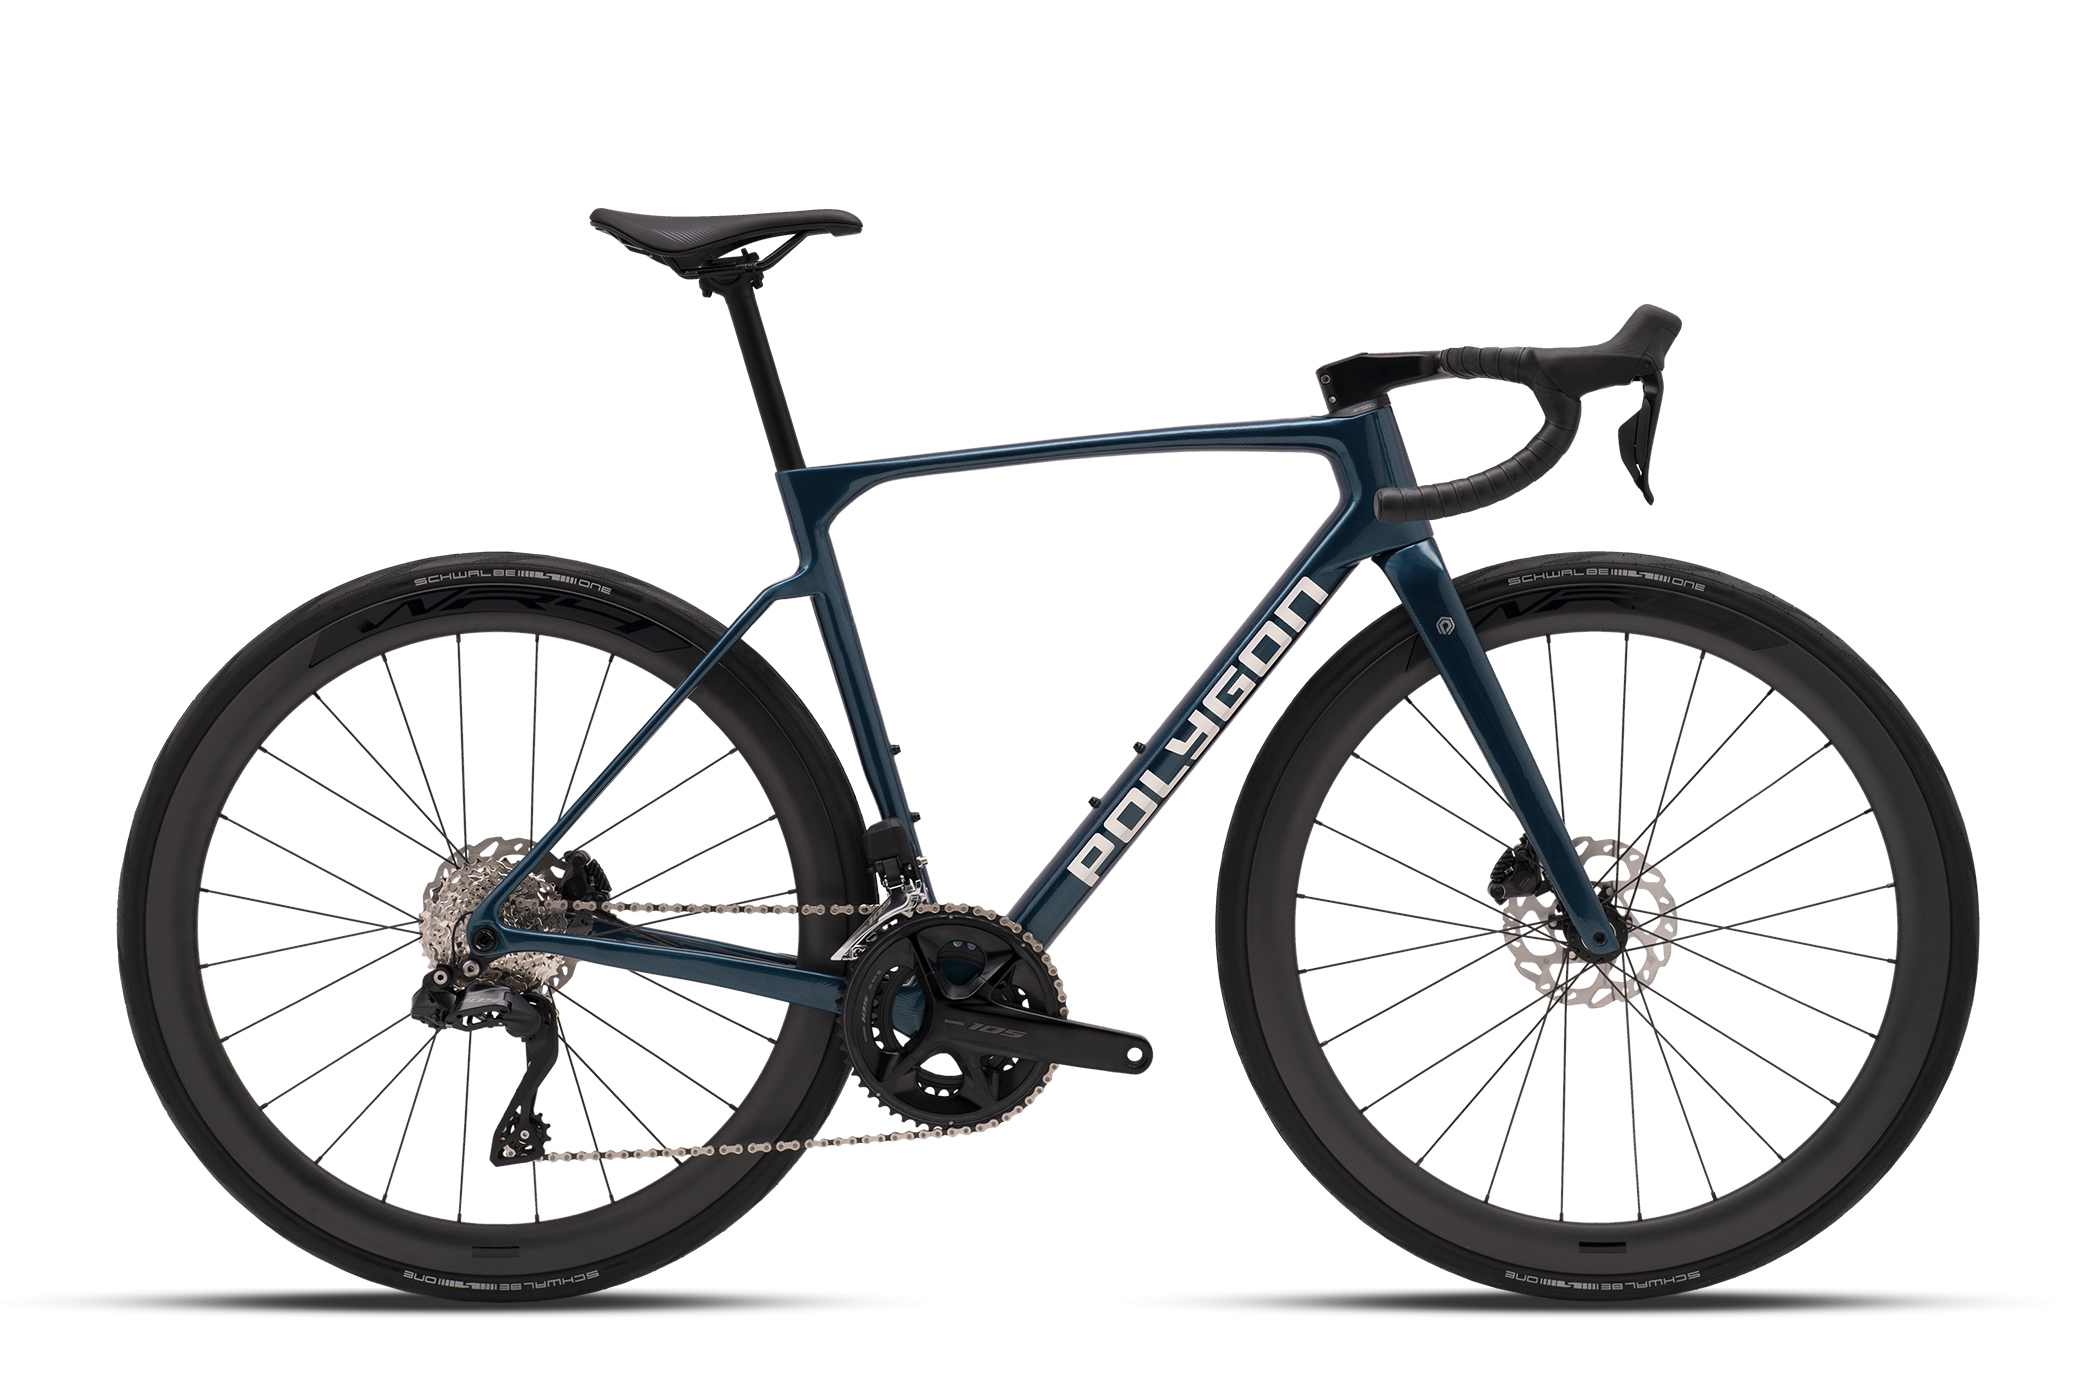
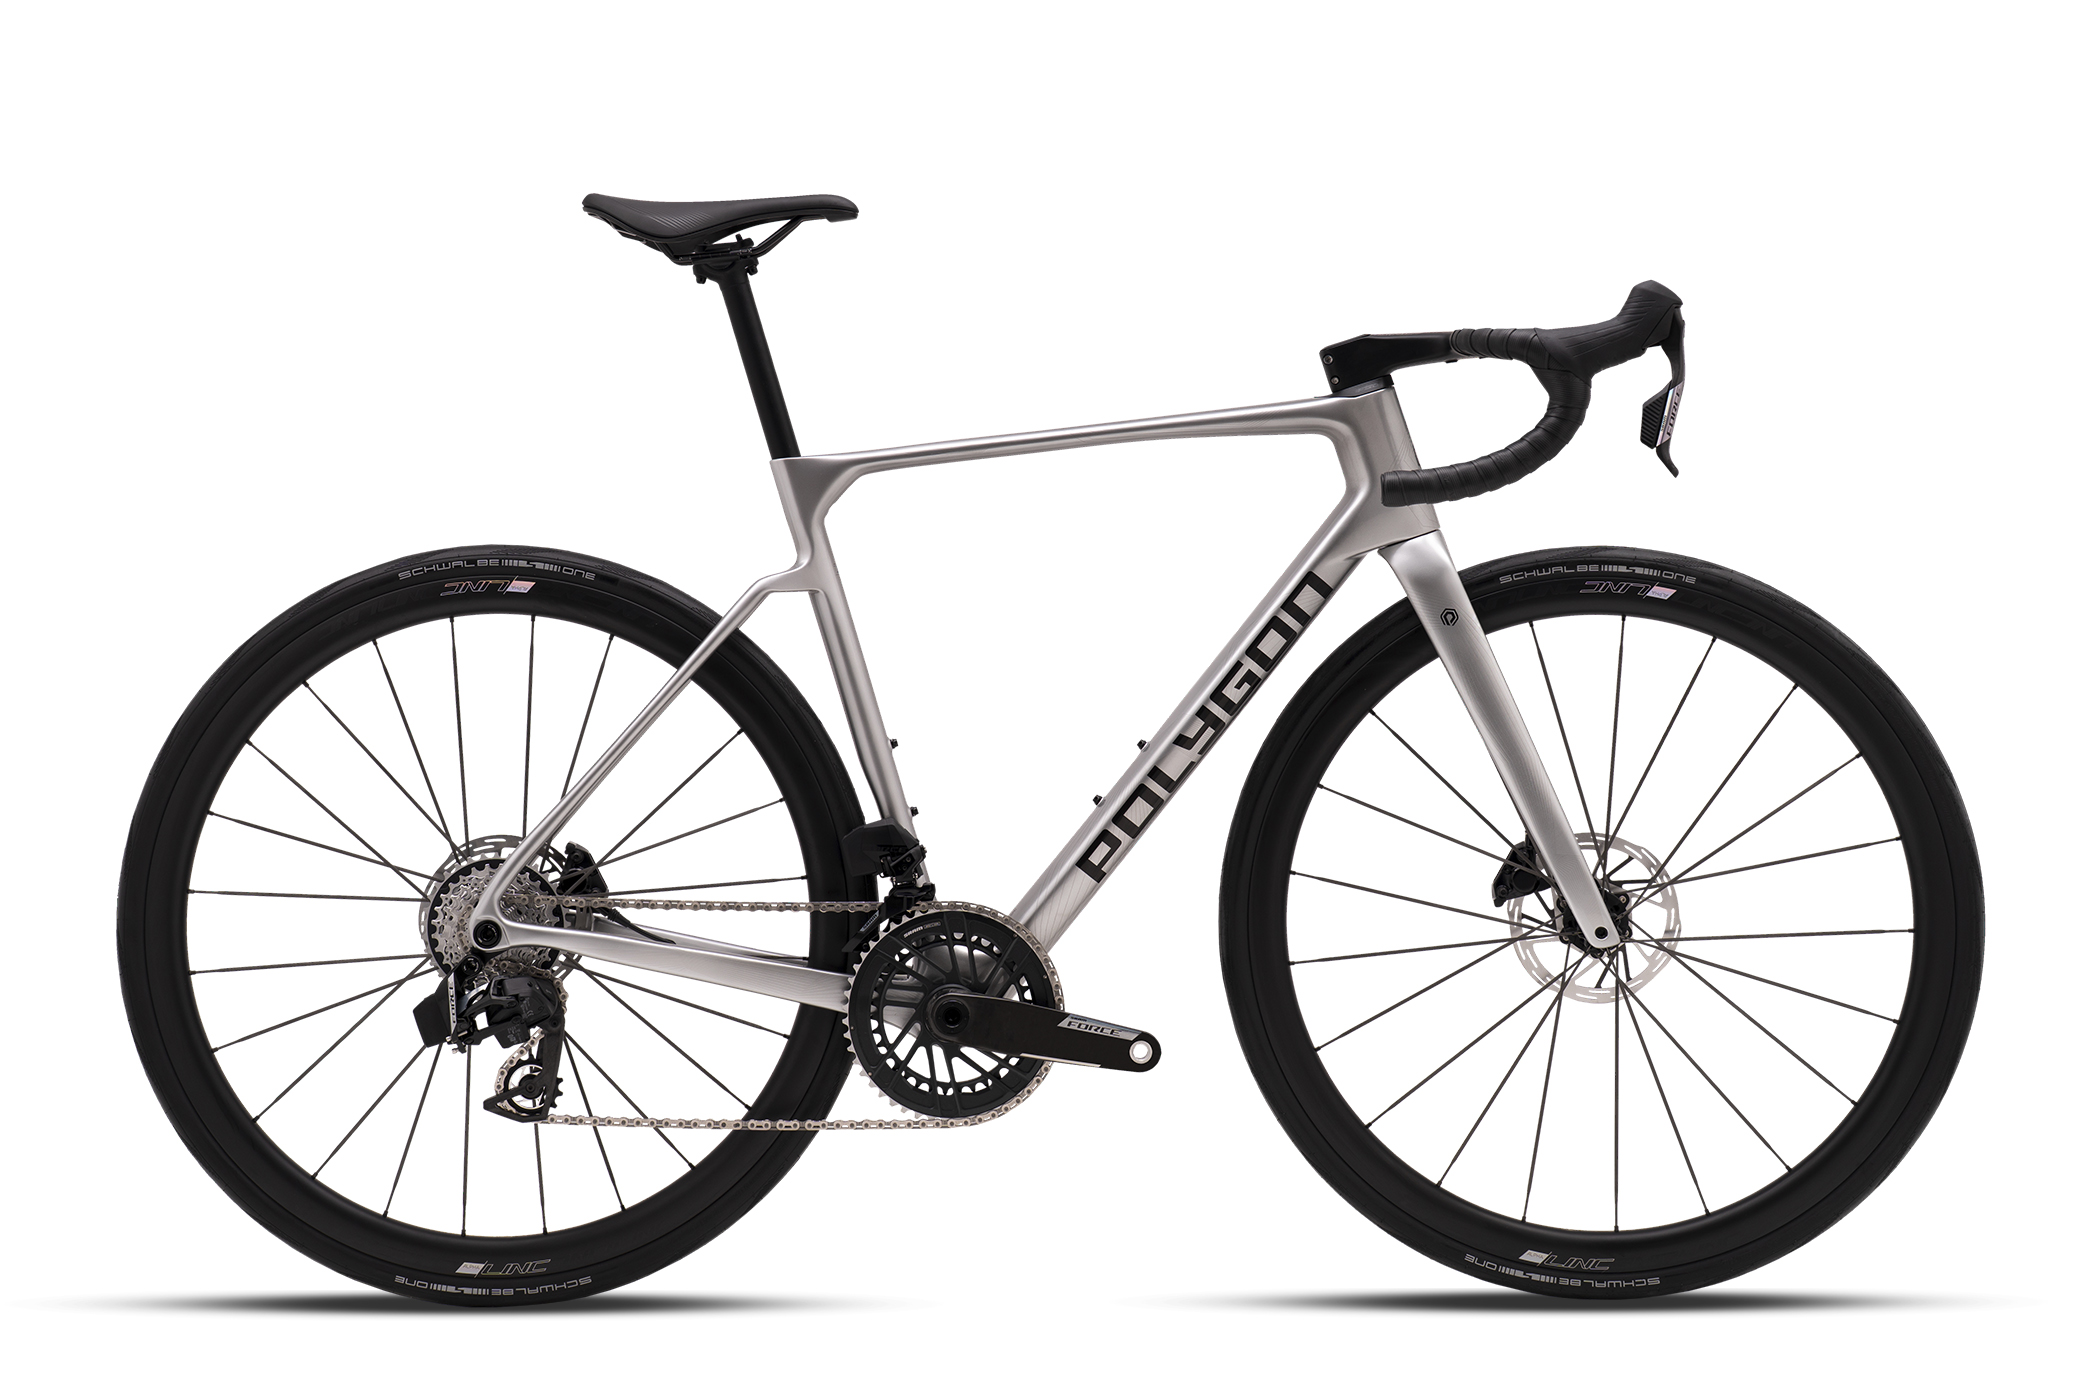
Polygon has added the new Strattos C to its road bikes line-up, with the new endurance model said to blend a responsive ride with all-day comfort. The Strattos C range starts from $2,899 / €3,299 / AU$2,899, appearing to offer the keen value for money we’ve come to expect from the brand.
The brand says the Strattos C uses uniquely shaped seatstays that are tuned to absorb road vibrations and provide all-road compliance without sacrificing critical stiffness.
All the bikes in the range feature electronic shifting, with the bottom-rung C7 model featuring Shimano 105 Di2 and the top-spec C9 using SRAM’s Force AXS.
Prices start at $2,899 / €3,299 / AU$2,899 for the C7 model, with the C8 priced at $3,399 / €3,799 / AU$3,399, and the range-topping C9 at $4,499 / €4,499 / AU$4,499.
The Strattos C features a full carbon fibre frame and the uniquely shaped seatstays for enhanced compliance, and can accommodate 34c tyres for those venturing on rough roads.
The Strattos C7 is the entry-level model. Polygon
Polygon says the Strattos C has an optimised stack height that delivers a significantly more upright riding position than the rest of its road line-up.
This is said to reduce strain on your back and shoulders on longer rides.
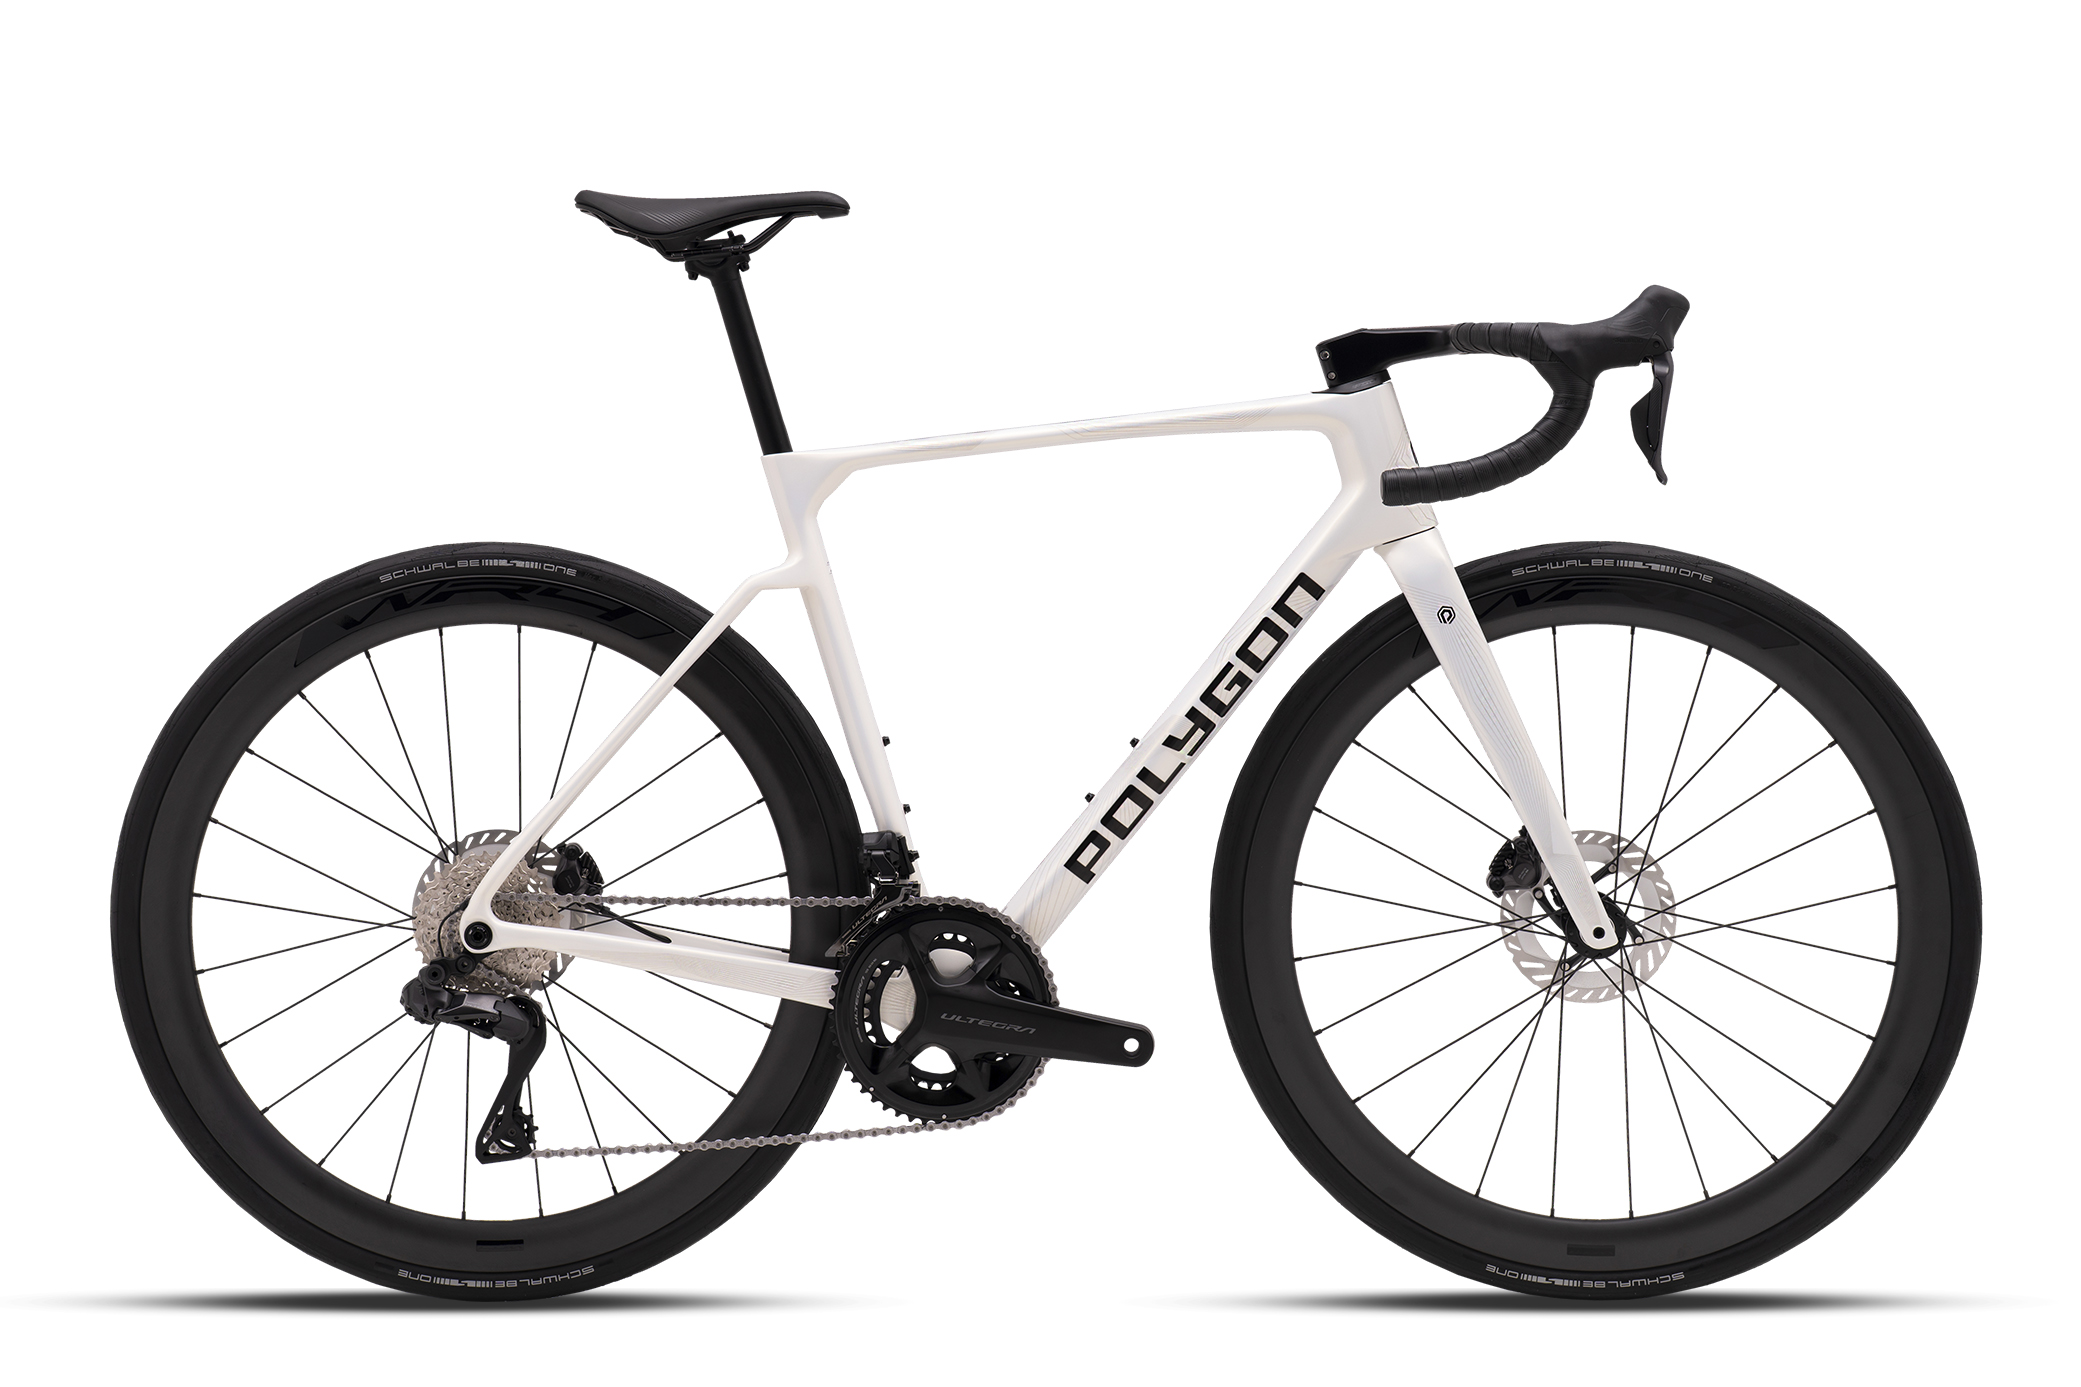
The Strattos C9 is the top-level bike and features SRAM Force AXS shifting. Polygon
Cube has recalled its Agree C:62 road bike model in all sizes from the 2025 and 2026 model years sold before 30 November 2025.
In a statement released today, Cube said that after analysing several reported cases of cracks forming above the Agree C:62’s front brake mount, it found that a change in resin material for the 2025 model year “resulted in isolated forks having an insufficient resin content in this area.”
Cube said the forks affected by the issue do not meet its quality standards and that excessive braking on affected models may cause the outermost carbon layers of the fork to delaminate.
“The described product defect increases the risk of an accident, which can cause material damage, serious injuries or even death,” Cube said.
The recalled models are as follows:
826100 Cube Agree C:62 ONE foggrey´n´grey 2025
826200 Cube Agree C:62 Pro blackline 2025
826210 Cube Agree C:62 Pro polarlight´n´aquagreen 2025
Cube said that you must stop riding affected bikes immediately and “without exception”, until the fork has been checked and affected forks are replaced.
You can check whether your bike is affected by visiting Cube’s recall page. You will need your bike’s frame (WOW) number and the fork serial code, which is located on the steerer tube and can only be accessed by removing the headset.
Cube said this work should only be done by a bike professional and that the final inspection, replacement and “all steps of processing” must be carried out by an authorised Cube dealer.
“We are working at full speed to provide replacement forks,” Cube said. “The first replacements are expected to be available from the beginning of February 2026. This will be followed at regular intervals by further deliveries until the recall is complete.”
Following rumours that began circulating in November, Scott confirmed today that it will supply bikes to NSN Cycling Team as part of a multi-year sponsorship deal.
The deal is part of NSN Cycling Team’s “exciting new era”, according to Scott, which follows its troubled period as Israel–Premier Tech and the November announcement that NSN and Stoneweg had taken over the team.
Previous bicycle supplier Factor was rumoured to have left Israel–Premier Tech after Scott arrived at the team’s service course in Girona last month. Scott’s announcement today confirms the switch in bicycle suppliers for NSN Cycling Team, and its return to the WordTour.
“It is a privilege to support NSN Cycling Team and a roster of athletes, staff and sponsors united in their ambition and pursuit of excellence,” said Pascal Ducrot, co-CEO of Scott. “With our long racing heritage, we celebrate Scott’s return to the UCI WorldTour with the team, where our world-class products will support these talented athletes to perform on the sport’s biggest stages.”
The NSN Cycling Team will ride Scott Bikes. Chris Auld / NSN Cycling Team
As well as gaining a WorldTour license, NSN Cycling Team’s ambition is evident in its signing of sprinter Biniam Girmay on a three-year contract through to 2028. The team said signing the 25-year-old Eritrean signals its “commitment to winning” and that it would add depth to the team’s roster of “young and ambitious riders”.
The sponsorship deal also keeps Scott Bikes in the men’s pro peloton, after Q36.5 Pro Cycling Team announced a partnership with Pinarello, which will now provide Tom Pidcock with bikes for his on- and off-road racing.
Israel–Premier Tech rebranded as NSN Cycling Team in November with the international sports and entertainment company NSN (Never Say Never) and Stoneweg, a global investment platform based in Geneva, Switzerland, entering a “joint venture” to take over the team. NSN Cycling Team will now race under a Swiss licence with a base in Spain.
The change in ownership, name and racing licence followed a season where Israel–Premier Tech’s affiliation with Israel came under great scrutiny in light of Israel’s war on Gaza. This culminated in protests at the Vuelta a España, where several stages were cut short, and demonstrators labelled the team’s participation as “sportswashing”.
As a result of this pressure, sponsors Premier Tech and Factor Bikes said Israel–Premier Tech must change its name and end its affiliation with Israel for their sponsorship to continue.
But despite the team agreeing to do this in October, Premier Tech still left the team in November. The Canadian company said sponsoring the team had become “untenable” and later announced that it would sponsor St Michel – Preference Home – Auber93 for the next two seasons.
Factor Bikes did not officially announce that it was ending its sponsorship of the team, yet Scott’s sponsorship of NSN Cycling Team confirms its exit.
When BikeRadar asked Factor for comment on the end of its sponsorship of the team, despite it meeting the requirements for continued sponsorship, a spokesperson said the brand has “no announcement at this time”.
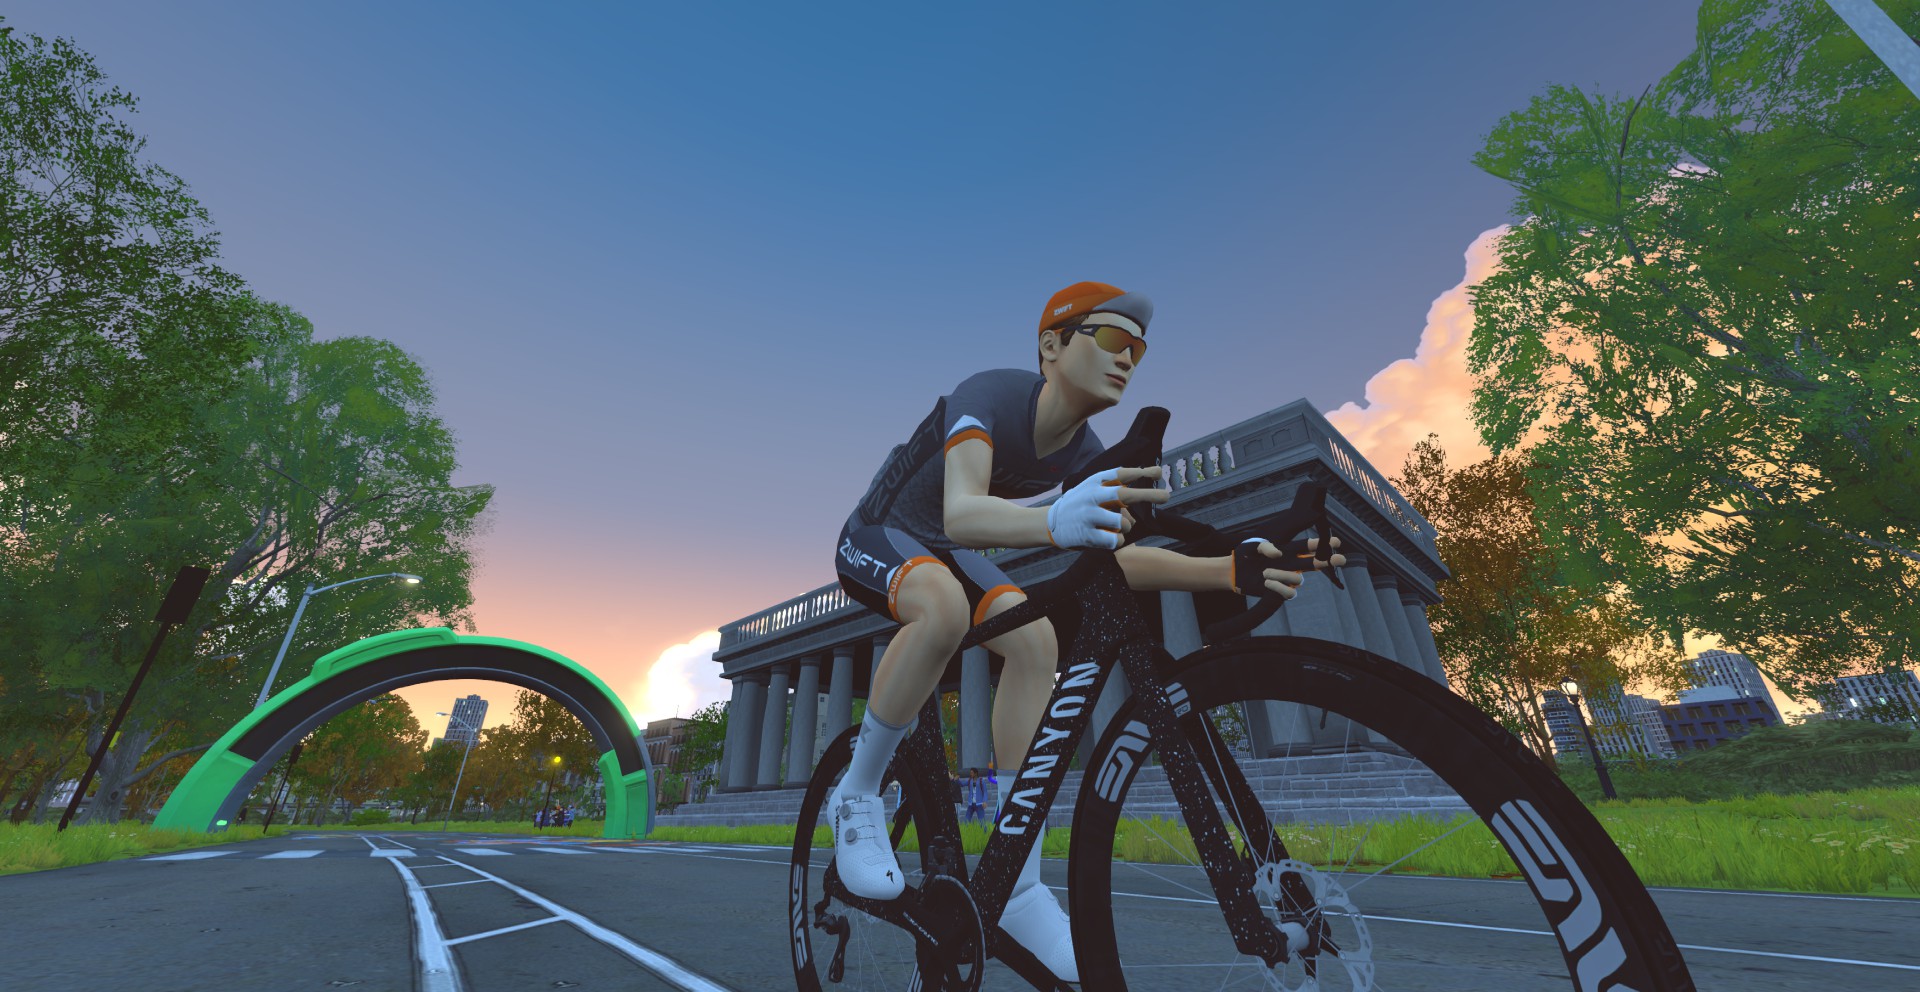
The sixth and final race of Zwift Racing League 2025/26 Round 2 happens Tuesday, December 9, and we’re back in NYC for a scratch race on the Empire Elevation course. This new route has some sneaky climbs, escalator intrigue, and a very spicy finish.
There’s much to discuss, including crucial course segments, powerups, bike decisions, and strategic options. Let’s dive in!
Looking at the Route
Empire Elevation is a 26km long point-to-point route with 266m of elevation gain from start to finish. This is a new, event-only route created just for ZRL, which means many riders haven’t yet completed it, although most will be familiar with the New York roads it covers. All categories will be racing the whole route:
Clearly, the finishing climb up the NY KOM is the big feature of this route. But there are a few slight warmup climbs before we get there:
Climb up from Peristyle Sprint @ 3.8km (900 meters at 2.4%): the first climb on the day, even if it’s a small one.
The Hill KOM @ 5.9km (500 meters at 3.7%): another short one, but a bit steeper than the first.
Manhattan Bridge @ 10.8km (1km at 2.6%): a draggy but draftable climb up to the mid-bridge Sprint banner.
Let’s Talk Escalators
Riders will take three downramps into subways during the course of the race… and also three escalators up and out of the subways. The downramps will certainly speed things up, but it’s the escalators that may make things truly interesting, if lighter riders choose to take advantage of what they offer.
You may recall, in preparing week 4’s race guide, I did some bot testing on the new NYC escalators. I ran bots of various weights up one of the longer escalators on the route (the final escalator you’ll hit, in fact). Each bot’s power was set so they would all have approximately the same escalator entry speed (~46 kph), and that power remained steady as they went up and over the top of the escalator. Here’s how much each bot slowed between entering and exiting the escalator:
50kg bot @261W: slowed 3.2 kph
75kg bot @339W: slowed 11 kph
100kg bot @390W: slowed 16.1 kph
It appears as if Zwift is adding a flat power boost to all riders on the escalators. (In the comments section of the week 4 post, astute ZI readers Carl and Tom used some climbing speed calculators to estimate it at 1200-1400W.) If instead Zwift had given the same w/kg boost for all riders, the speed gap would be minimal. But 1200W is a huge number for a lightweight rider (20 W/kg for a 60kg rider) while being comparatively tame for a larger rider (12 W/kg for a 100kg rider), which is why the bot tests show what they show.
Zwift has acknowledged this is a problem, and they’ll roll out a fix soon. But it won’t be out before Tuesday’s race, as far as I know.
If I were a light rider, I might take advantage of this and attack on the escalators to soften the legs of heavier rivals. I could also just soft pedal up the escalator to conserve my energy! Think about it: assuming Zwift is indeed adding 1200W, a 60kg rider could coast up the escalator while a 100kg rider puts in a solid 8 W/kg dig, and both would have the same effective W/kg:
60kg at 1200W=20 W/kg
100kg at 800W+1200W=20 W/kg
Watch for escalators at 10km, 15.8km, and 21.7km.
NY KOM Finish @ 24km
The official KOM segment (shown above) is 1.4km, averaging 6.3%. But the actual climb is 1.8km long, averaging 6.2%. This will be a legit VO2 max effort: expect the full climb to take just under 4 minutes for top riders, almost 5 minutes for B category, and 5-6 minutes for C category and below.
This is a fairly steep climb, so drafting will offer a minimal advantage, except on the three short flat bits. And the final 200 meters are the steepest part, so it’ll be a fiery finish for Round 2!
Powerups will be awarded at each segment arch, including Power Segment arches in the subways, which means we’ll have 10 powerup opportunities on this route. You have an equal chance of getting a feather, van, or helmet powerup at each arch.
Lightweight (feather): reduces your weight by 10% for 30 seconds. Save one for the final climb, since it’s the most important section. You may also want to use them on the escalators if you’re a heavier rider.
Draft Boost (van): increases the draft effect you are experiencing for 40 seconds. Use at higher speeds (flats and descents) when you are already drafting off another rider (since this powerup only helps when you are drafting.)
Aero Boost (helmet): makes you more aerodynamic (reduces your CdA by 25%) for 15 seconds. Use at higher speeds (flats and descents), especially when no draft is available (although it is still useful when drafting.)
Bike Recommendations
This race’s steep finishing climb definitely makes me steer away from pure aero setups and look at climbing bikes and all-arounders instead. While a more aero setup would have a time advantage on a solo effort of the whole course, what you’re really looking for is maximum advantage on the finishing climb.
My recommendation, then, is to use the new ENVE SES 4.5 PRO wheels paired with one of these bikes:
Of course, your frame’s upgrade status should impact your decision. A fully upgraded Aethos will outclimb the other four frames, but that’s not the case when comparing un-upgraded versions.
Lots of recon events are scheduled on upcoming ZRL routes, led by various teams. This is a new route on fresh roads, so many riders will find recons particularly helpful this week. See upcoming ZRL recons for this race at zwift.com/events/tag/zrlrecon.
Additionally, riders in the Zwift community do a great job every week creating recon videos that preview the courses and offer tips to help you perform your best on the day. Here are the recons I’ve found (comment if you find another!)
John Rice
J Dirom
Strategic Options
How will the race unfold, and what strategies will riders employ to bring home a team win on Empire Elevation? Here’s what I predict:
Escalator pandemonium: Expect some lighter riders to attack on the escalators, as explained above. This becomes more likely as the race progresses.
Escalator and chill: Expect some lighter riders to simply coast on the escalators, as explained above.
Going long: Teams with pure-power riders who don’t fancy their chances in a W/kg slugfest may attack on the flats to get up the road and boost their chance at a high finishing position.
Save it for the climb: Most riders will do this. Simple conserve, conserve, conserve for the first 24km, then “give it the beans” for the final 4-6 minutes and hope for the best.
Your Thoughts
Any insights or further thoughts on this race? Share below!
The Torturefest Club, in collaboration with Everesting.com, are holding a virtual Everesting event on Zwift on December 29, 2025. On that day, riders around the world will take on Zwift’s infamous The Grade segment to push together through a Quarter, Half, or Full Everesting.
Read on to learn a bit about vEveresting, and details of the events planned around Global vEveresting Day!
What Is vEveresting?
Everesting, named after the highest mountain on Earth, is a grueling challenge for cyclists. The mission is simple, but the task is brutally difficult: find a climb and keep riding your bike up and down until you’ve climbed the height of Mount Everest (29,032 feet/8,848 meters). The challenge often takes riders 12-24 hours to complete, depending on gradient and fitness level.
Do this on Zwift (or any other virtual cycling platform) and it’s called virtual Everesting, or “vEveresting.” Frank Garcia became the first-ever vEverester in 2015. He rode a Strava segment on Zwift called “Watopia Wall” – the first piece of the Hilly KOM– 315 times in 24 hours!
New to Everesting? Join the Torturefest Club’s prep sessions, which have already been running for the past several weeks. You will learn about pacing, nutrition, and the importance of team camaraderie as you prepare your body and mind. 7.3 laps is a Quarter vEveresting, and 14.6 laps is a Half Everesting (all of which can be uploaded to the Everesting hall of fame).
Events do not allow Coffee Breaks, and 100% Trainer Difficulty is enforced. But you do get a feather at every banner.
The Torturefest Club is hosting eight dedicated rides across every major timezone, so you can climb with a global community and tackle the full 8,848 m together. All riders on course will be visible, so these events are structured to give you pacing support, motivation, and camaraderie along the way.
Team Fearless has announced the details of this year’s Annual Women’s Team Championships, held in partnership with Flamme Rouge Racing (FRR).
Now in its ninth year, this race can be called a true Zwift December classic! Over 220 women are already registered, but organizers expect that number to more than double by race day.
Meant to test resilience and endurance with a longer distance than the average Zwift race, the AWTC is one of a kind. First, it’s a team-based competition, but without limits on team size. Even better: each category gets to crown its own champions, so this race is for all ability levels. Read on for details…
Date and Time
The race happens Saturday, December 6 at 7:30 PM UTC/2:30pm ET/11:30am PT).
This is a team competition, with winning teams determined using a custom points system. Points are scored in two ways:
Finish Points: based on your position across the finish line
Segment Points: based on your segment time (Fastest Through Segment) on each segment of the race course
Finish and Segment Points start at 100 and drop by 1 point each place down to the 41st position. Then from 46th to 100th position, points drop by 5 every 5 places, with every rider earning at least 1 point for their effort. For example:
46th to 50th places will earn 55 points
51st to 55th places will earn 50 points
Team competitions will be held across all five pens and overall. The Club with the highest average points score will win the day. This way, clubs are not restricted in the number of riders who can enter, and also, there is no minimum number of Club riders.
Cat D/E will be finishing at 36km at the Ballon Sprint arch, while A/B/C will finish at 44km after descending from the Petit KOM.
Sign Up
This is a team event. Riders can register until the race begins, but the race pace link is private, so registration is required at https://flammerougeracing.com/fearless/.
To compete, you must meet these minimum requirements for accounts and equipment:
Riders must be OPTED IN to share their race data with ZwiftPower from their Zwift Profile Connections
Riders must have created and connected a ZwiftPower account – full instructions on this can be found here
Riders must have an FRR account to allow Team Managers to select them for a Club Team and have registered for the Fearless event, to do this simply follow these instructions:
Simply visit the FRR Home page and Login or Register a New account – once in, click on your name to open your Profile options
New accounts must first complete their basic Profile Information when they first log in – just select Profile and complete the fields presented not forgetting to SAVE at the end
To register for the event click on Event Admin and then select Register from the 3 tabs shown
The page details the 3 simple steps to follow to complete event registration
Race BIO confirmation is important to us as we look to improve rider responsibility for their virtual profile, since these define how our virtual self competes
Riders are advised to have completed at least 3 Zwift race events prior to racing to ensure your ZRS value is reflective of you as a rider
Once registration is completed you will appear on the Registered list of riders and you will receive a welcome email to confirm along with some helpful details about the event.
Following reports that it plans to cut 120 staff from its Vicenza HQ, Campagnolo has issued a clarification of its restructuring plans, stating that it has presented its newly approved industrial plan to unions “with great transparency”, and that formal discussions with workers’ representatives are ongoing.
In the statement sent to the press, the company said the 21 November industrial plan presented to unions is “a highly structured plan, the result of months of work… with possible positive developments.”
However, the statement concedes that, while Campagnolo believes the plan will secure the company’s future in Vicenza, a “reduction [in staff] is expected at this stage.”
Responding to unspecified reports that Campagnolo was planning “relocations”, the statement says that “those responsible for managing the Industrial Plan made no reference to relocations of any kind.”
It continues: “On the contrary, it was emphasised that a review of the supply chain is underway, with an increasing focus on short and fast supply chains, ideally within Italy. Made in Italy remains both a priority and a responsibility for the company.”
The statement follows earlier reporting from Il Gazzettino, which stated that Campagnolo warned there was “no alternative” to proposed job cuts unless the company accepted “dramatic consequences for the company and for the city of Vicenza”.
That report also cited more than €24 million in losses since 2023 and said the company’s shareholder had underwritten €10 million in financing between November 2024 and December 2025.
Unions oppose the proposed redundancies. FIOM Vicenza – the Vicenza branch of the Italian Federation of Metalworkers – said last week that the company “must withdraw this proposal” and argued that layoffs “cannot be the only solution”.
The union added that its analysis suggests the company’s financial situation is “not as disastrous as the company has portrayed in the media” and called for a constructive dialogue involving the regional development agency, Veneto Sviluppo, to explore alternatives. Campagnolo employs around 300 staff in Vicenza.
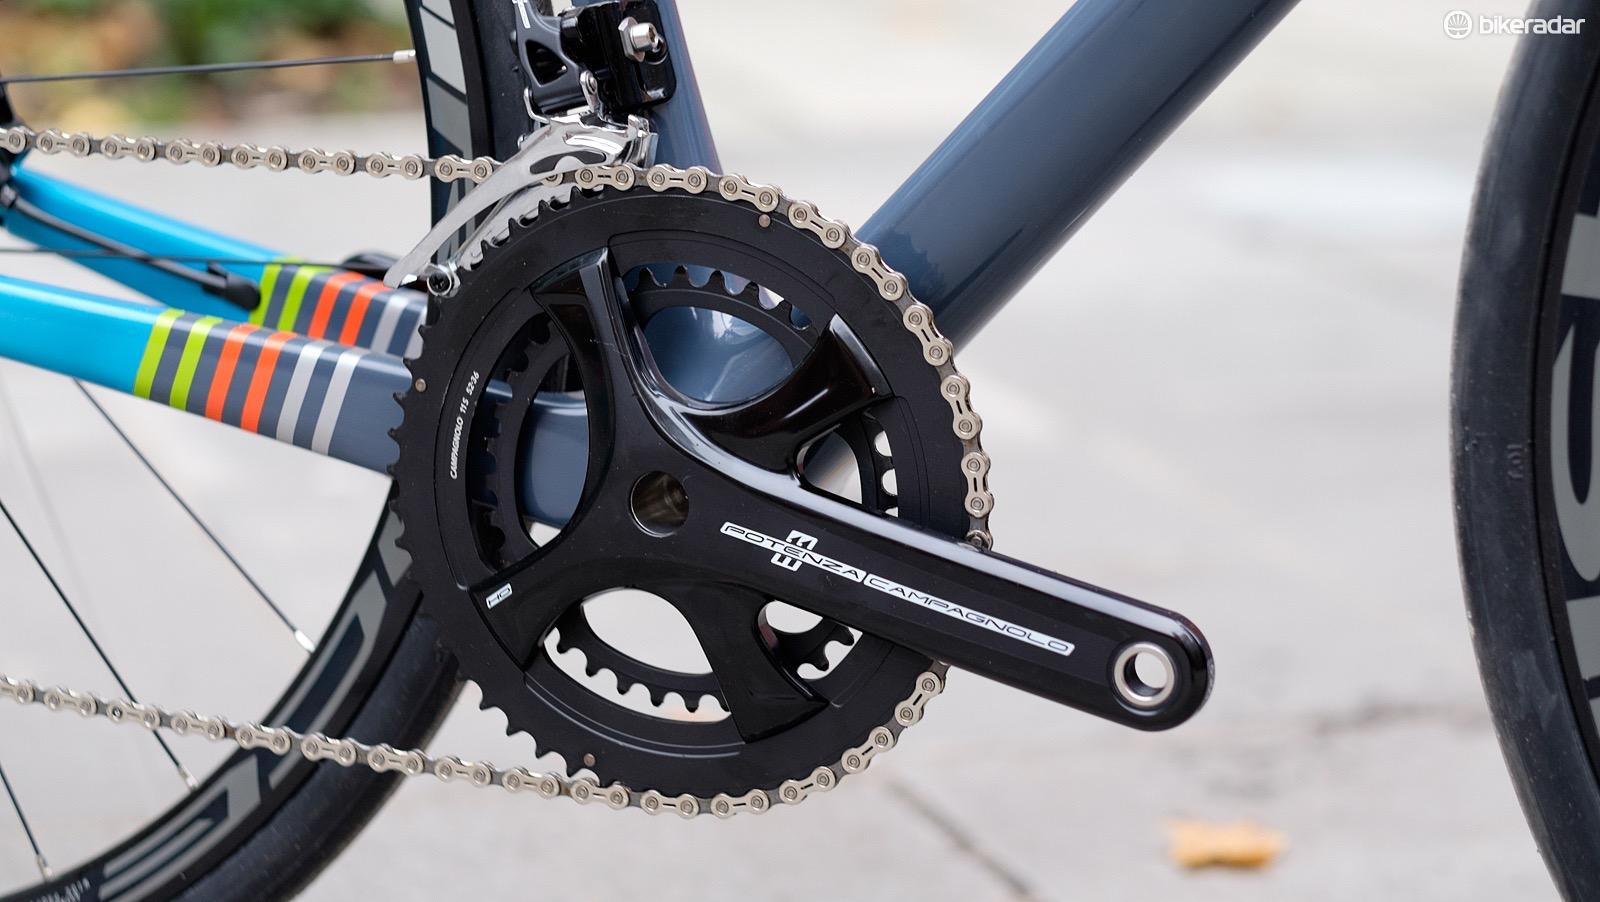
New mid-tier groupsets coming
Campagnolo has largely abandoned mid-tier groupsets in recent years. Oli Woodman / Our Media
The statement also highlighted that, following positive response to the release of Super Record 13 from the market, progress on new product development aimed at “intermediate product tiers”.
Campagnolo says it believes these products and expansion into “broader-market segments” will deliver “sustainable growth in the medium to long term”.
“The company has the expertise and technical resources required to complete this journey and will continue to leverage internal professional skills to ensure stability and continuity”, it continues.
Campagnolo has repositioned itself as a sports luxury brand in recent years, focusing almost exclusively on high-end products.
Historically, Campagnolo offered products across all price ranges, but largely abandoned the entry-level and mid-range of the market.
The statement makes clear, after months of hints from the brand and wide speculation, that it intends to re-enter this end of the market.
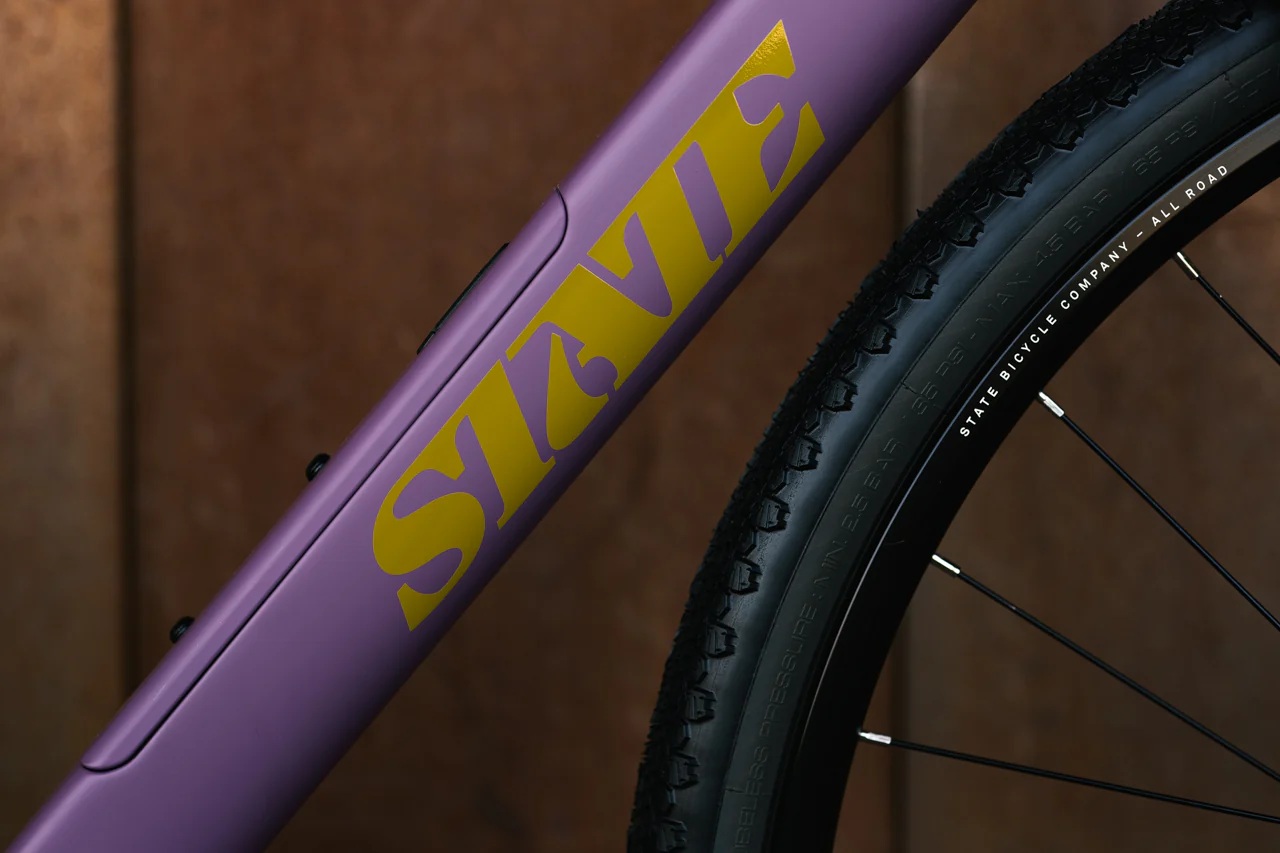
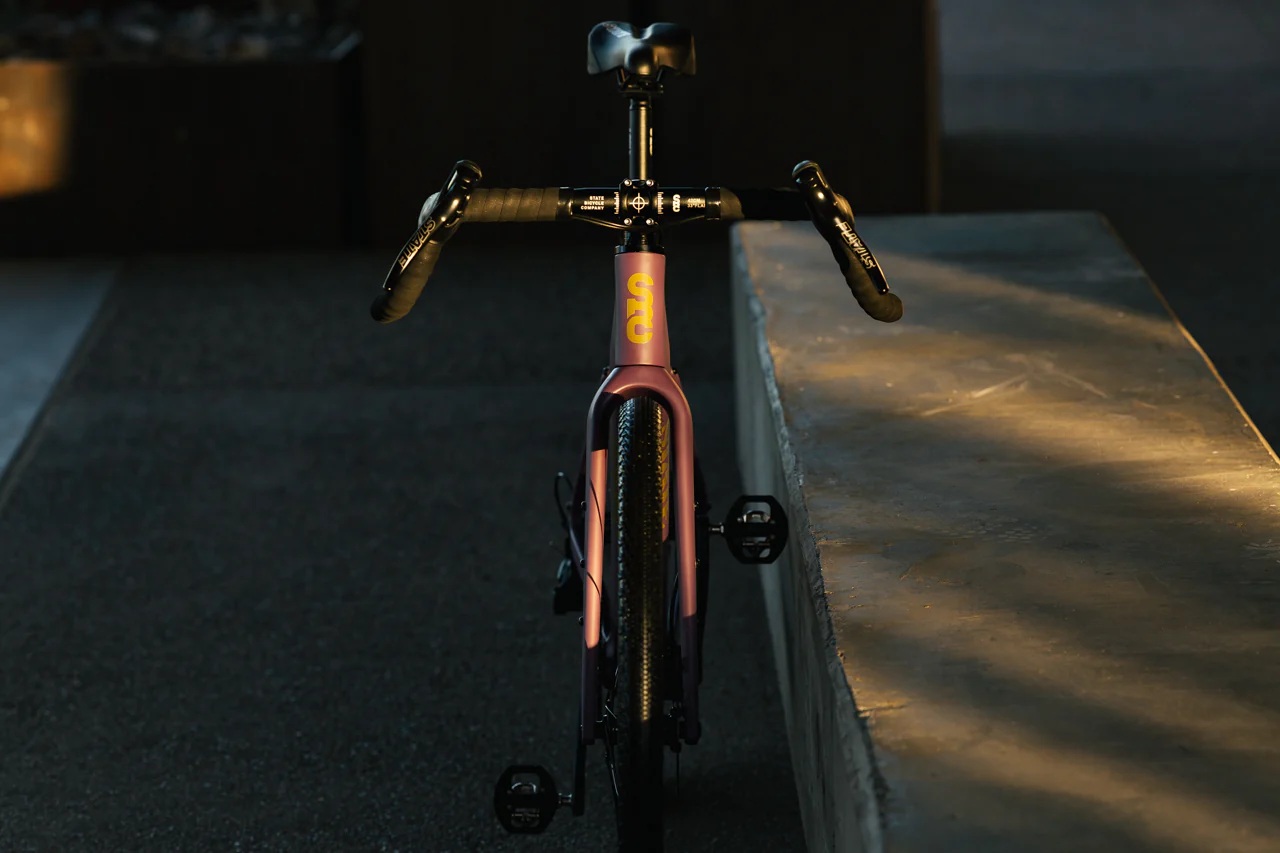
State Bicycle Company has launched a completely new V2 of its Carbon All-Road gravel race/adventure bike.
Although the overhaul has introduced a raft of modern features – including down tube storage and generous 55mm tyre clearance – prices for framesets and full builds remain remarkably low.
In fact, full builds are priced from $1,995 or £1,533. Remarkably, that’s no more than the bike it replaces, which surely makes it one of the few bikes released in 2025 that isn’t more expensive than its predecessor.
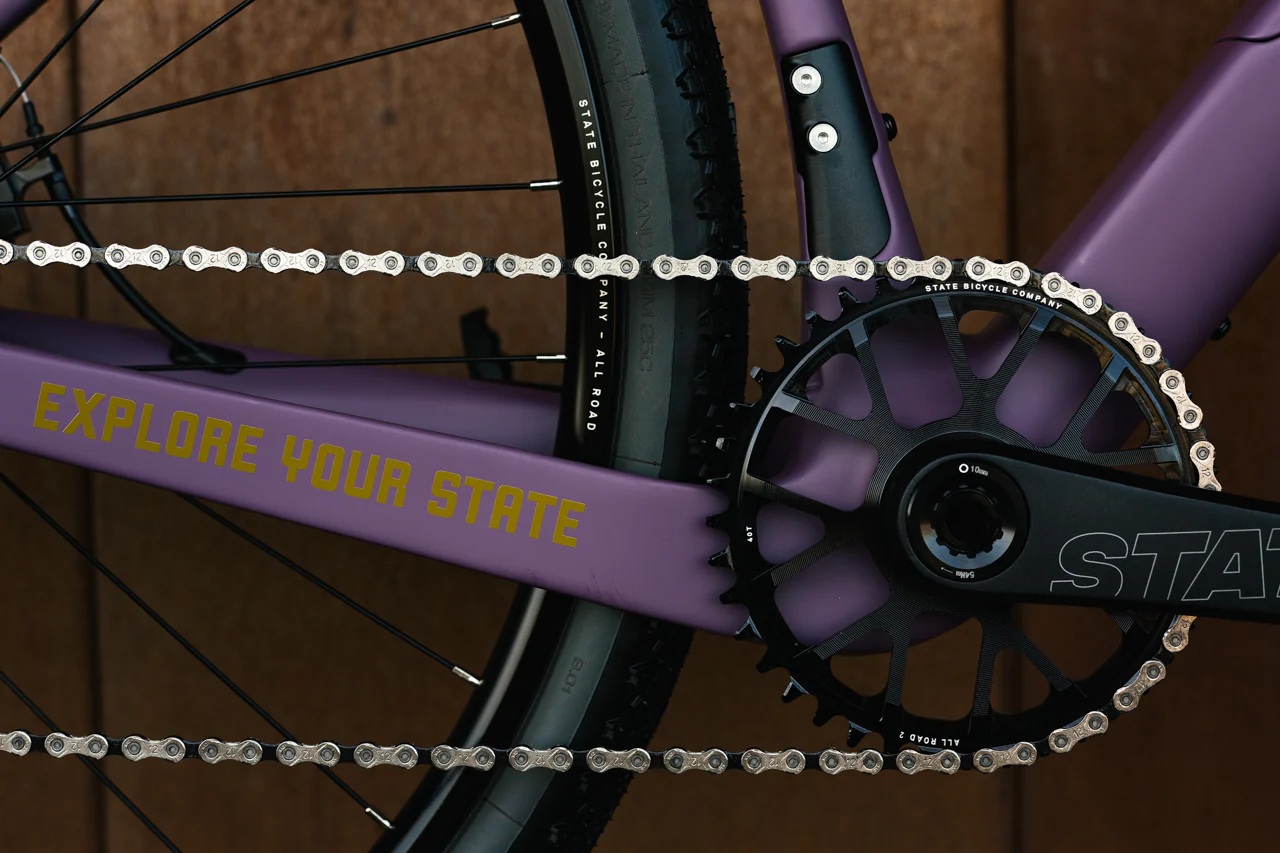
The Carbon All-Road V2 frame is built from T800 and T1000 carbon fibre, with State saying its geometry is aggressive to provide speed and stability.
It reckons the bike is a good option for gravel racing, while also serving for adventure rides thanks to its wide clearance and a full set of bag and accessory mounts.
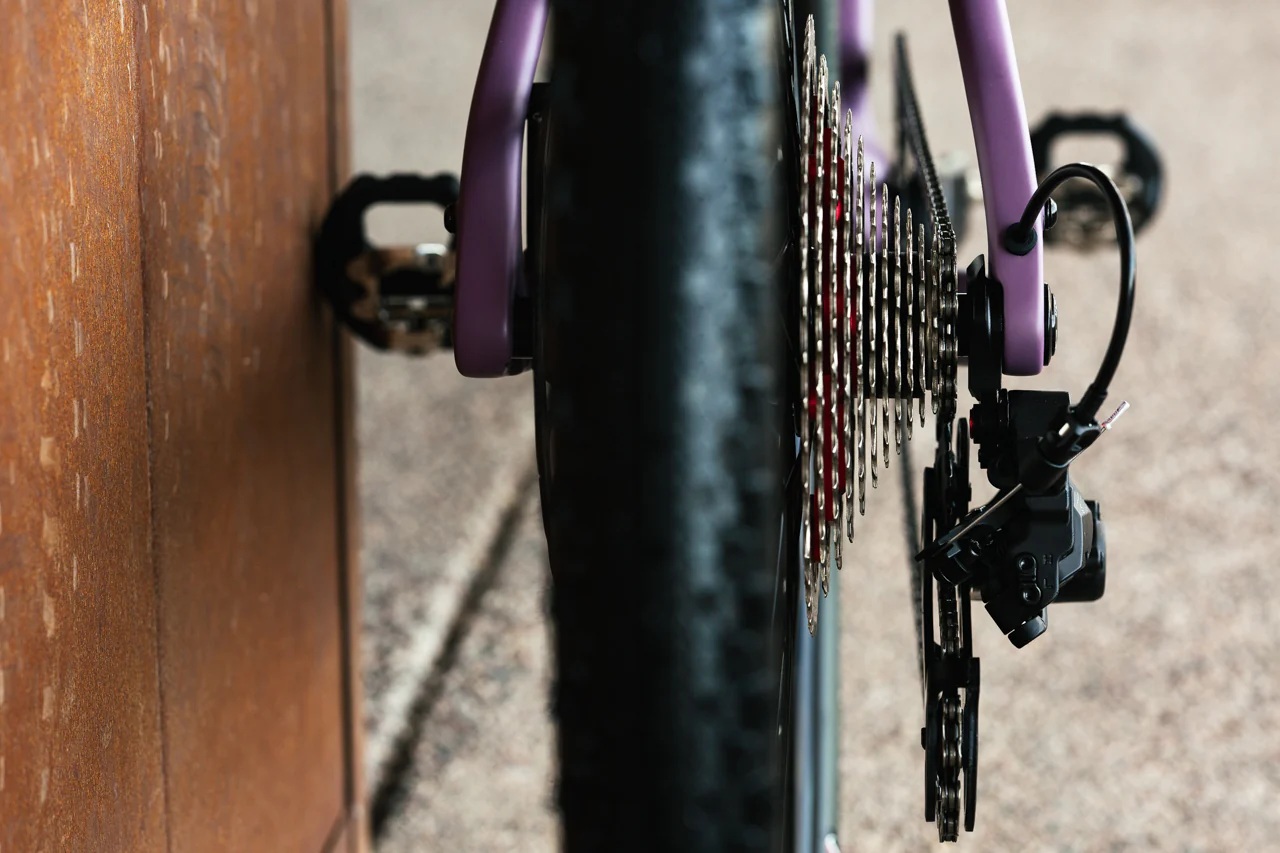
Elsewhere, State’s Carbon All-Road V2 is very much in line with modern trends in road and gravel bike design, switching to a UDH derailleur hanger that offers compatibility with SRAM Full Mount derailleurs, as well as a T47 bottom bracket shell.
State has increased tyre clearance to 55mm, added extra flare to its bars, and routed cables through the headset top cap.
Cables are routed through the headset top cap, opening the possibility to build with fully integrated cabling – although standard builds feature external cabling under the stem with a separate flared alloy bar.
Tyre clearance is larger too, with State saying that you can fit 55mm (2.2 inch) tyres on 700c wheels or 2.4 in tyres on 650b. There’s still space to fit a 48t 1x chainring or a 50/34t double with wide tyres fitted.
State has added a Fidlock-closed downtube storage compartment.
It supplies both the frameset and full builds with a matching neoprene storage bag. There’s a full set of mounts, including fork leg eyelets, while the Carbon All-Road V2 is offered in three colours and five sizes.
Affordable builds
State fits its own-brand 12-speed groupset to the Carbon All-Road V2 as standard.
Back in March, we flagged State as a brand that has been bucking the price-rise trends in the bike industry and the new Carbon All-Road V2 continues its line of affordable offerings.
The carbon frame-plus-fork is priced from $1,119.99 in the US, or £861 in the UK.
The base $1,995/$1,533 build buys you an own-brand 1×12-speed State drivetrain and 23mm internal width 700c wheels with Vittoria Terreno Dry 47mm tyres with a choice of black or tan sidewalls, or an alternative 650b option.
The frame can be fitted with a 2x groupset as well as the standard 1x.
We rated State’s older 11-speed derailleur system, built in China, when we reviewed the alloy State 6061 All-Road Black Label in 2024, although we found State’s hybrid mechanical/hydraulic brakes fiddly to get set up working well.
There are wheel upgrade options to DT Swiss, Enve or Zipp available. You can also choose to upgrade the drivetrain to a wider range 11-50t State groupset from the standard 11-46t, or select a SRAM Apex XPLR AXS or an Eagle Transmission AXS mullet setup.
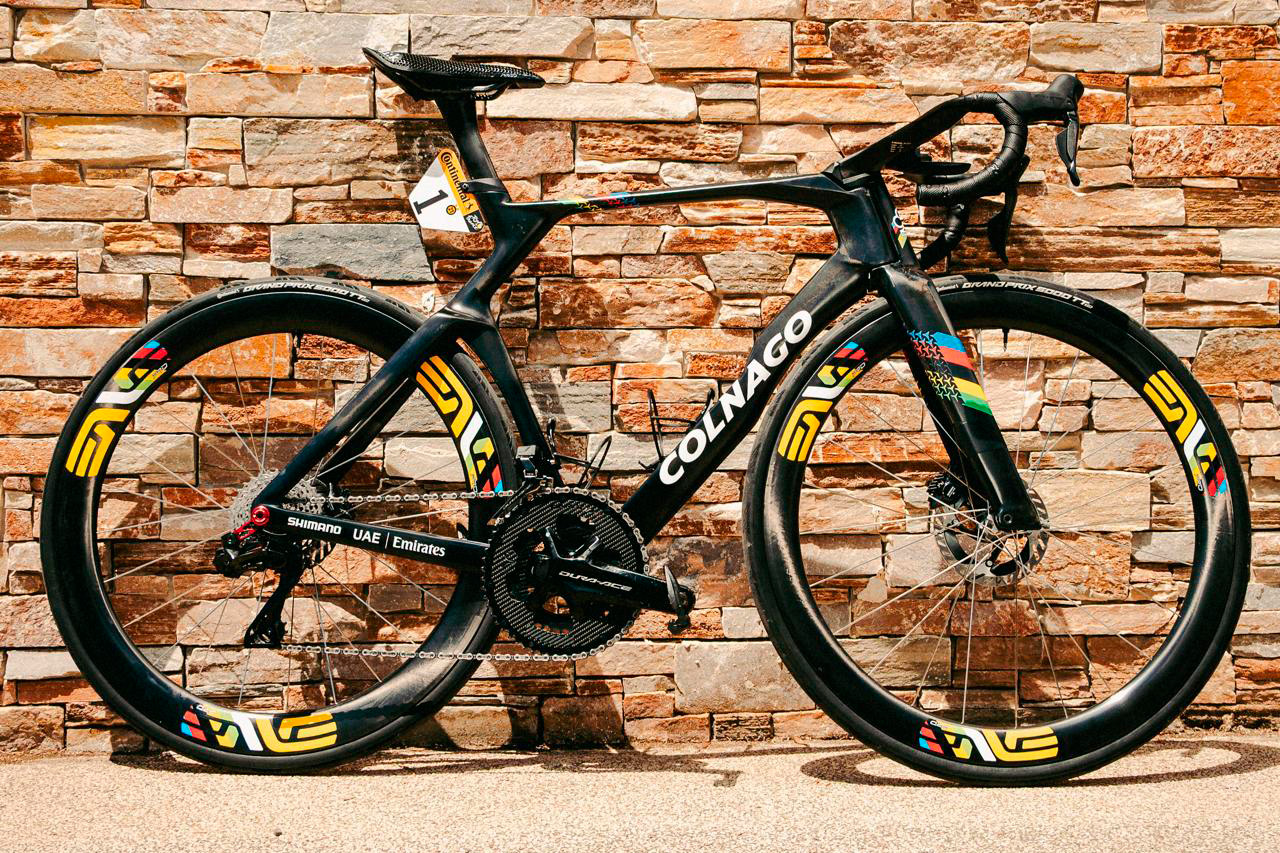
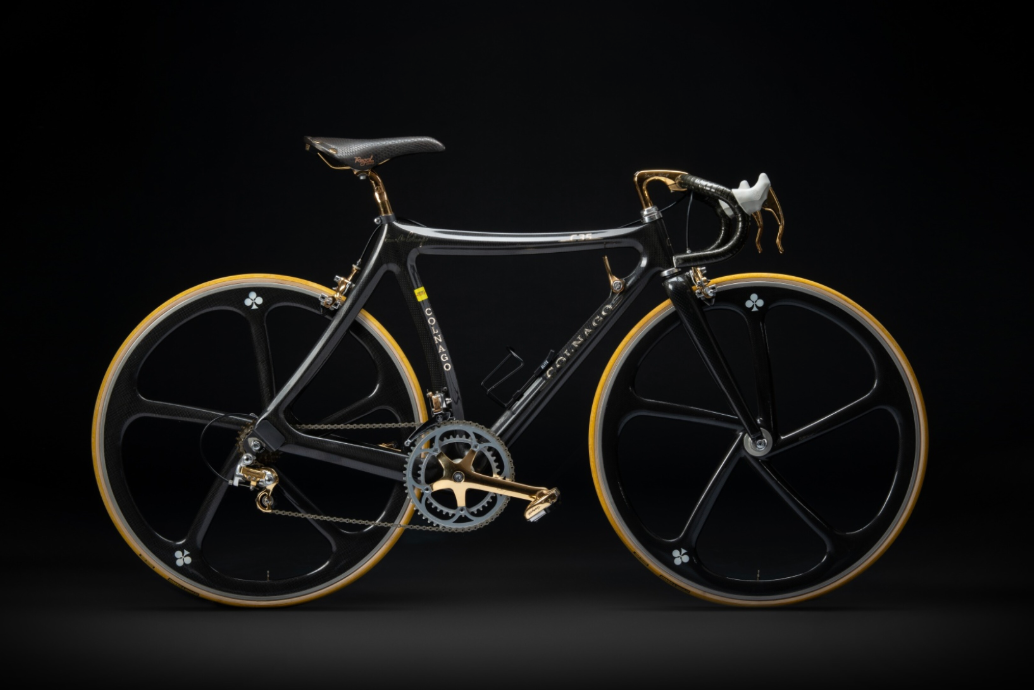
Sotheby’s is auctioning off four iconic Colnago bikes, including the stripped-back Colnago Y1Rs Tadej Pogačar rode to summit victory at Mont Ventoux in this year’s Tour de France.
The collection also includes a 1972 track bike built to Eddy Merckx’s Hour Record dimensions, a C35 Oro Ferrari Collaboration, and Joāo Almeida’s Presentation C68 Rossa for La Vuelta 2025.
All the bikes have an auction estimate of $15,000 to $20,000, with Tadej Pogačar’s Y1Rs having the highest bid of $16,000 at the time of writing.
Pogačar shocked us with his aero selection for Mont Ventoux this year. Colnago
It was a surprise when Pogačar picked Colnago’s aero bike for the queen stage of this year’s Tour de France, but this special edition Y1Rs has been slimmed down, weighing just over 7kg.
The bike features a raw carbon finish that reveals the carbon weave, with only a thin clear coat protecting the frame.
The C35 is one of the first carbon-framed road bikes. Sotheby’s
For retro bike fans, an extraordinarily rare C35 Oro Ferrari Collaboration is also for sale.
The bike was made in Italy under Ferrari’s technical guidance, and was among the very first road frames to be produced using carbon fibre.
https://www.youtube.com/watch?v=1Zp7baKovDM
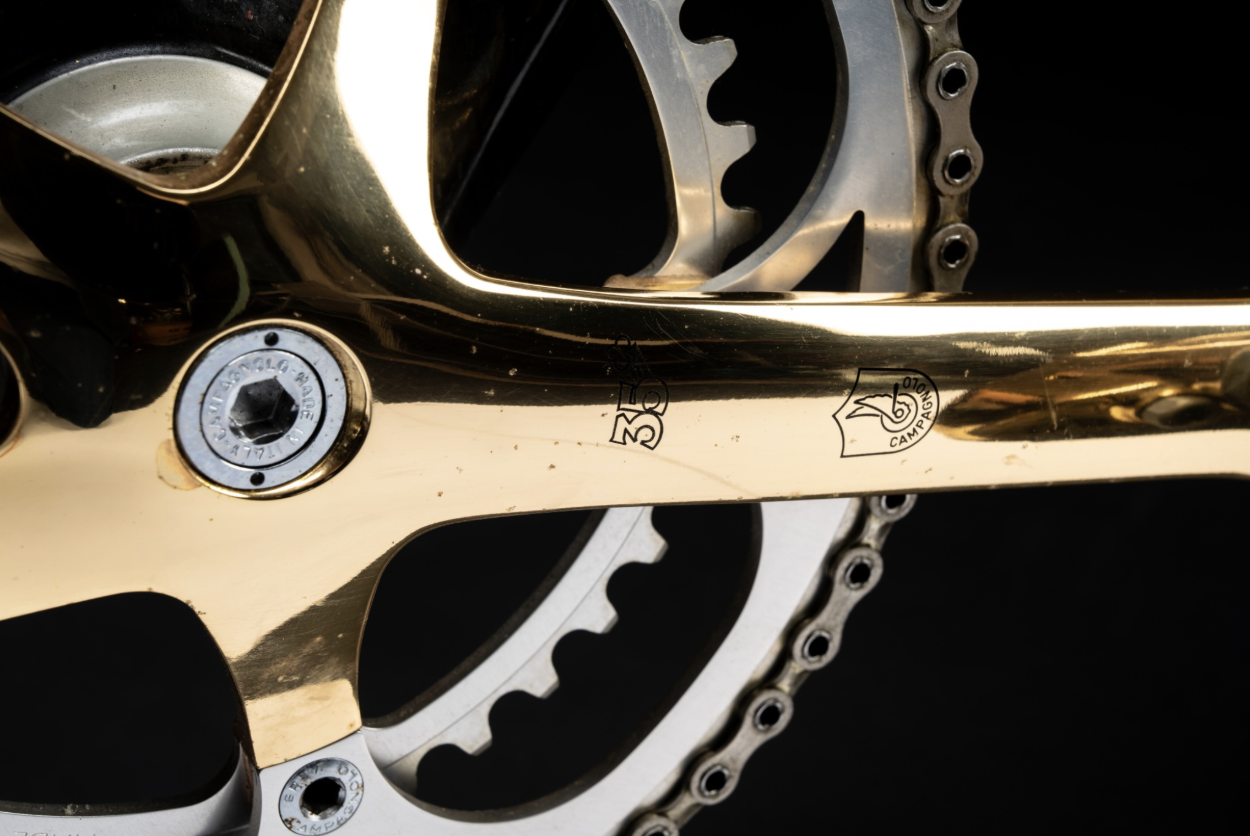
The current bid is $12,000 on Sotheby’s website. Sotheby’s
This example comes with a gold-plated Campagnolo Super Record groupset and striking five-spoke carbon-fibre wheels.
Bidding is open until 19:30 GST on 5 December 2025. The bikes are on display at the St. Regis Saadiyat Island Resort, Abu Dhabi, until the close of the auction.
Zwift Camp: Build is underway: a 5-stage route-based workout series, with each stage lasting one week and focusing on developing power over a specific time interval.
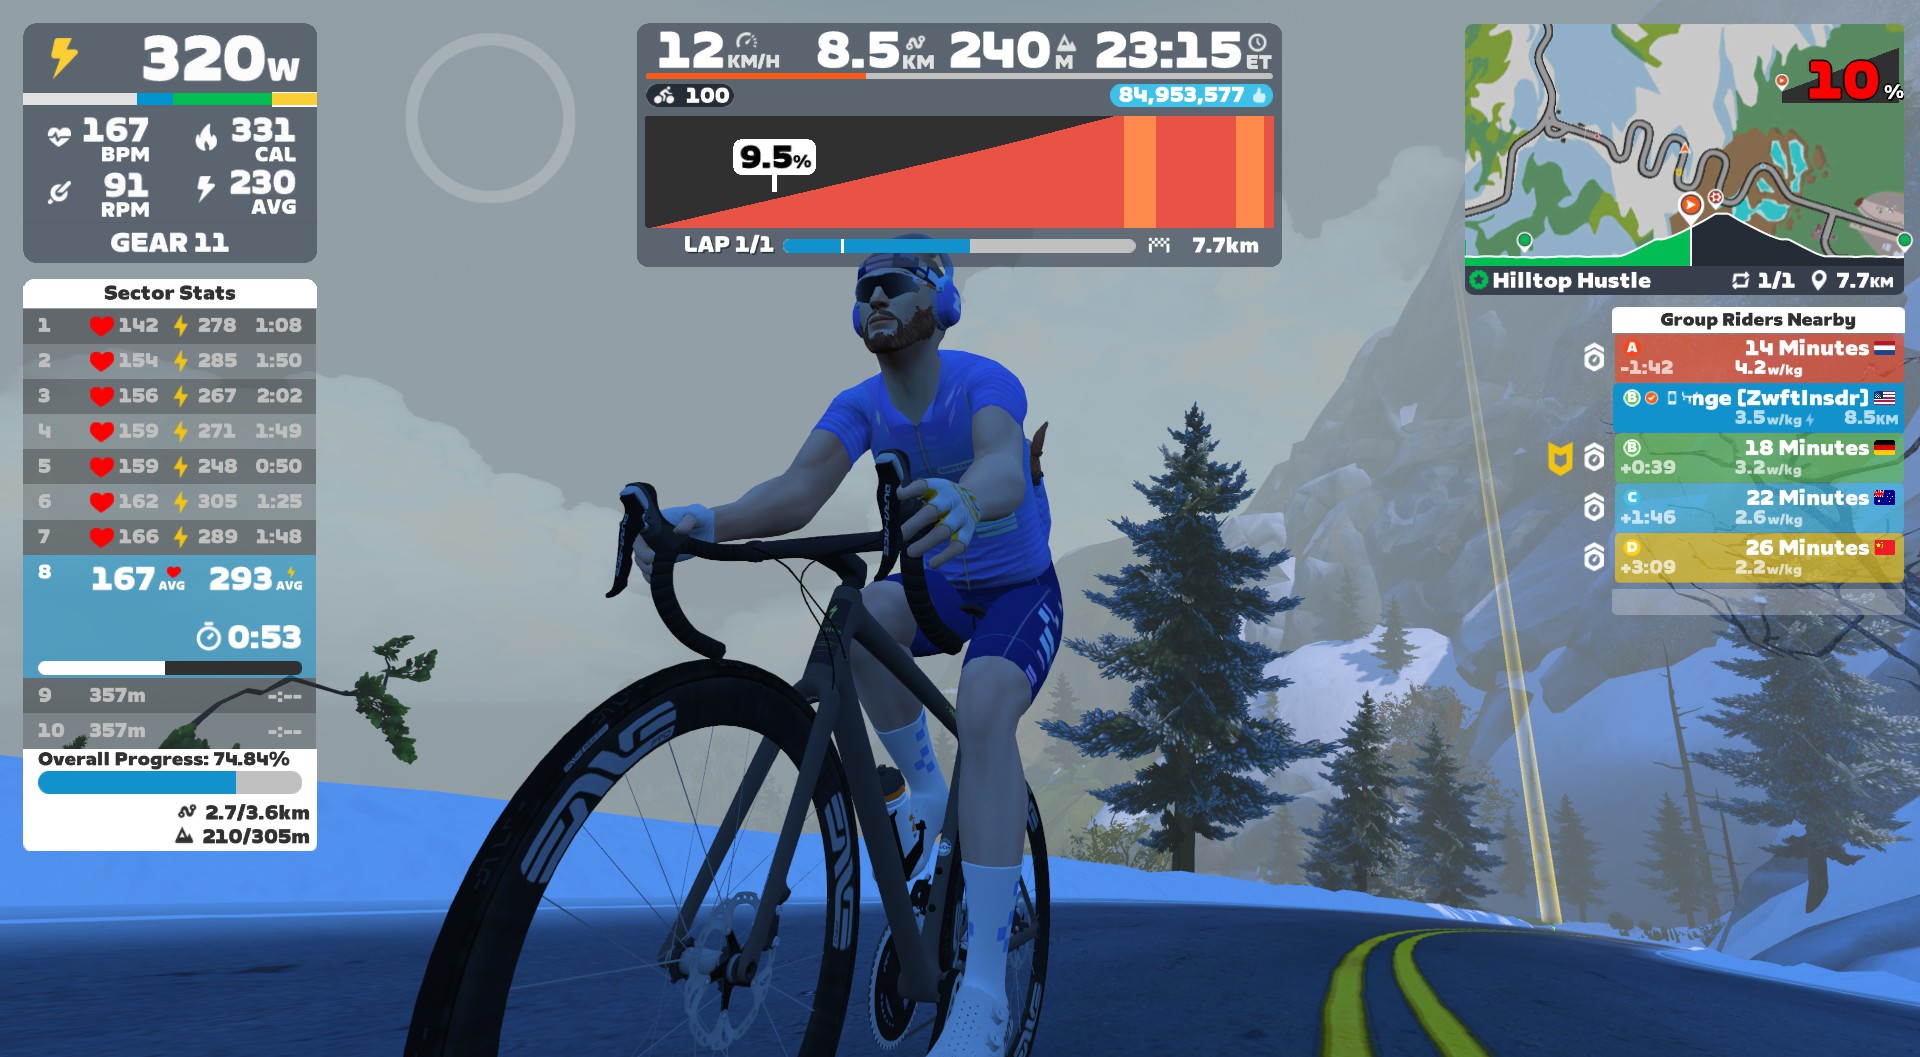
My plan is to do each of the five workouts before their weeks begin, so I can write a post unpacking the workout and delivering some tips along the way. This post covers Stage 4’s workout on Watopia’s Hilltop Hustle route, which takes you up The Grade KOM. Let’s roll!
The fourth stage of Zwift Camp: Build is focused on “One 20-minute attempt,” according to the event description. That may be a bit of an over-simplification, but it’s close: all we’re doing is hitting The Grade KOM for a single max effort, which means you’ll be riding at just over your threshold (FTP) power.
The only tricky part here is knowing ahead how long the climb will take you, so you can pace yourself accordingly. When I tested The Grade with Nathan and Gabi Guerra just before it was released, Nathan finished the segment in 10:37, Gabi in 11:46, and I in 14:02. So this won’t be a “20-minute attempt” for many riders.
If you’ve never done a max effort up The Grade, here are a few metrics from bot tests with a 75kg, 183cm rider on the Tron bike that give you some idea of how long it may take you to finish the climb at your pace:
The stage is built around the Hilltop Hustle route in Watopia, which begins in the Southern Coast start pens, taking riders out to the Sasquatch Sprint turnaround for a flat warmup, up The Grade KOM for your big effort, then down the hill and out to the Sasquatch Sprint for the finish.
Apart from the single power interval you’re targeting, this stage’s setup differs from stages 1-3 in other ways:
RoboPacers! When you sign up to do the stage as an event, you pick a RoboPacer group to join. (Note: All bots and riders will be visible in your event, so you can actually chase whatever bots or Zwifters you’d like.)
No script: there are no on-screen instructions like the previous stages. You’re expected to know when to begin and end you The Grade KOM effort.
No Splits or Ride Stats HUD: Instead of these elements, The Grade HUD is shown, which shows your stats for each of the The Grade’s 10 segments.
Stage 4 Walkthrough
Once again, I came into this workout with legs that weren’t primed and ready for a 100% effort. (I had actually done Stage 3 the day before, simply because it was the only way to fit these rides into my schedule.) So I decided to target sweet spot-level power (~275W) for the first portion of the climb (up to the flat spot), which would keep me basically even with my B RoboPacer at 3.2 W/kg. Then I would increase the power for the second portion if my legs would allow it!
The route begins with a flat 6km warmup. Use these ~10 minutes to spin up your legs, put in a couple of short efforts at high cadence to blow out the cobwebs, and raise your heart rate so you’re properly warmed up for The Grade.
RoboPacer Details
If you do stage 4 as an event, you’ll have RoboPacers riding with you. If you do it as an on-demand ride, there are no RoboPacers.
If you care about using the RoboPacer to pace you up The Grade, you’ll want to be careful not to lose your target RoboPacer during the warmup! The nice thing is, the bots ride at a much lower pace during the warmup than they do on the climbs.
Here’s a chart showing each of the available RoboPacers, their climb paces, and their (approximate) warmup pace:
Bot Letter
Bot Name
Climb Pace
Warmup Pace
A
14 Minutes
4.2
2.8
B
18 Minutes
3.2
1.9
C
22 Minutes
2.6
1.7
D
26 Minutes
2.2
1.5
E
30 Minutes
1.9
1.3
I knew I wasn’t up for holding the A RoboPacer’s pace, but I figured I could beat the B RoboPacer. So I decided I would target that B bot, starting The Grade with the bot then making sure I beat it across the line at the top!
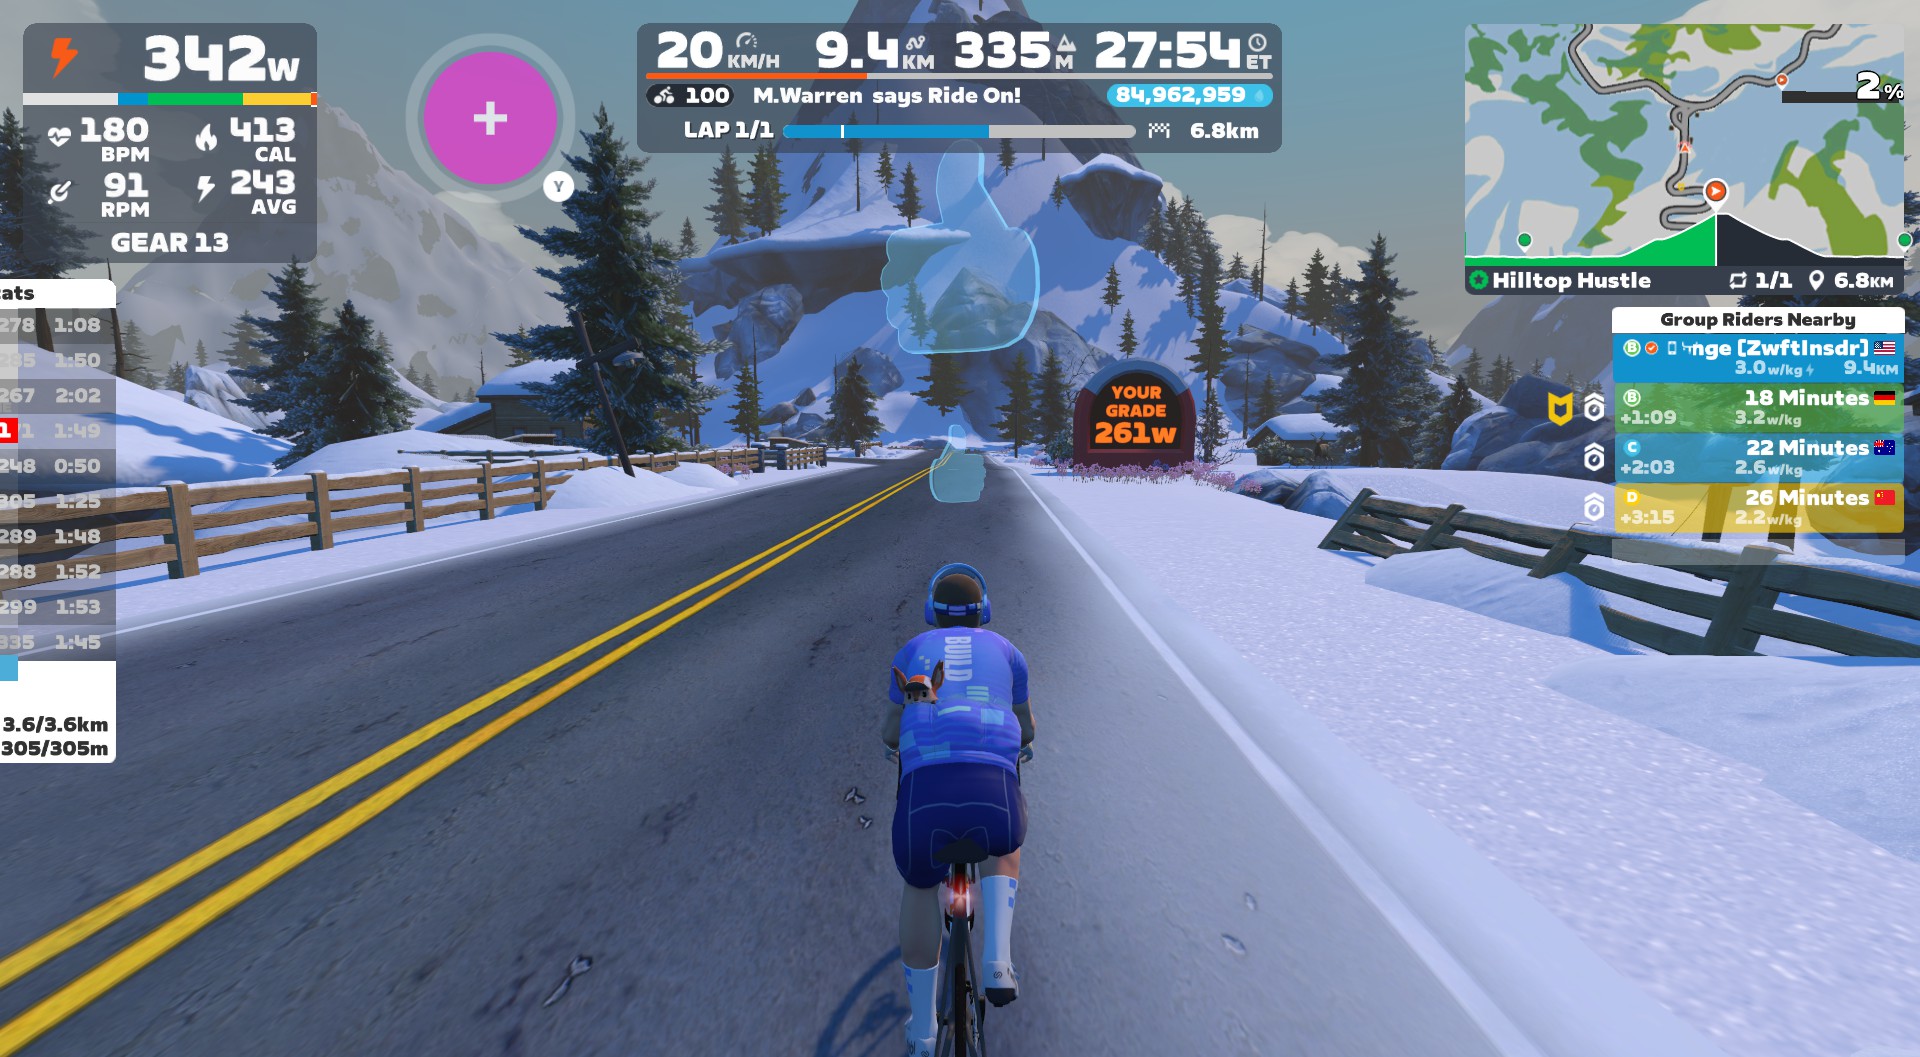
I found it really easy to stay ahead of the B RoboPacer during the warmup, and had to ease up before starting The Grade so the bot could catch me and we could start it together:
Once we crossed the line to start The Grade, it was “on like Donkey Kong,” as the great Dave Towle likes to say. That RoboPacer wasn’t going to beat me to the top, even if my legs were a bit tired!
After quickly putting ~35 meters into the B bot, I basically held that gap up to the flat section, holding a similar W/kg as the bot. But I knew something the bot didn’t know: the bot was programmed to drop its power on flat roads. This was my chance to keep the power high and put more time into the bot! So I did just that, extending my lead further as that lazy bot sat up on the flats.
The second portion of the climb is the tougher bit. It feels steeper, it’s definitely longer than the first part, and your legs are starting to feel the effort. I bumped up my effort from ~275W to ~300W, and began steadily putting more time into B bot. 25 seconds, then 30, then 35…
The Sector Stats HUD on the left is handy when it comes to pacing yourself, as it shows your average power and HR across the 10 equidistant sectors of the climb, along with your overall progress. When I saw my average power drop a bit on one sector, I increased it to keep pushing the pace.
I gave one last hard push up the final bit of the climb and went under the banner at the 16:26 mark. Nothing to write home about in terms of my personal performance, and the FTP it detected for me (261W) is certainly lower than my actual FTP! But it was a good little 16-minute interval that warmed me up nicely and sapped the legs a bit, so I was ready for an easier-paced ride outside with friends immediately following.
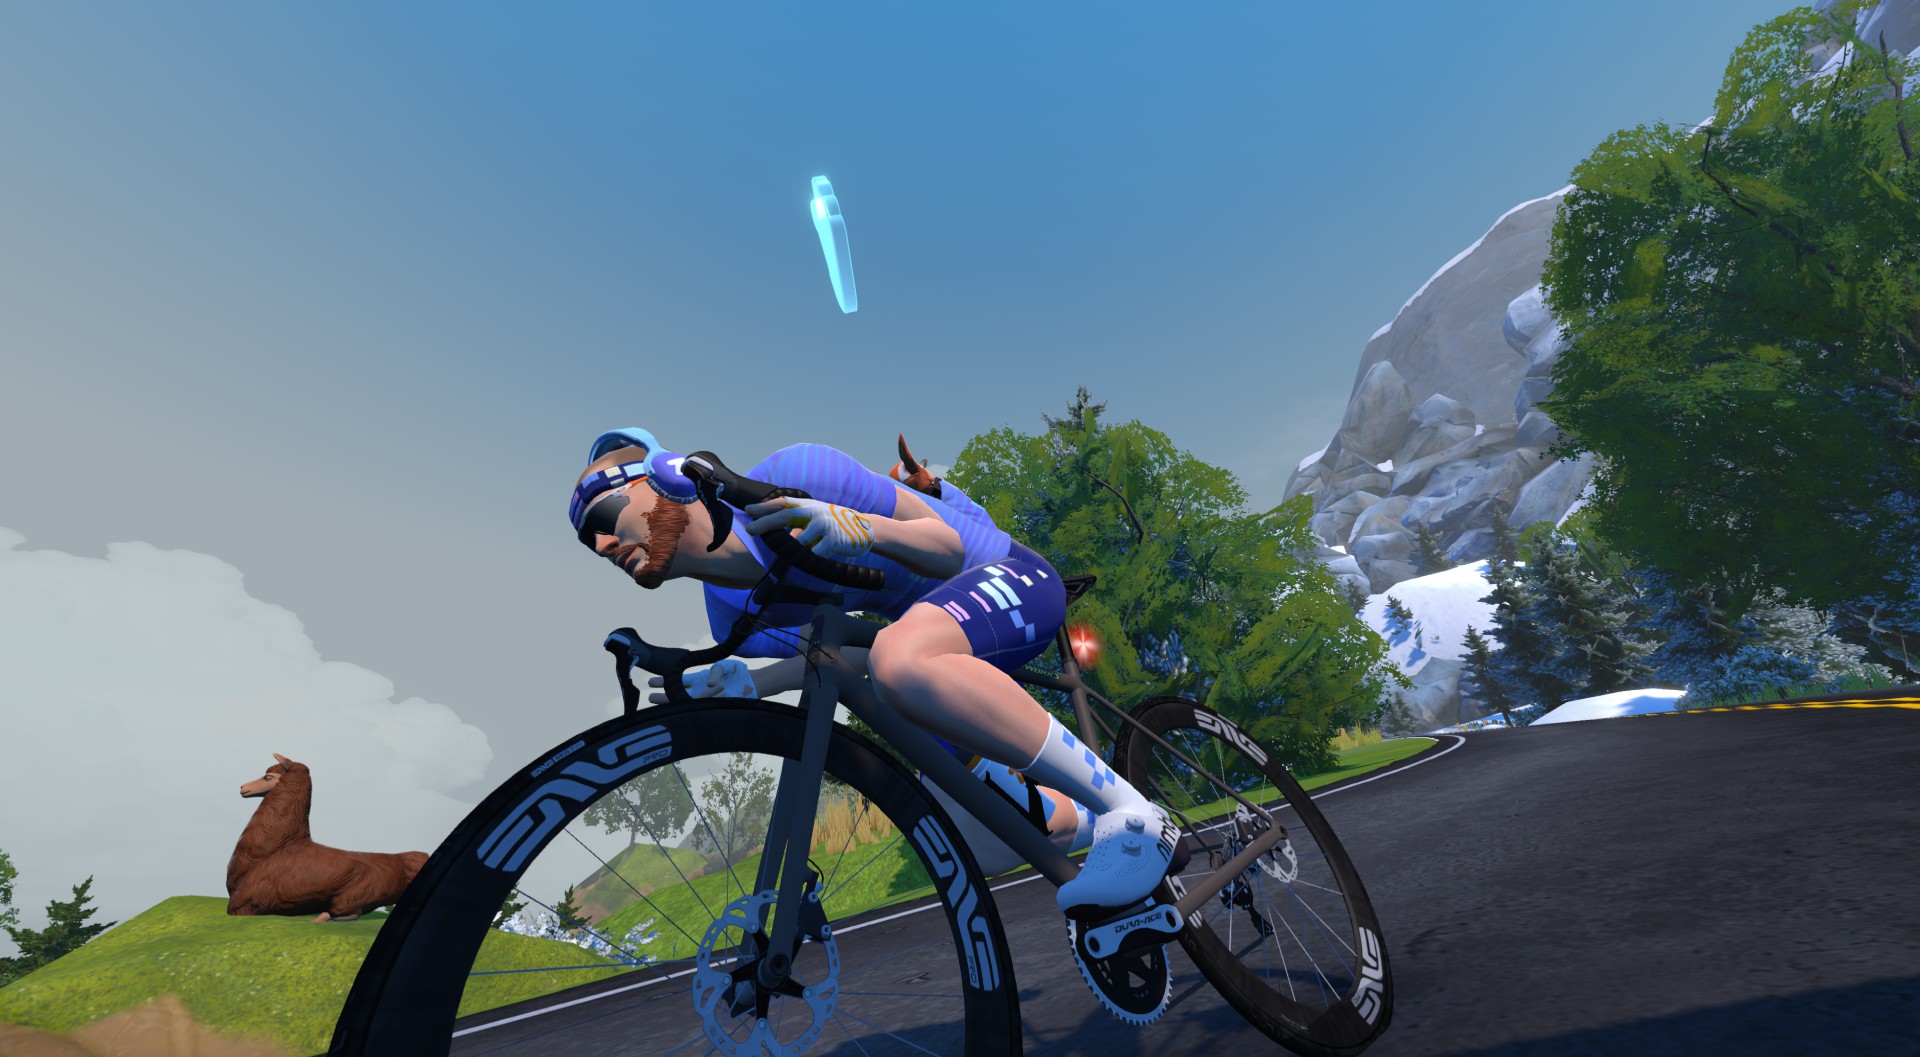
After finishing the hard climb, you’ll quickly turn around and come down The Grade. Keep your legs spinning to clear the lactate and safely lower your HR, wave at the alpacas, throw in a cheeky supertuck (take that, UCI!), and finish out the route.
Functional Threshold Power, often just called “threshold power” or FTP, is an approximation of your maximal lactate steady state. It is “the cycling power you produce when your lactate production has risen, leveled off, and then closely matches your body’s ability to remove lactate,” according to this helpful TrainerRoad post. A few interesting things about threshold power:
It’s the most popular metric in cycling because it helps you determine both race ability and workout pacing. That is, structured workout intervals are usually based on a percentage of your FTP.
When operating at FTP, you are essentially riding on the balance point between your aerobic and anaerobic energy systems.
TSS – or “Stress Points,” as Zwift calls it is a common metric for measuring the difficulty of a given workout or training week. This is calculated based on your FTP, so it’s vital you set your FTP accurately so you can track your training load accurately. Read more about TSS here >
While pros may go to a lab to be tested for a precise FTP reading, most training platforms, including Zwift, automatically look at your power numbers and estimate FTP fairly accurately. Still, you may want to do an actual FTP test on Zwift to help you put in your best effort. For more info, read How (and Why) to Take an FTP Test on Zwift >
FTP Training Tips
Unlike training other systems (such as VO2 max), workouts to increase your FTP can take a variety of forms.
The most fundamental “FTP boosting” workouts are simple aerobic work. This is your base, and if it isn’t well developed, you really can’t progress meaningfully as a cyclist. Longer zone 2 endurance rides and shorter “sweet spot” intervals at 88-94% of FTP are both effective ways to build your aerobic base.
Beyond simple aerobic work, two other high-intensity workout styles are popular for boosting FTP:
VO2 Max: Short repeats at your VO2 Max can deliver big improvements in both aerobic and anaerobic power
Over-Unders: Pyramid workouts with steps going from 95% to 100% to 105% of your FTP (then down again) help train your body to deal with the metabolic byproducts of riding above FTP.
Suggestion Box
The fourth workout of Zwift Camp: Build felt the most “ordinary” of the stages I’ve done so far, because it was really just a ride up The Grade, with a bot to keep me company. That said, an all-out attack of The Grade is a solid workout and fitness test any day of the week!
After finishing stage 4, I’d say there are two things Zwift could improve:
Messaging: It’s odd that the first three stages had on-screen messaging to coach you, but this stage did not. That feels like a miss, especially because messaging could be helpful in guiding people to pace optimally on the longish effort up The Grade.
Improve the event description: I already mentioned this for earlier stages, but once again, a simple line or two in the event description would clarify what people are signing up for. As explained above, the current description for this workout (“Target Effort: One 20-minute attempt”) really isn’t accurate for many.
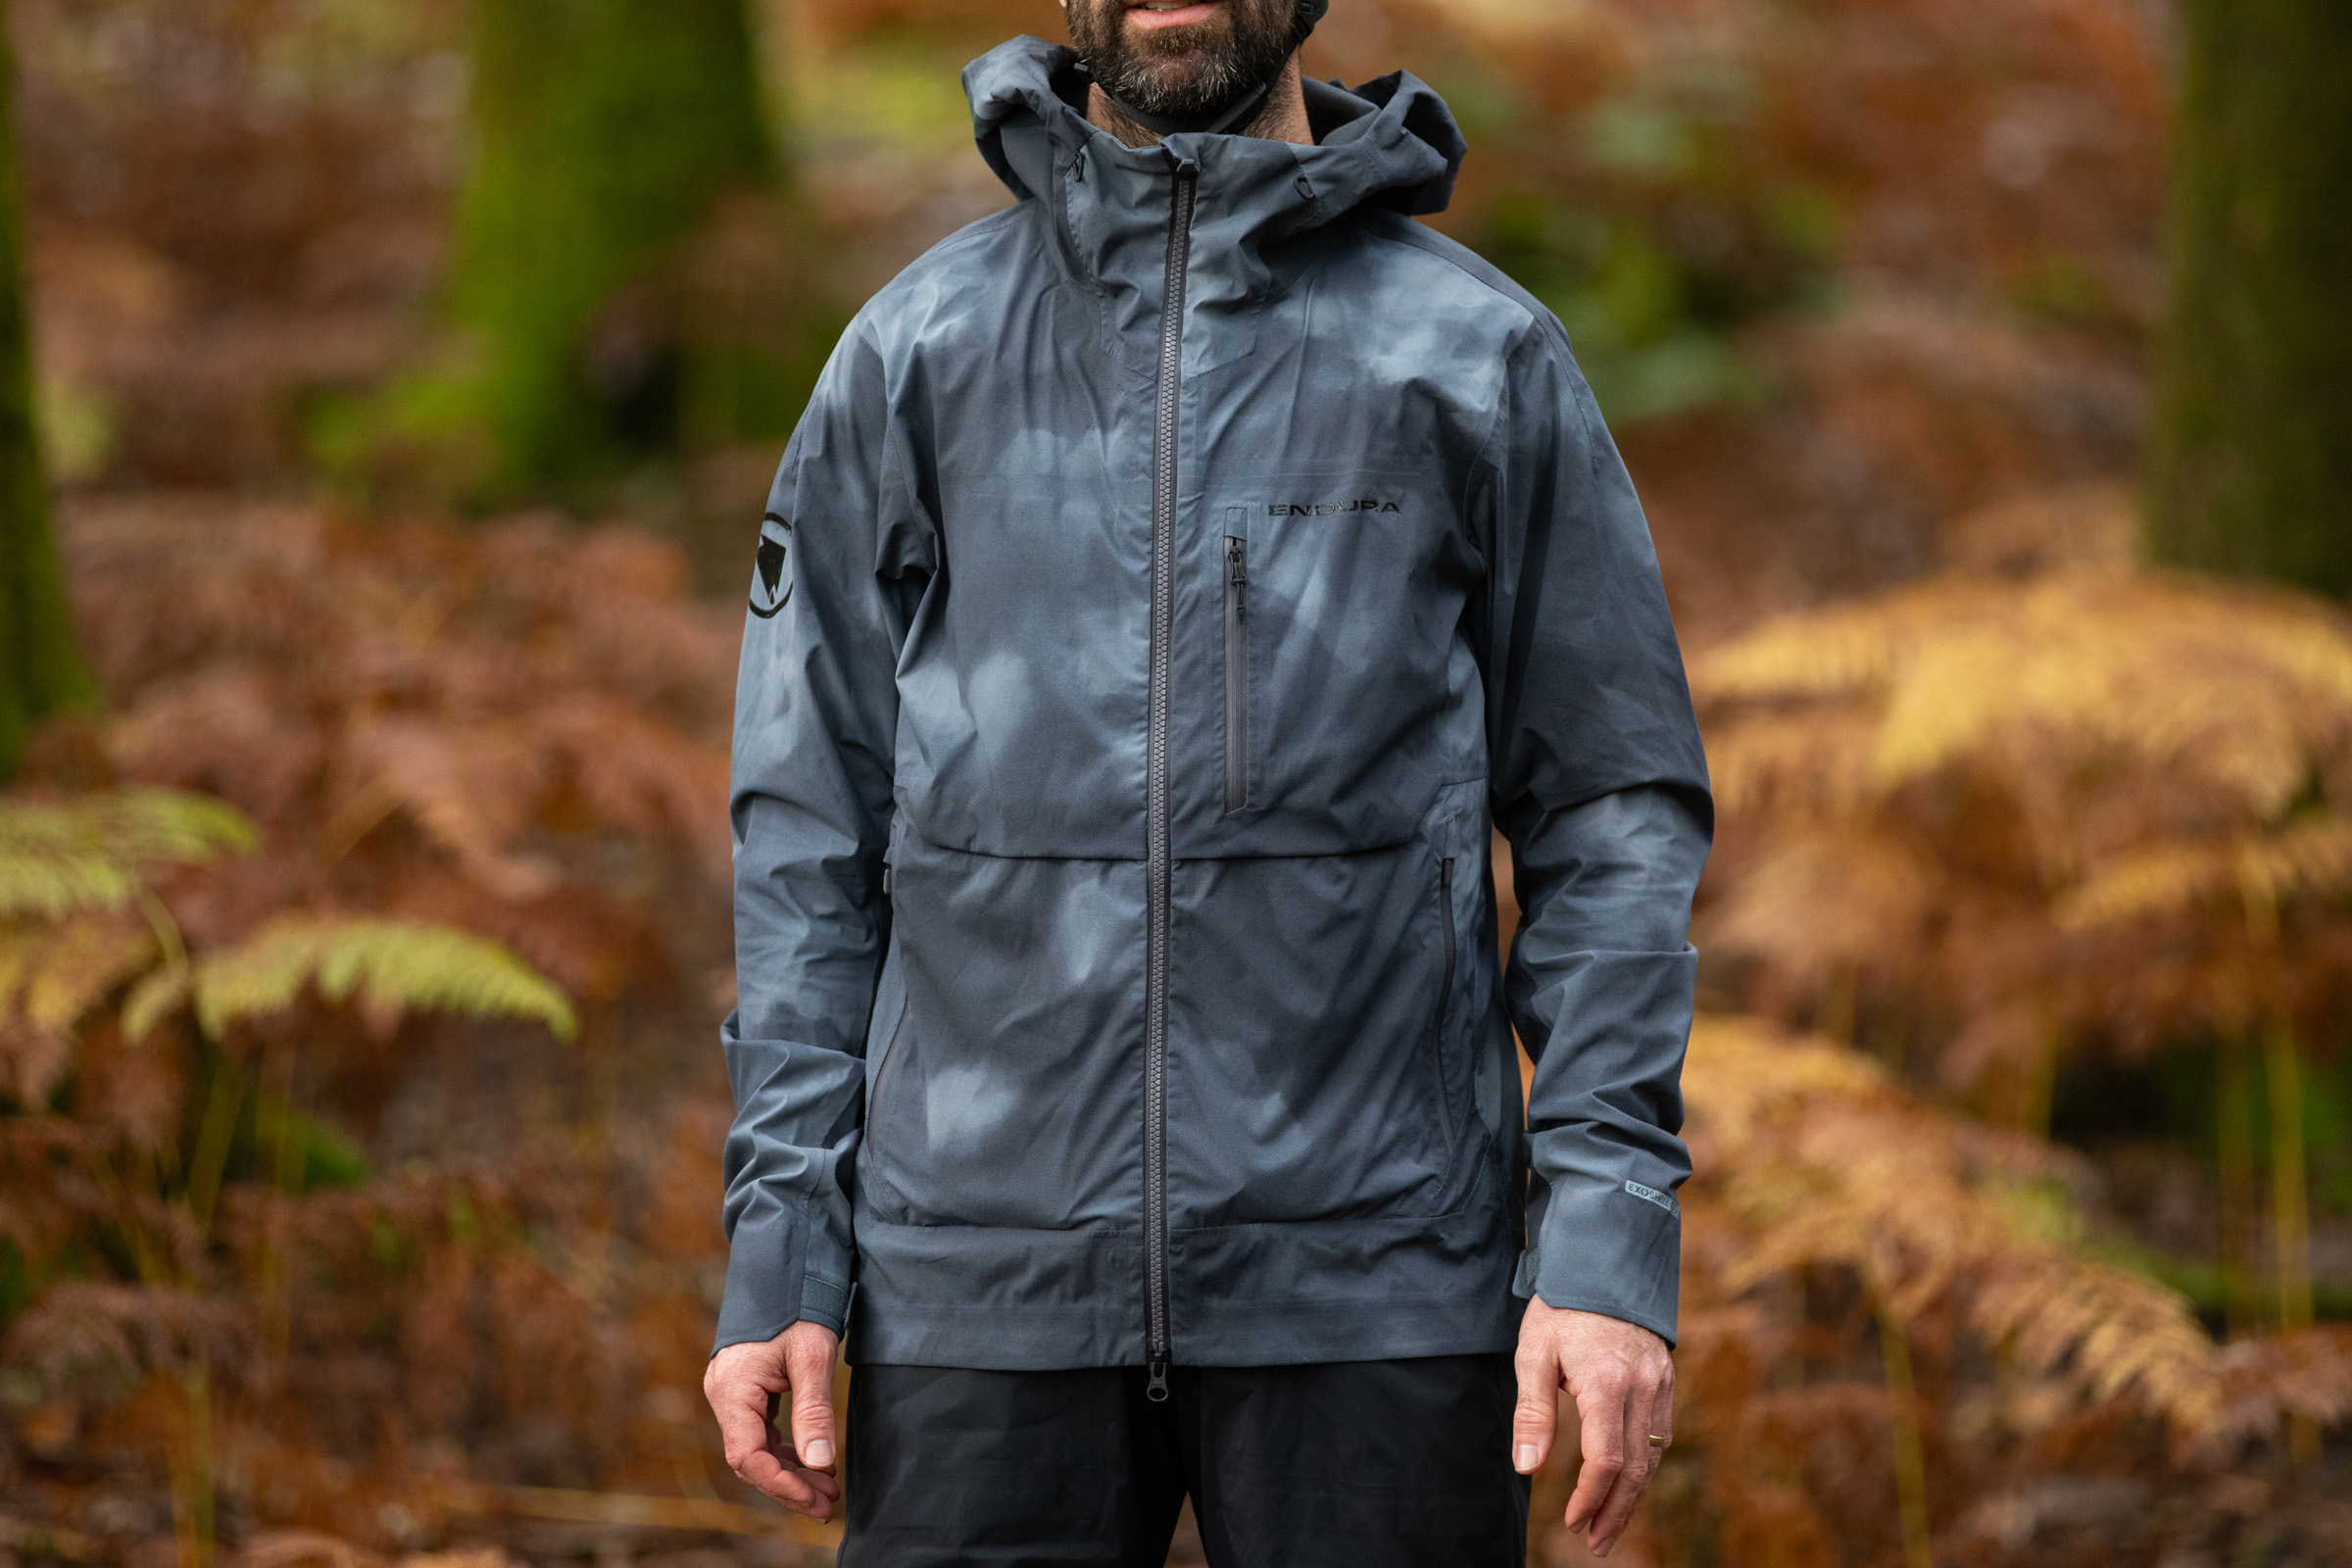
Endura’s MT500 waterproof range is held in high regard by many riders, and for good reason.
The British brand’s premium waterproofs have established a reputation as dependable garments that withstand many winters, and have always impressed us in testing.
Endura’s MT500 Waterproof Jacket is popular for good reason. Scott Windsor / Our Media
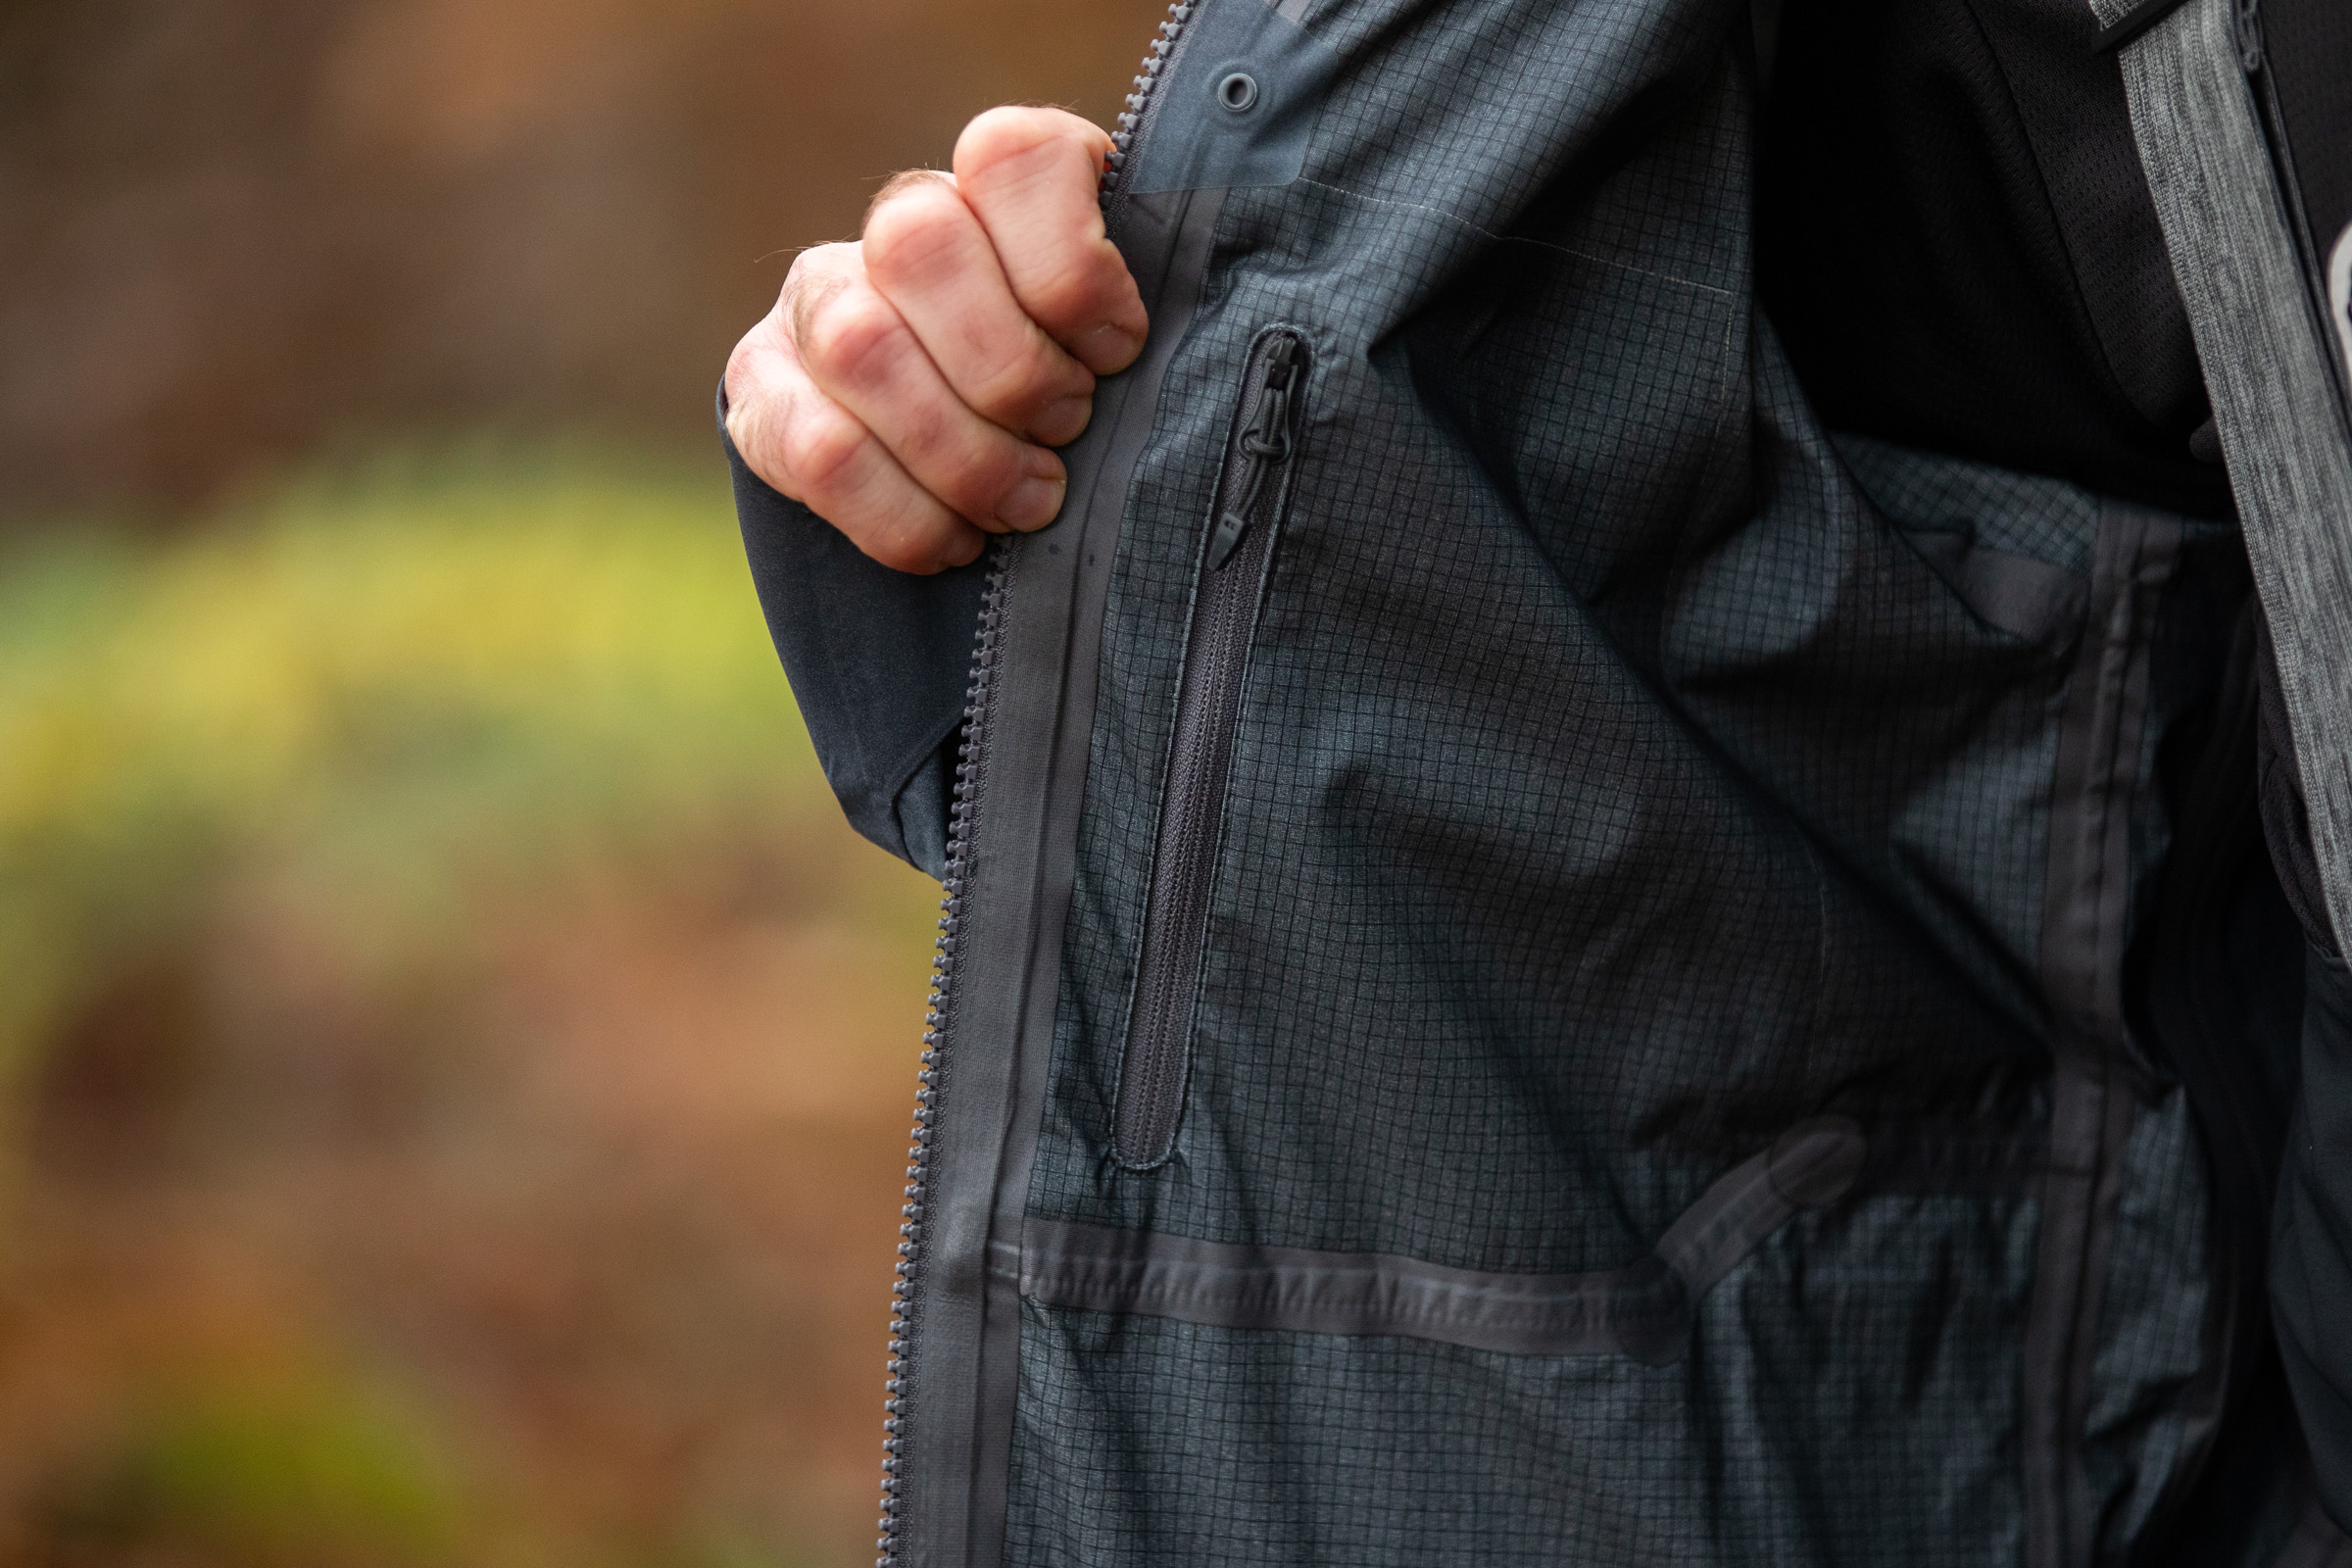
The MT500 Waterproof Jacket is something of an icon, with this latest version featuring an ExoShell30 DR waterproof fabric and an improved DWR coating to keep you dry.
Endura says the jacket has a waterproof rating of 20,000mm and a breathability rating of 30,000 g/m²/24hr, so you should stay dry without being soaked by your own sweat.
There’s also internal pockets for smaller items. Scott Windsor / Our Media
The hood is big enough to accommodate a helmet, and there are plenty of pockets to keep all your belongings close to hand.
To keep the cold and rain out, the jacket also uses water-repellent zips with storm flaps, so you should be protected even in the strongest winds.
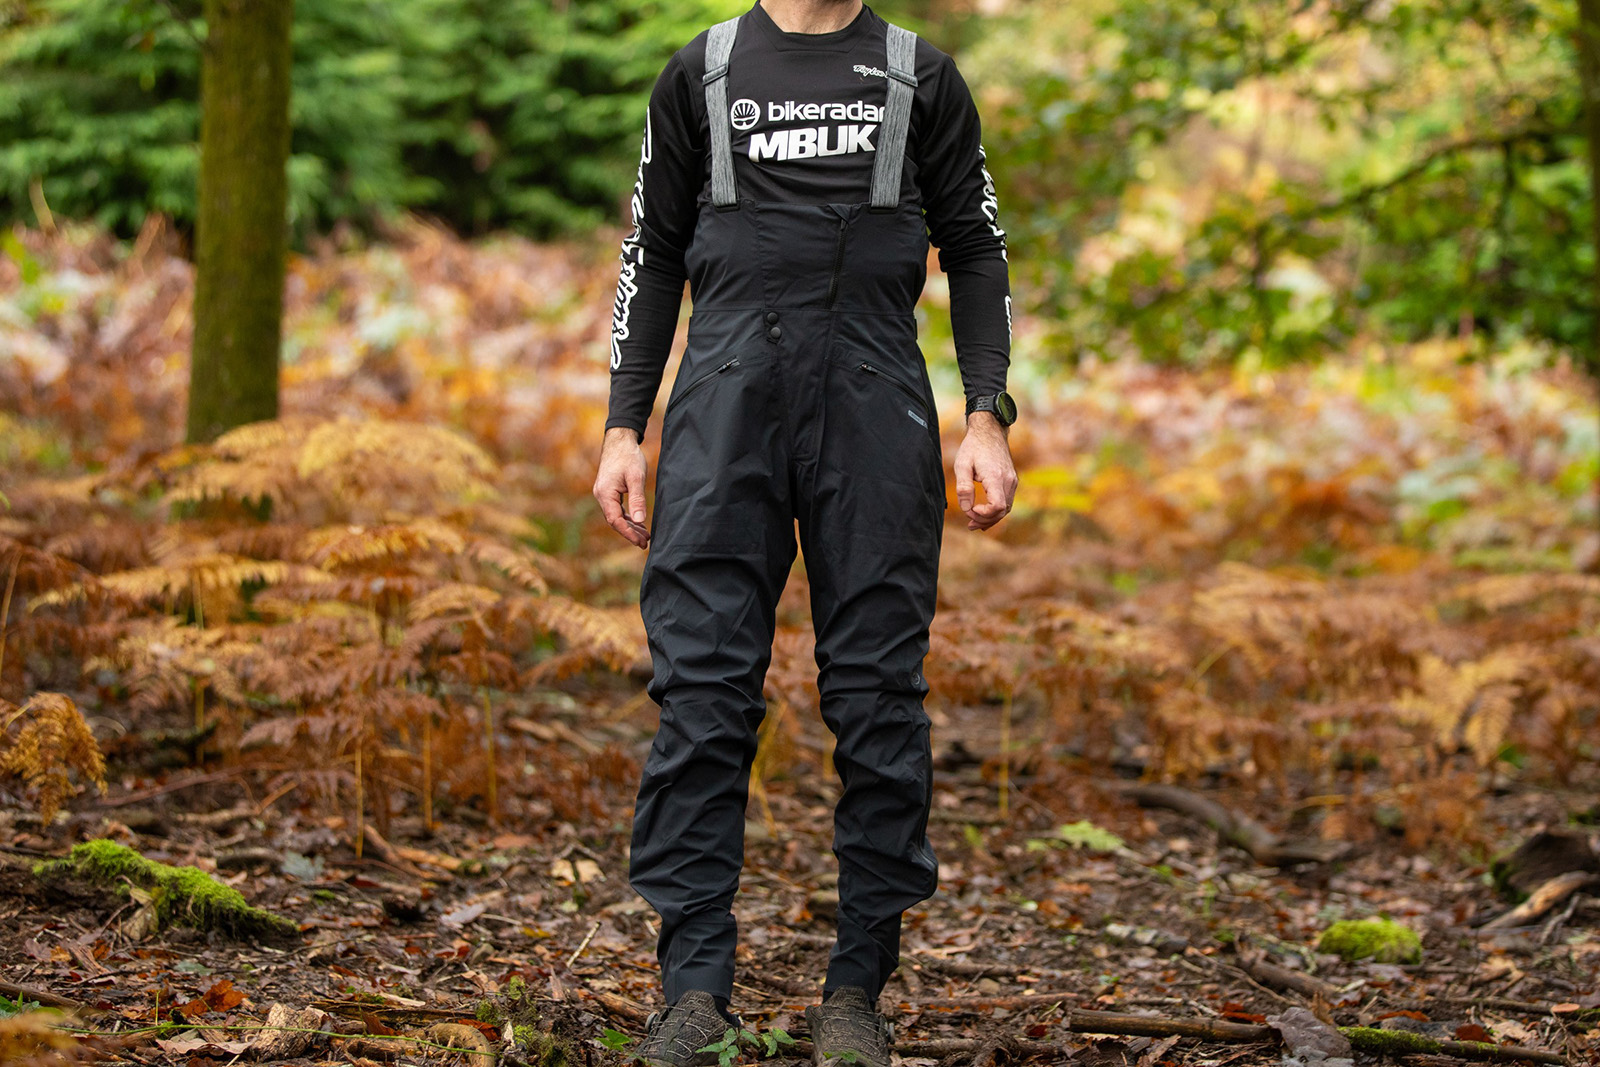
Wader style mountain bike trousers have become very popular of the past couple of years. Scott Windsor / Our Media
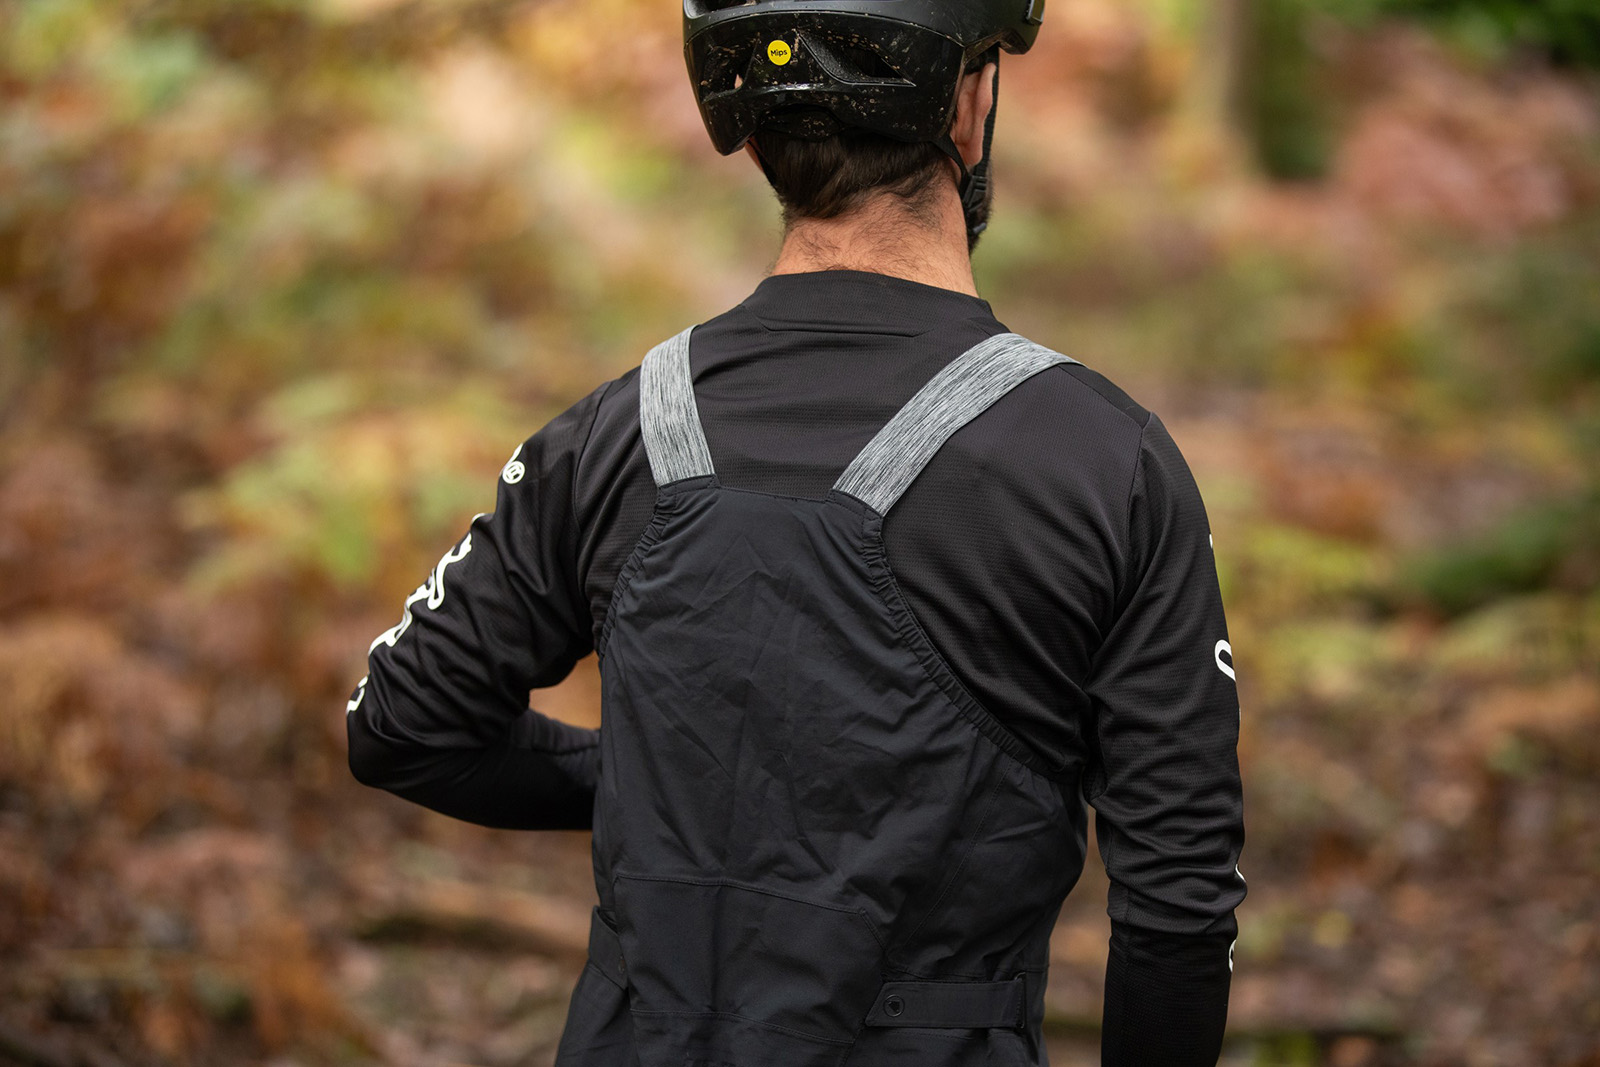
The Waterproof Trousers are made from the same material, and unlike other waterproof pants, have a bib design to prevent them from falling down once covered in mud.
Back wheel spray can make its way through waistlines, making for an unpleasant ride. Scott Windsor / Our Media
This also helps provide additional protection against rear wheel spray, meaning you should be able to shred through puddles problem-free.
Endura says the trousers are knee pad-friendly and offer plenty of adjustment to get the right fit.
This week, we took on the new Watts the Limit route in NYC for the second TTT of Zwift Racing League 2025/26. It was a bit of a wild route due to the crazy ramps in and out of the subway, and I didn’t make things any smoother by accidentally sapping my legs in a heat training session the day before.
But I’m getting ahead of myself. Read on to see how our race unfolded!
Heat Training vs Recovery
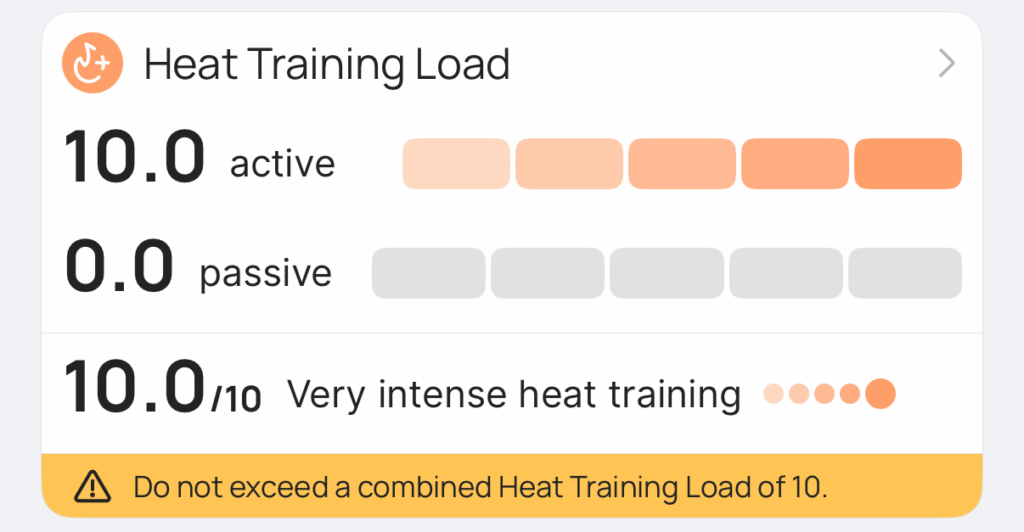
Let’s start this story a day before the race, when I decided to do a heat training use the CORE sensor. You can watch the whole session here, but I’ll summarize it by saying it turned into a harder effort than I’d planned. But by the time I realized I was probably overdoing it, I was nearly done with Off the MAAP stage 1, and didn’t want to pull the plug. Because I’m not DNFer!
My mistake was confirmed when I pulled up the CORE app and saw this in my activity summary:
Still, I didn’t feel particularly tired after the effort. I’d only ridden zone 2 power after all. So I just tried to make sure I rehydrated and got rest heading into ZRL day.
Planning Our Race
Heading into the race, my team (Coalition Delusion) was chatting about all things course and strategy as usual. Since these were fairly new roads in New York, none of us had raced them as a TTT yet. Captain Neil had our pull order worked out, with a bit of help from the Zwift TTT Calculator:
The big question for everyone was the escalators. I had already done some testing to confirm that going up the escalators would prove tricky for teams of varying weights, since the escalators slow heavy riders much more than light riders.
Then Zwift made things even more interesting by releasing a drafting fix the day before the race, which particularly affected the ride experience on steep inclines and declines. How would this change the escalators? There really wasn’t time to try it out. We would learn as we went!
The Race
We took off from the Central Park start pens, and quickly got into formation. Like most TTT squads, our goal is to “line it out” – to hold a 6-rider formation, rotating pulls on the front. It’s absolutely the most efficient way to race a team time trial, and it really is a cool feeling when your whole squad is dialed in and riding as one.
As each rider finished their planned pulls, they would announce on Discord that they were pulling off. Then the next rider would call out how long they’re going, and the on-deck rider would acknowledge that they knew they were there next. We were doing our best to communicate clearly, since we didn’t have a dedicated (non-riding) DS to direct us today.
Calling an Audible
I was supposed to take 60-second pulls, but after my first one (3 minutes into the race) I was already questioning whether that would be possible! It’s not hard to do the math: this would be a ~41-minute race, and the team of 6 would rate through in just under 4 minutes. That meant I had at least 10 pulls to make, and possibly more if we lost a rider or two.
I decided I would need to do some shorter pulls to make sure I didn’t blow up on the back half of the course.
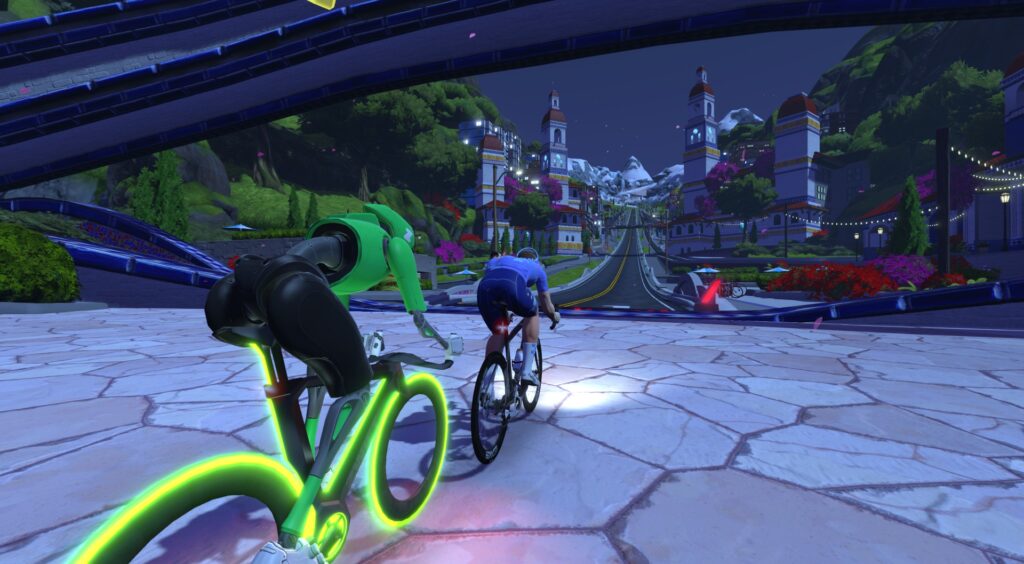
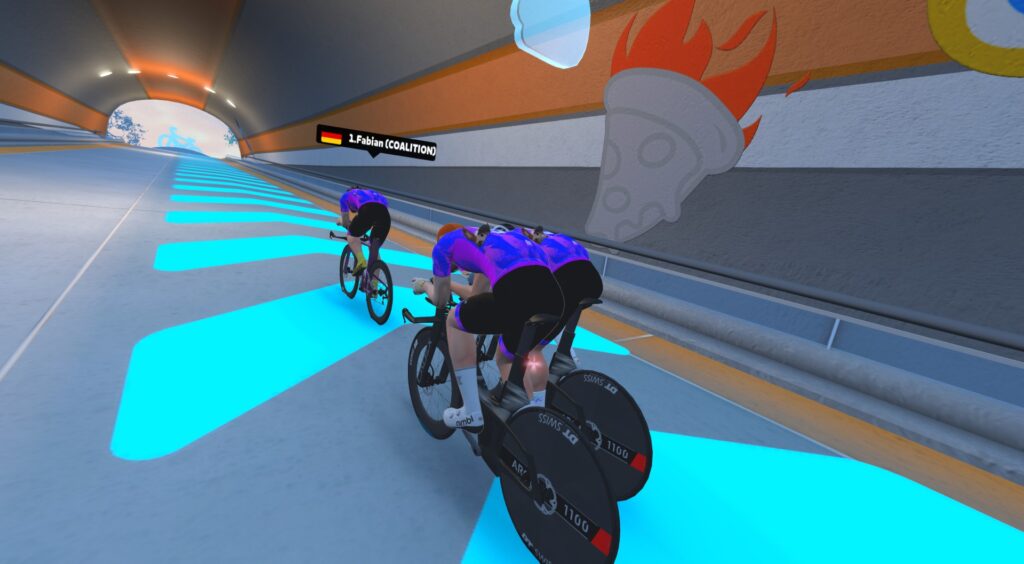
Escalator Madness
We hit our first downramp into the subways as I was dropping back from taking my first pull, and I didn’t time things well at all. First, the team flew past me faster than I’d anticipated, which left me a 3 meters off the back as we hit the ramp. I stopped pedaling at the ramp, figuring I would get sucked back into the team via the new, stronger draft… but instead, they rocketed ahead, and I soon found myself 20-30 meters off the back!
Nobody wants to see this view in a TTT:
My teammates were quite animated in Discord, surprised by the high speeds and churn caused by the downramp. It was pandemonium, but I hammered to get back in the wheels – you have to react quickly in these situations – and we slid back into formation.
A couple of minutes later, we had our first escalator up and out of the subway. We handled this one much better, with everyone lifting their efforts and our team at least staying tightly packed over the top.
Hammer up the escalator, keep the power high to accelerate once it flattens out, then return to formation. That would be our general approach on the next 5 escalators.
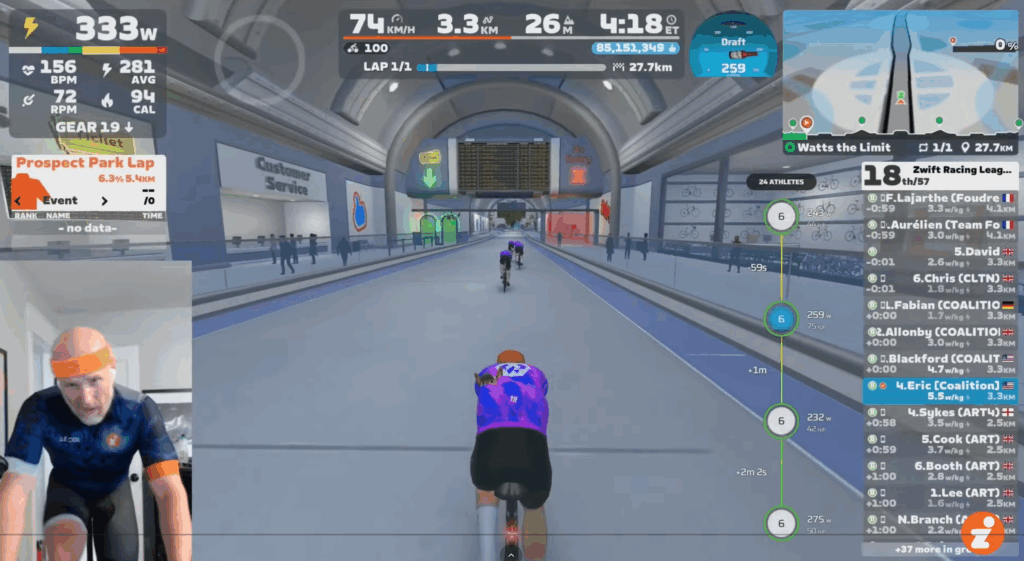
Feeling Weak, Feeling Strong
On my next pull, I only did a 30-second effort. Pushing at what I felt was the typical VO2 max power (~370W) where I take my pulls, the numbers on screen showed 30-40W below my target. Yikes. Clearly, yesterday’s heat session had sapped me.
At the same time, I wasn’t on my limit. This is thanks to being on a B development squad, which means we’re all mid-pack B riders and not a bunch of super-B’s! So I could still contribute to the team in a meaningful way, despite not being on top form. The race began to feel like a tug-of-war between me struggling to pull at my target power, and me feeling strong and perfectly capable in the draft.
At the 9:15 mark, I noticed a gap forming between the two front riders and the four of us behind. (This sort of thing happens to some extent in pretty much every TTT race, and it’s usually triggered by a rider who is dropping back after taking their pull. If that rider drops back too slowly, and someone ends up getting stuck behind that rider, a gap will quickly open up.)
I saw such a gap forming, so I announced I was heading forward to full the gap, and for Robert, the rider whose wheel I would normally sit on in our formation, to let me know when he wanted to come around me to get back into formation. It worked just as planned: the gap was closed quickly, with just a bit of extra work on my part. Let’s roll!
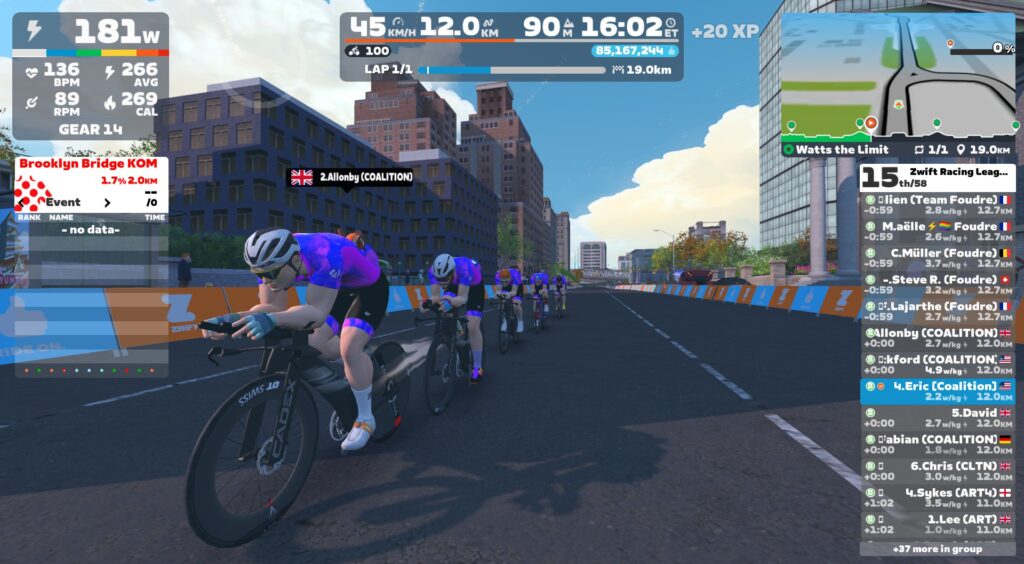
Logging the Miles
The course continued to unfold before us, and we worked together to keep speeds high and ride efficiently. This was far from a flat, steady route! Instead, it was rather polarized, thanks to the six escalators, six steep downramps, and two crossings of the Manhattan Bridge. In between these dramatic sections the course was quite flat, so we were repeatedly transitioning from easy flat roads to major pitch changes and back.
But we were moving well, and Sauce showed us a few seconds up on the teams visible to us: two ahead and one behind – as we made the turnaround at Grand Army Plaza.
No HR
At 16.1km, I noticed my heart rate wasn’t showing in the HUD anymore. Crap. I tried pushing the button to turn it on again, but that didn’t work. It never does, with the Schosche monitor. When it’s dead, it’s dead! Should have charged it beforehand. I just hoped I’d been showing HR long enough that WTRL wouldn’t DQ my effort for the event.
Chris Skips
At 19.1km, Chris said he would need to skip a pull. As a C-cat rider who had been sick in the day leading up to the race, we wouldn’t begrudge him sitting in the wheels for a while! So he slid to the back of the formation, becoming the “bookend” of the group as we started the return climb to the Manhattan Bridge sprint arch.
Back to 1-Minute Pulls
With 8.7km left in the race, I rotated to the front and called out a 1-minute pull. The race wasn’t easy by any measure, but I also felt like I had the legs to do a few hard 60-second efforts before it ended, and the team could use the extra break with Chris unable to pull for now.
(I should mention Fabian here, our strongest rider, who took consistent and strong 1-minute pulls throughout the race. Every team needs a Fabian!)
We hit the downramp into City Hall Station while I was on the front, and while I sort of automatically eased up on the power due to the drop in resistance, the rest of my team slingshotted from my draft and came around me as we hit the flat road at the bottom! We would then have to quickly reorganize into formation while speeds were still high.
This is how the downramps seemed to unfold each time. It may not have been the fastest possible way to attack these ramps, but it was efficient, and we were still putting time into the other teams. The front rider seemingly couldn’t push hard enough to stay ahead on these downramps, as the chasing riders were still putting out power and the newly strengthened draft wanted to slingshot everyone ahead. It was all a bit chaotic, but at least it was fast chaos.
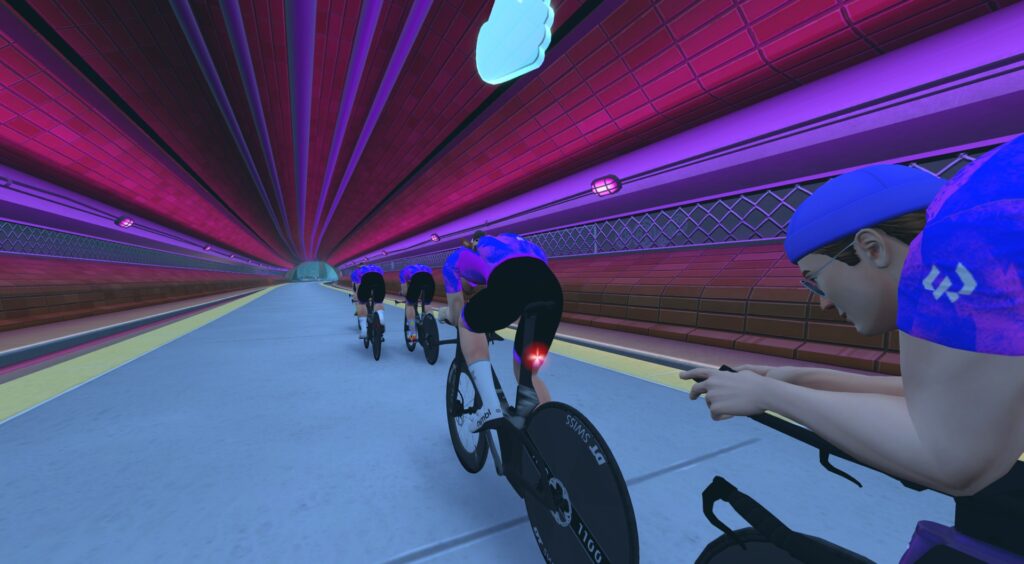
The Finish
We hammered up the final escalator, the longest of the course, and now just 3km were left in the race. The formation was getting a bit jumbled, as often happens near the end of these races.
Chris was still holding on like a boss and volunteered to take a suicide pull to make one last contribution to the team. “Let’s go,” he said with 700 meters left. And he hammered on the front, emptying his tank as we hit the little kicker heading into the finishing sprint.
I hammered up that sprint and tried to keep the power up, as I saw I was the front rider. That always pushes me to give it all, as I know everyone behind is behind helped by my draft!
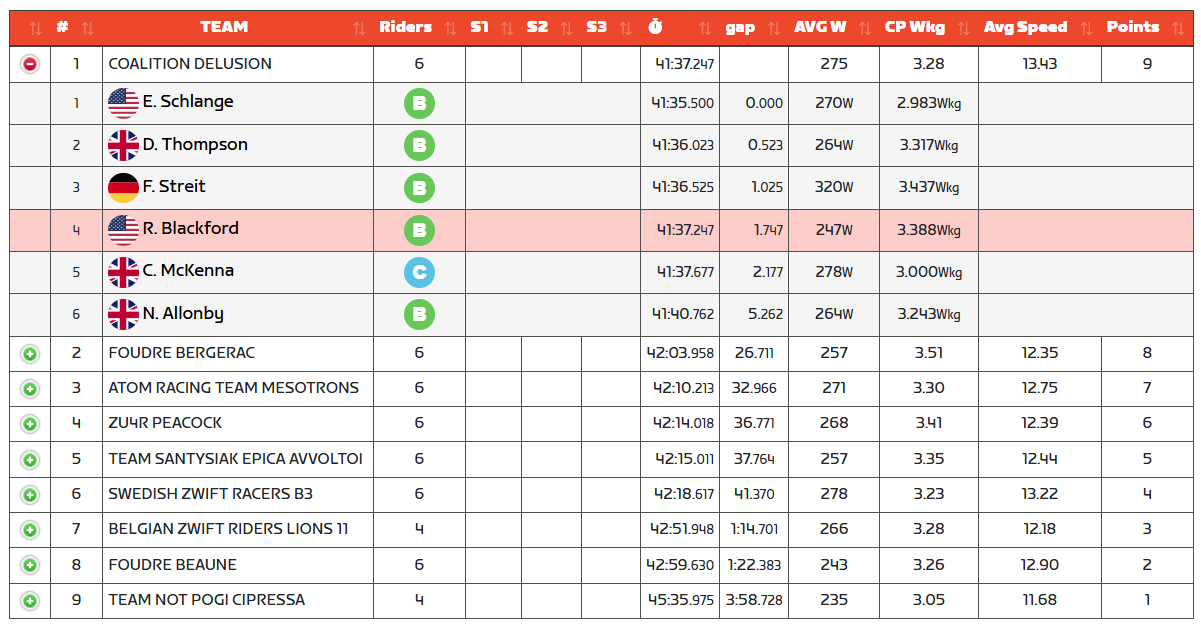
We won by a good margin, beating the next-best team by over 26 seconds:
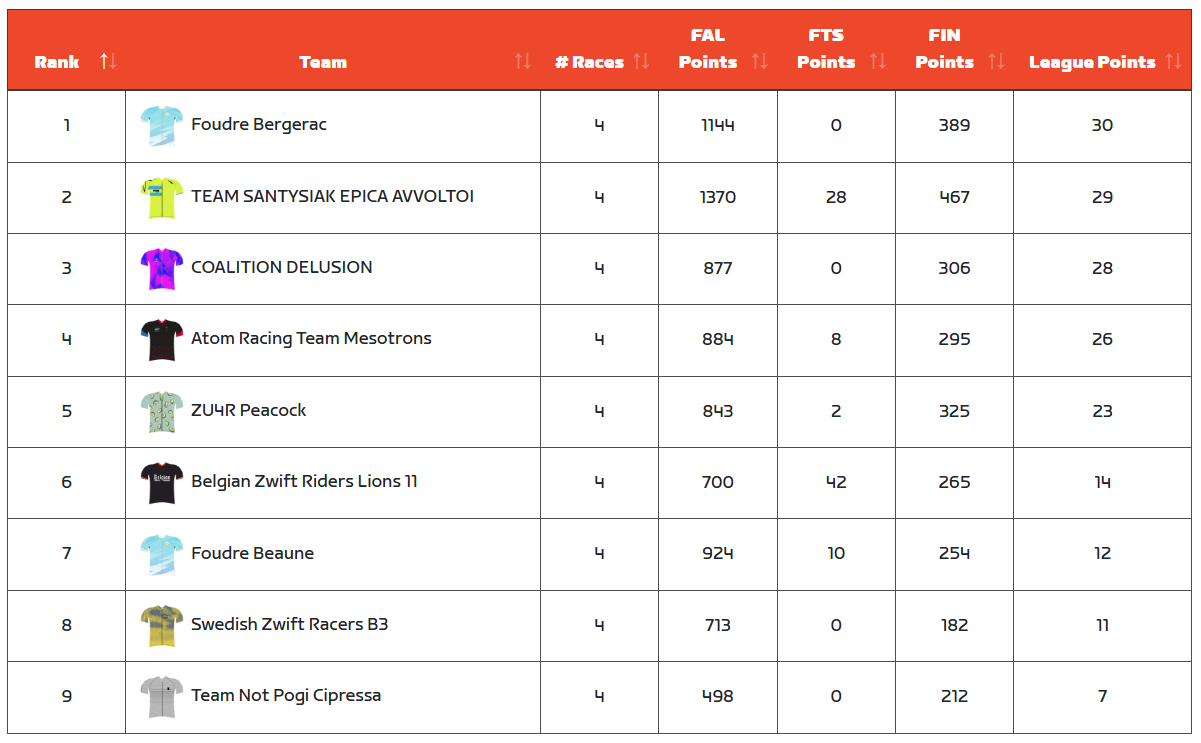
The problem is, we didn’t do well in races 2 and 3, due to their mountainous nature. So we currently sit in 3rd place overall. But the top of the division is competitive!
Clearly, Coalition Delusion does well with the TTT format. Next week’s punchy points race on Glasgow Crit Circuit will be interesting, to say the least. There’s still potential to improve our overall ranking, but given the last two races of Round 2, it won’t be easy.
One takeaway from this week: I definitely won’t be doing a heat training the day before next week’s race.
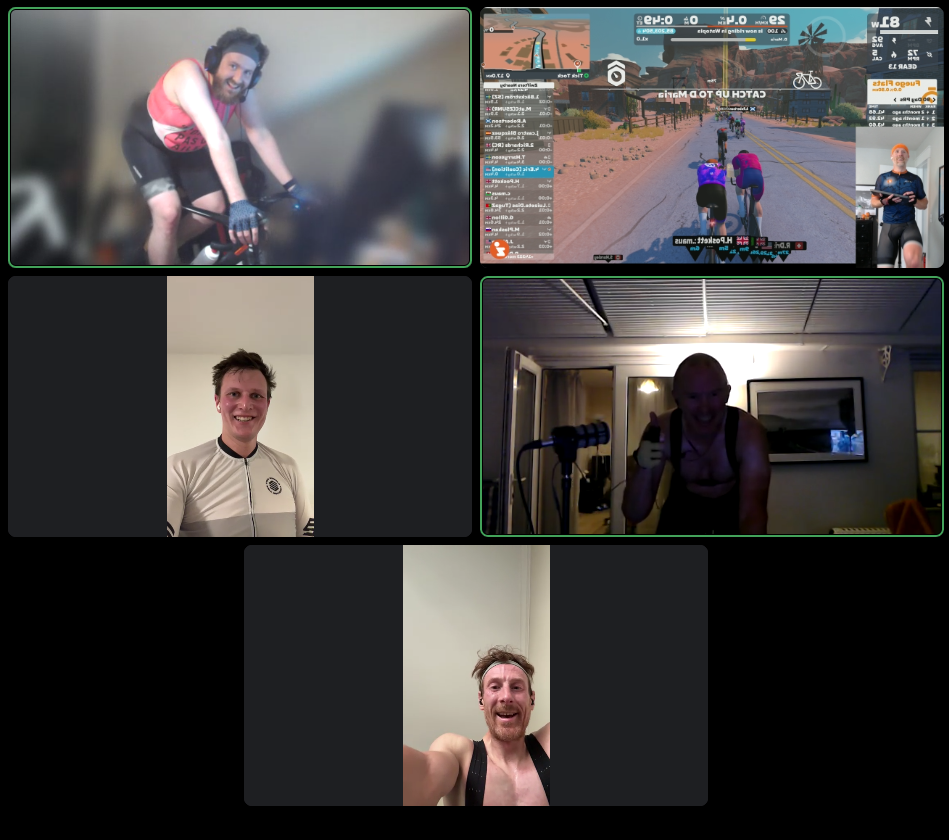
We finished our ride with the customary team shot:
Amy Hudson has been crowned as BikeRadar and Cycling Plus magazine’s 2025 Rider of the Year.
Hudson has enjoyed a remarkable year, riding every stage of the Tour de France – plus transfers – to raise money for Shout, a mental health charity that offers a 24/7, text-based service.
Now her achievement has been recognised at our annual Rider of the Year awards, supported by Lezyne, with Hudson winning the public vote.
The numbers behind Hudson’s ride speak for themselves: 6,554km covered, with 74,863m of elevation, and £76,767 raised for Shout, having started with a £10,000 goal. Her story captured the hearts of the public and the attention of the media, with the BBC reporting on her ride when she arrived in Paris in July.
“You can’t really compute that amount of money,” said Hudson won the public vote from a shortlist of nominees that included Tadej Pogačar. “Hopefully, it’ll help a lot of people. That’s why I did it.”
Hudson started cycling in 2021 after suffering from a breakdown. Hudson’s husband bought her a bike and cycling played a key role in her recovery. She embarked on a series of increasingly ambitious challenges – the North Coast 500, Land’s End to John o’Groats and then the 1,200km Paris-Brest-Paris audax – before being inspired to undertake her 2025 challenge, having watched a documentary about Lachlan Morton’s ‘Alt Tour’.
Cycling Plus Rider of the Year 2025 shortlist
Alex McCormack
Amy Hudson
Imogen Cotter
Molly Weaver
Sarah Ruggins
Tadej Pogačar
Will Pomeroy
Back for a third year and run in conjunction with our sister titles, Cycling Plus and MBUK magazines, Rider of the Year is our annual celebration of the riders who have defined 2025.
The event sees winners crowned in our Rider of the Year and Newcomer of the Year awards, both of which are decided by a public vote, as well as a Lifetime Achievement Award, decided by our expert panel. Winners are crowned for both road cycling and mountain biking.
Archie Atkinson is already a star of British para-cycling – but the sky’s the limit for the 21-year-old from Stockport, our 2025 Newcomer of the Year winner.
Our newcomer category celebrates the sport’s best up-and-coming riders, and Atkinson is no doubt one of those. He burst onto the scene in 2023, winning World Championship gold on the track in the C4 scratch race. Further world titles followed on the boards in 2024 and 2025, while Atkinson also has a Paralympic silver medal to his name.
Atkinson came agonisingly close to winning gold in the C4 individual pursuit at Paris 2024 but crashed going into the final lap of the 4,000m event.
He’s making his name on the road, too, having won World Championship bronze medals in 2023 and 2025, and has his sights set on topping the podium next year.
“I’d like to get a stripey jersey on the road,” he says, with the UCI Para-Cycling World Championships in Huntsville, Alabama, in September front of mind. “I’ve not done that yet. That’s the big goal.”
Remember the name.
Cycling Plus Lifetime Achievement Award – Geraint Thomas
Geraint Thomas needs no introduction. Over the course of an 18-year professional career, the Welshman became a star on the track, winning two team pursuit gold medals at the Beijing 2008 and London 2012 Olympics, before focusing fully on the road.
The rest, of course, is history, and Thomas’ crowning glory came with overall victory at the 2018 Tour de France.
The 39-year-old’s palmares includes many of the most prestigious races in cycling, with wins at Paris-Nice, the Criterium du Dauphine, the Tour of Romandie, the Tour de Suisse and more. In 2010, he was crowned the British road race national champion; in 2018, he added the time trial title to his record.
Thomas also finished second and third overall at the Tour de France, in 2019 and 2022 respectively, and stood on the podium of the Giro d’Italia twice, too (2023, 2024). Now, having retired from the peloton after September’s Tour of Britain, he’ll start a new role as Ineos-Grenadiers director of racing.
“Huge thanks to the Cycling Plus and BikeRadar team. It’s an honour to be recognised. I’ve had a lot of time over the past 18 years, am proud of what I’ve achieved, and am looking forward to what comes next in retirement,” said Thomas.
“The future of women’s mountain biking is bright,” said Louise Ferguson after the downhill pioneer won BikeRadar and MBUK’s Rider of the Year Awards, presented by Lezyne, on Thursday.
Ferguson topped the public vote from a shortlist of mountain bikers that included men’s downhill world champion Jackson Goldstone, Tahnée Seagrave, who won two rounds of the elite women’s downhill World Cup this season, and XC star Evie Richards.
Ferguson made history in July when she became the first woman to complete a full top-to-bottom seeding and then timed race runs on the infamous Red Bull Hardline Wales course.
“Thank you so much for your votes,” said Ferguson. “I’m truly honoured. Thanks to my team – I’ve got such a great group of people around me, who made this year possible.
“To complete Hardline Wales really was a team effort. I’m really excited about where we’re going to go next year – and for the future of mountain biking. It’s also great to see all of the other women who have been nominated.”
Ferguson also extended her thanks to the Red Bull Hardline organisers, as well as Seagrave, who has helped pioneer the participation of women at the event, widely considered to be one of the hardest downhill races in the world.
MBUK Rider of the Year 2025 shortlist
Asa Vermette
Becci Skelton
Bernard Kerr
Ella Conolly
Evie Richards
Isla Short
Jackson Goldstone
Louise Ferguson
Tahnée Seagrave
Tom Isted
Back for a third year and run in conjunction with our sister titles, Cycling Plus and MBUK magazines, Rider of the Year is our annual celebration of the riders who have defined 2025.
The event sees winners crowned in our Rider of the Year and Newcomer of the Year awards, both of which are decided by a public vote, as well as a Lifetime Achievement Award, crowned by our expert panel. Winners are crowned for both road cycling and mountain biking.
13-year-old Daisy Craig is our Newcomer of the Year. Steve Sayers / Our Media
Our newcomer award shines a light on the year’s breakout stars, and the stars of the future – this year, that’s 13-year-old trial rider Daisy Craig.
Craig’s gold medal at this year’s UCI World Youth Games added to an impressive tally that includes eight trials national titles.
“This year has been amazing – winning the World Youth Games was a big achievement for me – but I never expected to be nominated for something like this,” Craig told MBUK. “It’s really special to be recognised by MBUK and to represent the bike trials community, who’ve been so supportive.”
Craig comes from a long line of trial riders and her dad, Billy, appeared in the pages of MBUK in the mid-90s, in a feature about the short-lived discipline of ‘speed trials’. He’s been riding trials (both motorcycle and bike) since the early-80s, when he was six years old, and his dad rode, too. It’s a trials-mad family.
Ten riders made up the 2025 Newcomer of the Year shortlist, including future World Cup star Charlotte Lawton Silva and passionate downhill racer Oscar Shipway.
MBUK Newcomer of the Year shortlist
Alex Storr
Asa Vermette
Charlotte Lawton Silva
Daisy Craig
George Cawdell
Haidn Gaskell-Fury
Katie Allsop
Louise Ferguson
Nathan De Vaux
Oscar Shipway
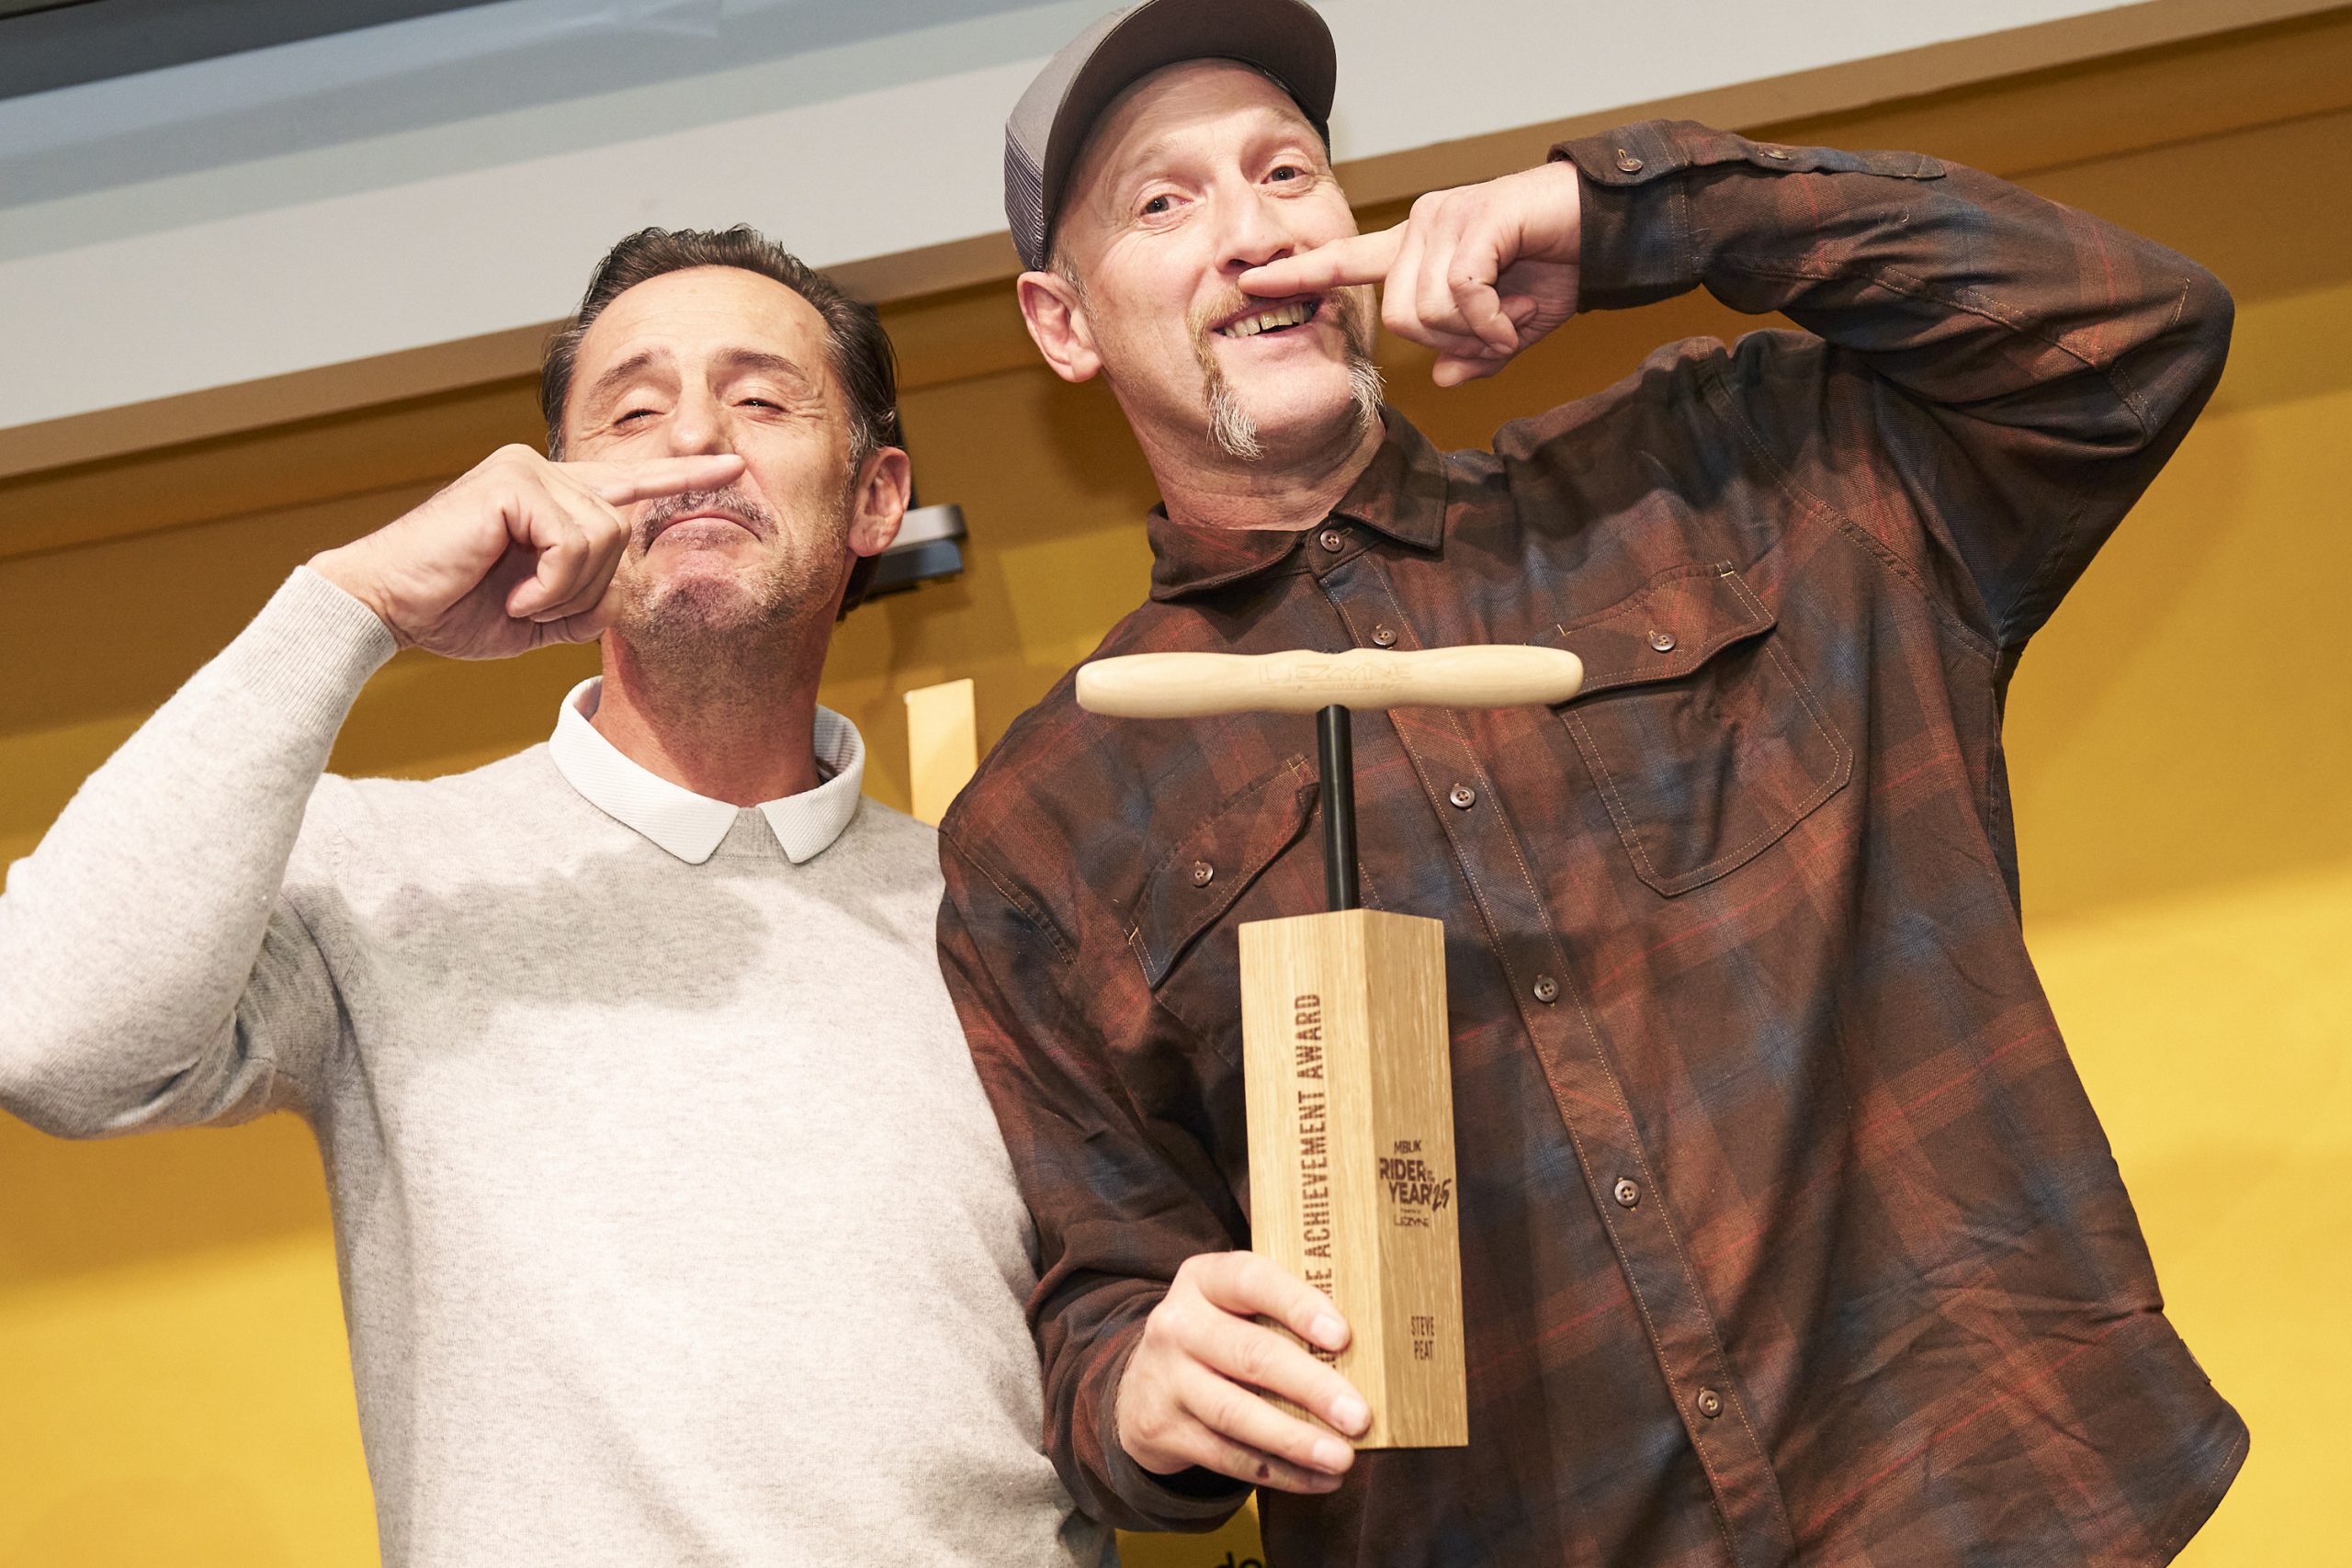
MBUK Lifetime Achievement Award – Steve Peat
Steve Pete is one of the sport’s most loved characters. Steve Sayers / Our Media
Following in the footsteps of 2024 winner Greg Minnaar and The Athertons, who won the inaugural award in 2023, Steve Peat took to the stage this time around to collect the 2025 Lifetime Achievement gong.
‘Peaty’ is a bona fide mountain bike legend: nine-time British national champion, 17-time winner of the UCI Downhill World Cup circuit, a three-time overall World Cup champion and, after earning silver medals in 2000, 2001, 2002 and 2008, the 2009 world champion.
“I’m honoured,” said Peat upon receiving the award. “It’s been a massive journey, and I’ve enjoyed every minute of it. I’m very lucky to have found mountain biking in the early days. “
The 51-year-old continues to be heavily involved in the spot, both as the head coach of the Santa Cruz Syndicate race team, whose riders include 2025 downhill world champion Jackson Goldstone, and as the founder of MTB accessories brand Peaty’s.
Peat earned the nod from our expert panel, which included MBUK editor James Costley-White. The Sheffield-born rider beat off competition on a star-studded shortlist that included Nino Schurter, who retired in September after an XC career that included 36 UCI Cross-Country World Cup wins and ten trips to the top step of the World Championship podium.
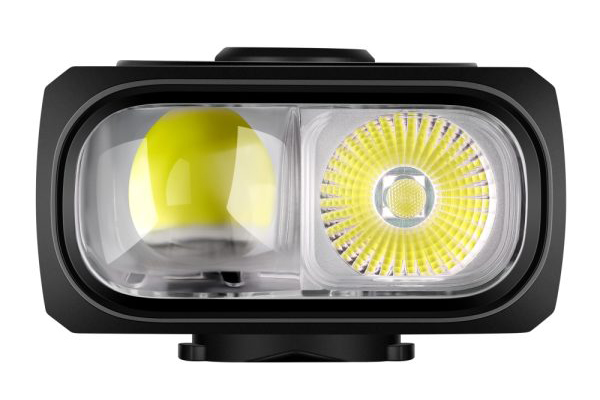
A reliable, high-power headlight is an absolute essential if you cycle through winter. Magicshine makes some of the best value lights on the market, scoring consistently highly across all categories.
The Hori 1300 is a compact light designed for road cycling packed with useful features for darker months – and better still, it’s on sale this Black Friday with up to 25 per cent off.
The light can be mounted above or below the bars. Magicshine
The Hori 1300S uses Magicshine’s Duo Optics System, pairing a low beam with a sharp cut-off for glare-free commuting with a high beam that reaches over 200 metres for unlit road riding.
Offering a significant power increase over the Hori 900, its low-profile design means it can be mounted above or below your handlebars thanks to the dual-position mount.
A smart sleep mode automatically powers the light down after five minutes of inactivity and wakes it with a tap when you set off again.
Magicshine’s wireless LightSync remote is supported for easy, hands-on-the-bars mode changes, while the app allows basic configuration and battery checks.
With up to 1300 lumens and a claimed 9.5-hour runtime, the Hori 1300S is a tidy, versatile upgrade for winter riding – and well-timed for Black Friday.
Winter is a great time to put in long miles to build endurance and aerobic performance! We’ve chosen several long rides this weekend, with a mix of banded rides, races, and a “fun race” fondo!
zFondo Series on Gran Fondo
Bonus XP Popular Endurance Challenge Jersey Unlock
This is the third weekend of Zwift’s popular monthly Fondo Series, and its the longest so far this season, on Watopia’s Gran Fondo (97.8km, 1196m). Join others for a big day out!
Charityride Gipfel fur German x Fahrrad DENFELD Radsport
Popular PRL Full Banded Ride
What’s that? You still don’t have your PRL Full badge?! Well… this is the easiest possible way to get it. A banded ride on London’s PRL Full, the longest route in Zwift (173.km, 2625m)! (Since it’s banded, you’ll stay with the group as long as you keep pedaling. Push the pace on the front, or hang with the chillers in the back. It’s up to you.)
This is a charity ride for a man named German – read his story.
VirtuSlo’s popular 4Endurance League is on stage 4 this weekend with a race on Makuri Islands’ Shisa Shakedown (53.5km, 555m). While many riders are racing every stage to complete for the GC, you can race individual stages as a one-off if you’d like.
Beth’s Badge Hunt is a series of monthly rides taking on big Zwift routes. Led by Wobble Cycling Club’s Beth Phillips, these are banded rides, so everyone can ride at whatever effort level they’d like.
This weekend’s ride is on New York’s new Fuhgeddaboudit, the longest NYC course available (79km, 838m).
Zwift’s Epic Race series tackles challenging race routes each week, and this weekend’s races are on two laps of New York’s Double Parked for a total race length of 84.4km with 659m of climbing.
These races are categorized using Zwift Racing Score, but all racers begin together, so you can try to hold onto stronger riders as long as possible. Good luck!
We choose each weekend’s Notable Events based on a variety of factors including:
Is the event unique/innovative in some way?
Are celebrities (pro riders, etc) attending/leading?
Are signup counts already high, meaning the event is extra-popular?
Does the ride include desirable unlocks or prizes?
Does the event appeal to ladies on Zwift? (We like to support this under-represented group!)
Is it for a good cause?
Is it just plain crazy (extra long races, world record attempts, etc)?
Is it a long-running, popular weekly event with a dedicated leader who deserves a shout out?
In the end, we want to call attention to events that are extra-special and therefore extra-appealing to Zwifters. If you think your event qualifies, comment below with a link/details and we may just include it in an upcoming post!
If you’re like me and have found yourself on the mailing lists of various retailers and manufacturers in the cycling world, you’ve already been inundated with “early Black Friday” emails for weeks. And while some of those deals are in fact good buys, it’s all starting to feel a bit contrived, isn’t it?
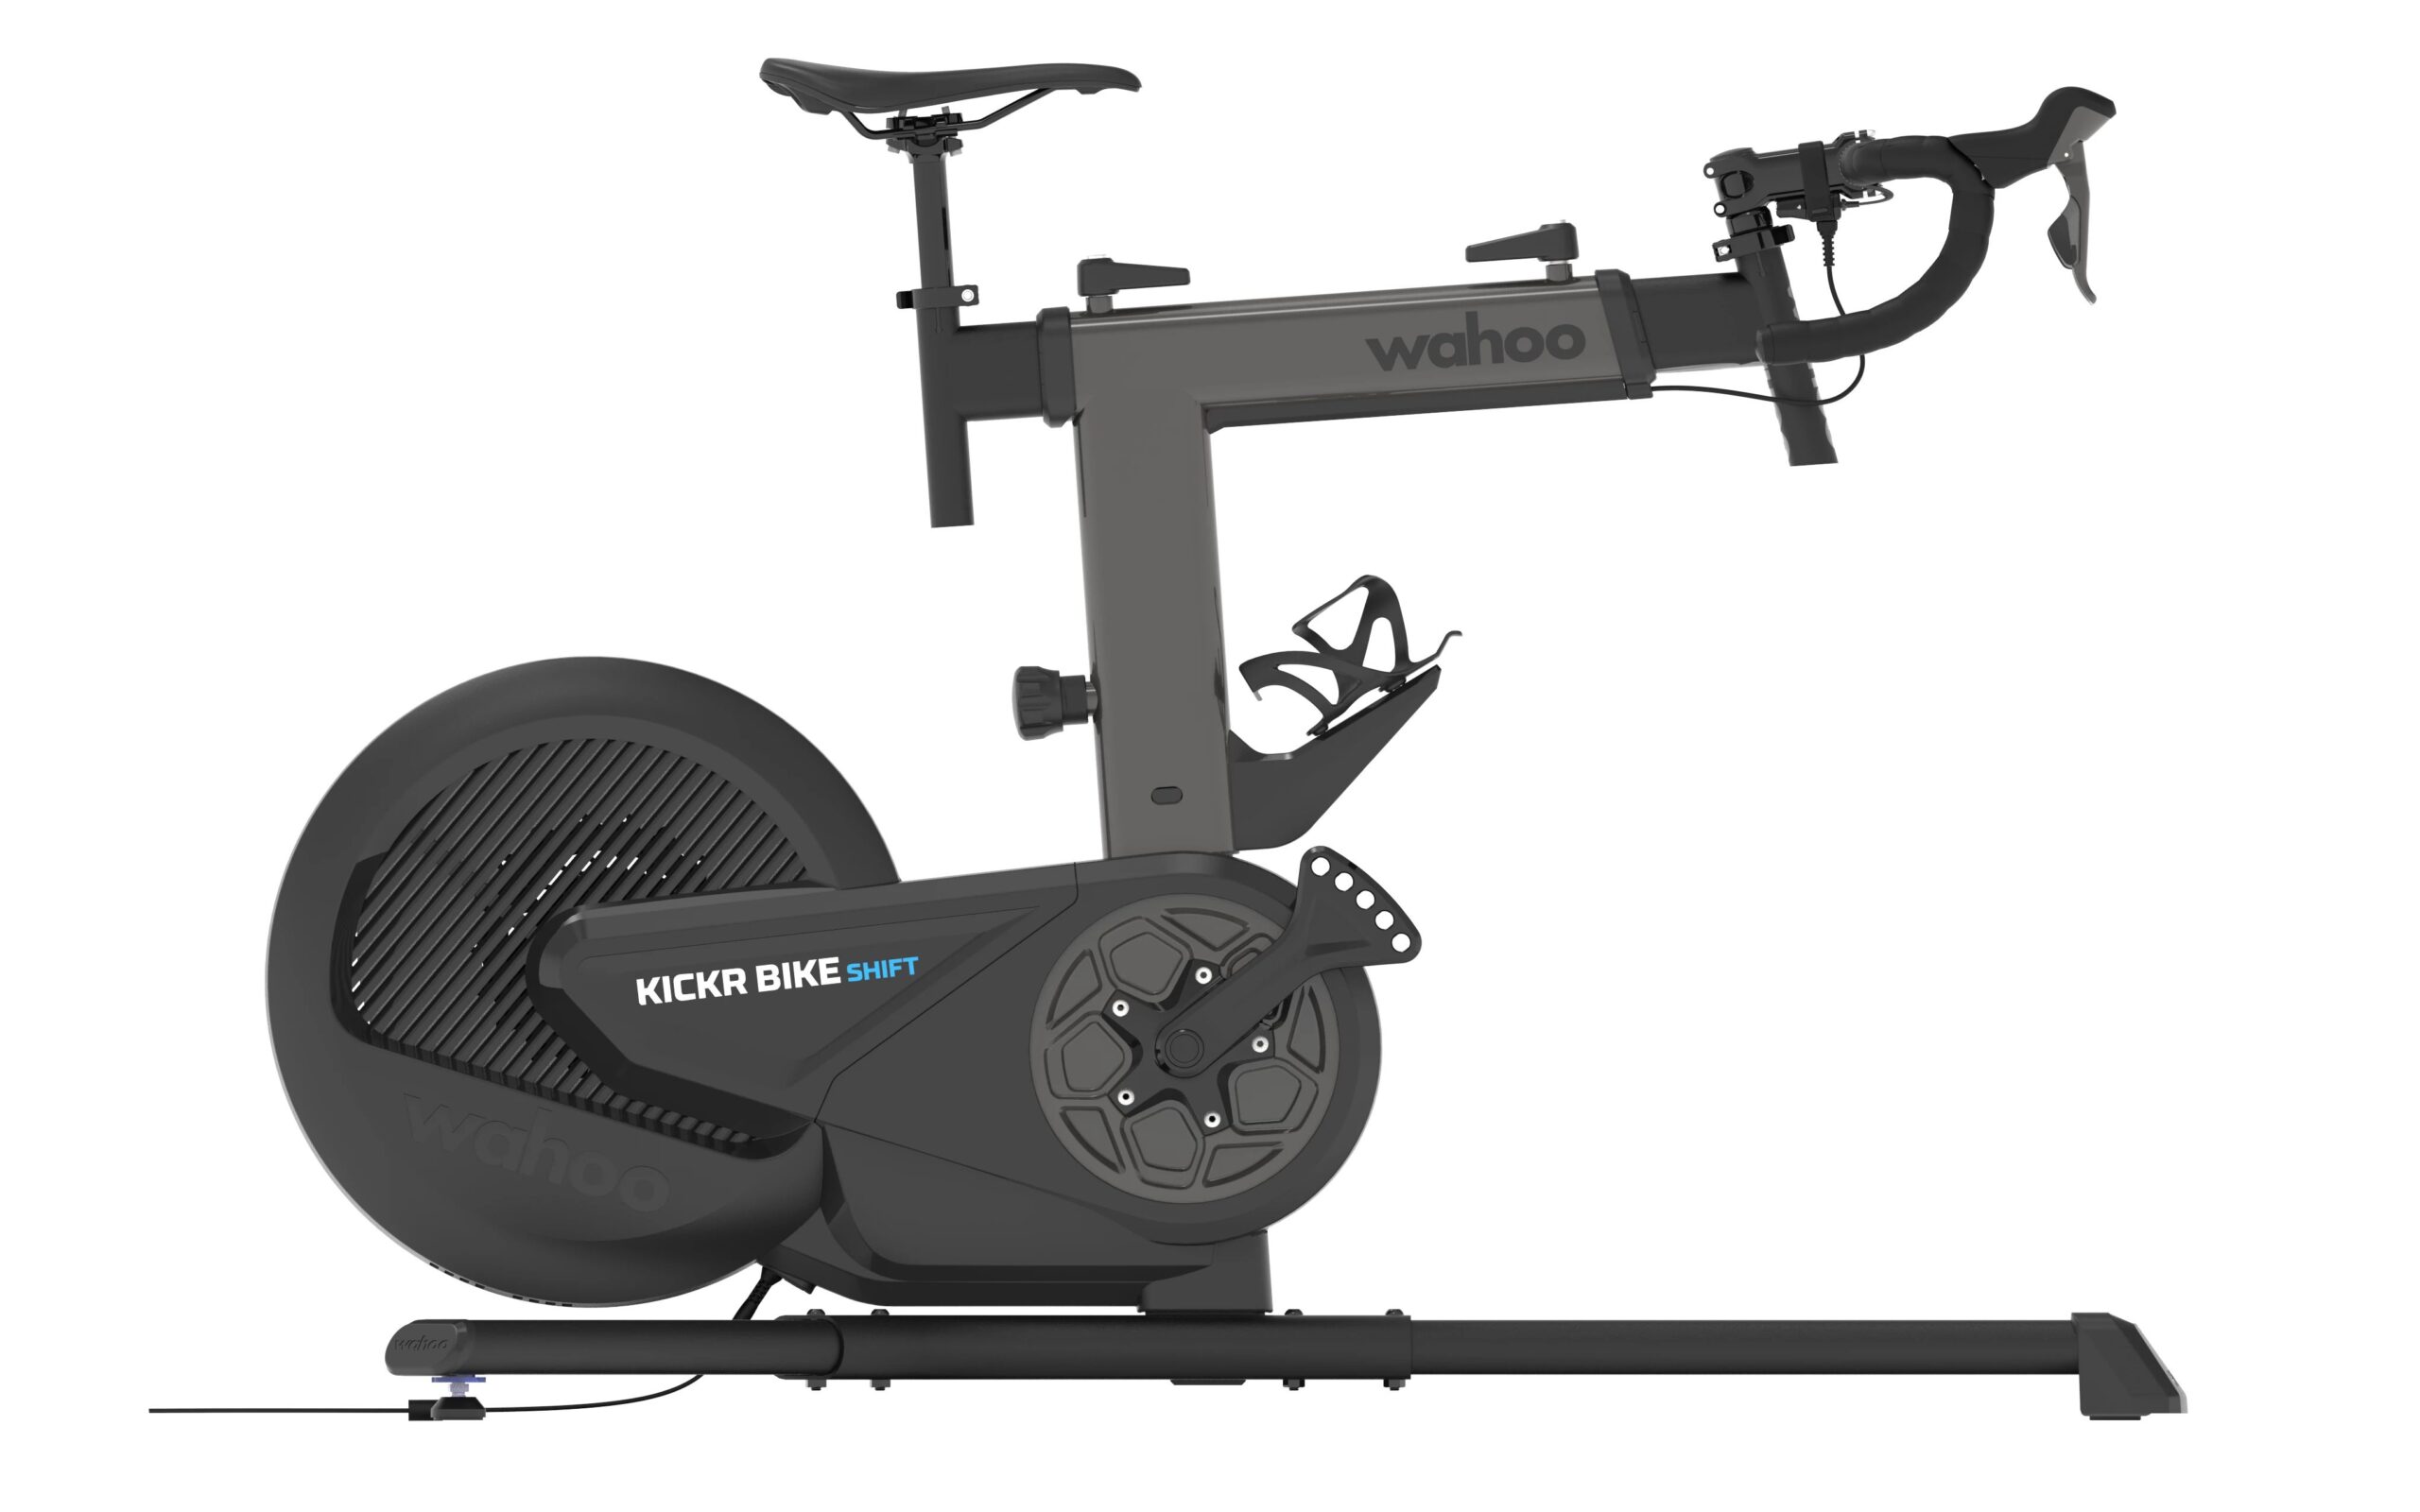
Instead of sharing each and every discount that comes across my desk, what I’m sharing below is a short list of big trainer deals from Zwift and Wahoo. If you’re in the market for a new Zwift setup, I doubt you’ll find a better price in the next year than what you see below.
Note: if you aren’t seeing the sale prices in your locality yet, just wait. They’re supposed to go live on Friday, November 28 at 12:01am local time, and run through 11:59pm Monday December 1st local time.
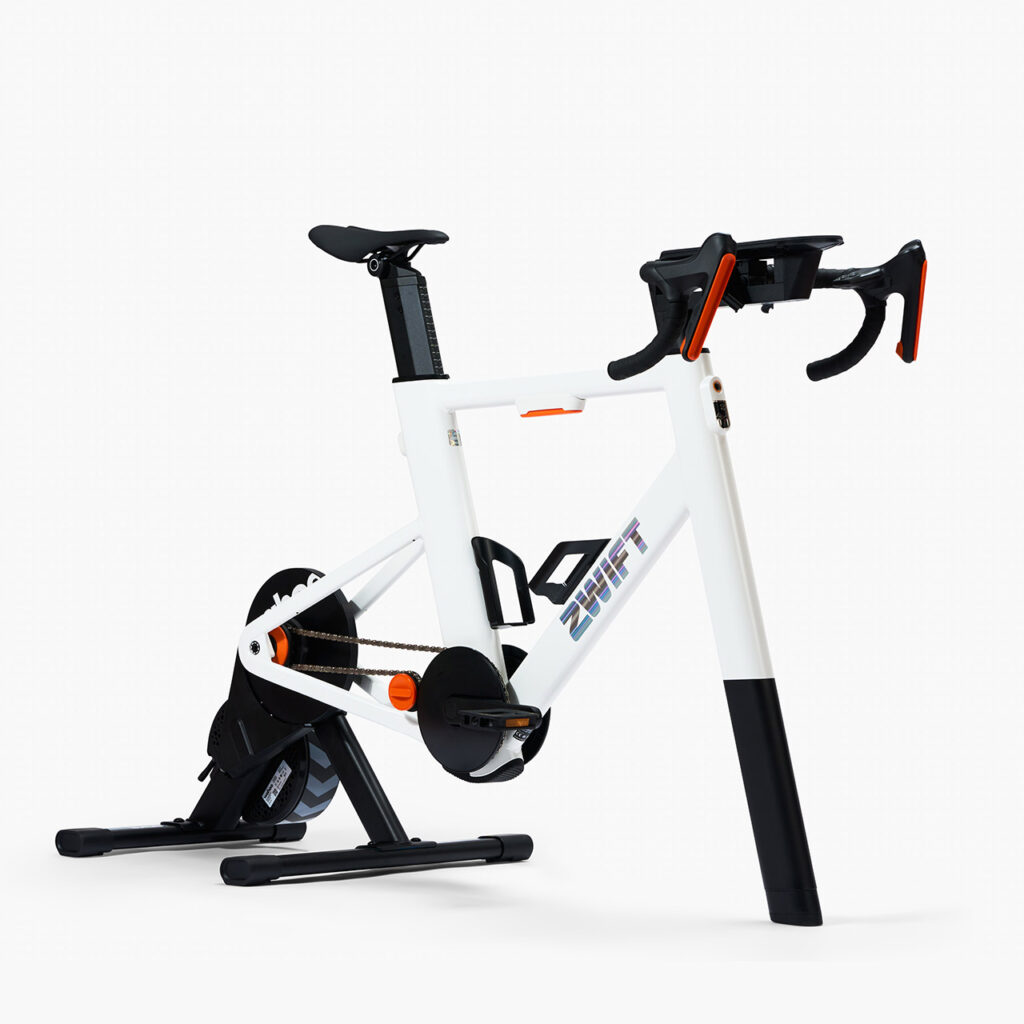
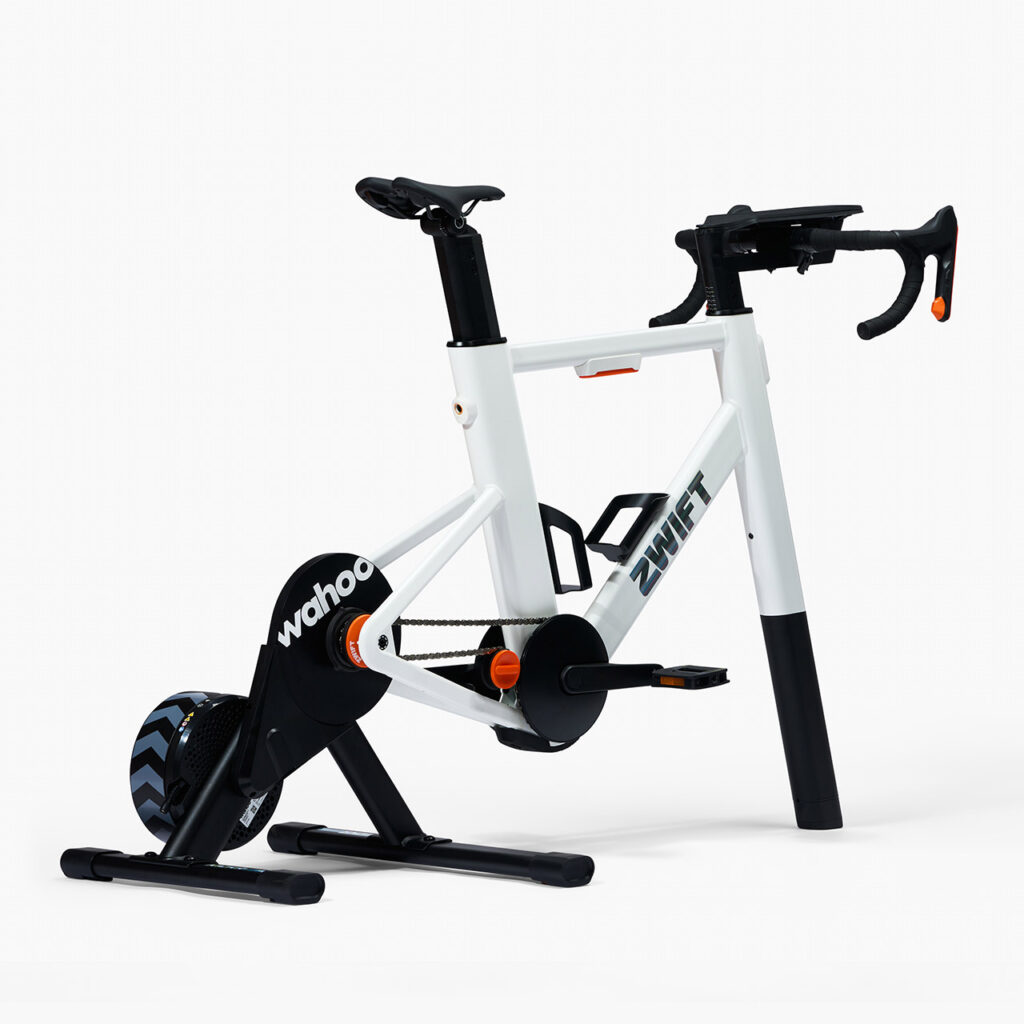
Zwift Ride with KICKR CORE 2: $999 (Regularly $1,299)
Price includes 2 free months of Zwift ($40 value) for new subscribers only.
Price includes 2 free months of Zwift ($40 value) for new subscribers only, and you can purchase the trainer with either the Zwift Cog or a standard cassette.
If you’re looking to get ahead on your fitness next year but dread going out in the winter weather, then indoor training is the best way to keep your fitness journey on track.
With Black Friday well and truly on us, Zwift has shared savings on smart trainers and more to help you upgrade your setup for the winter months.
Unlike other items in Black Friday sales, this deal comes at a good time for those actually looking to buy a smart trainer with plenty of winter left to train through.
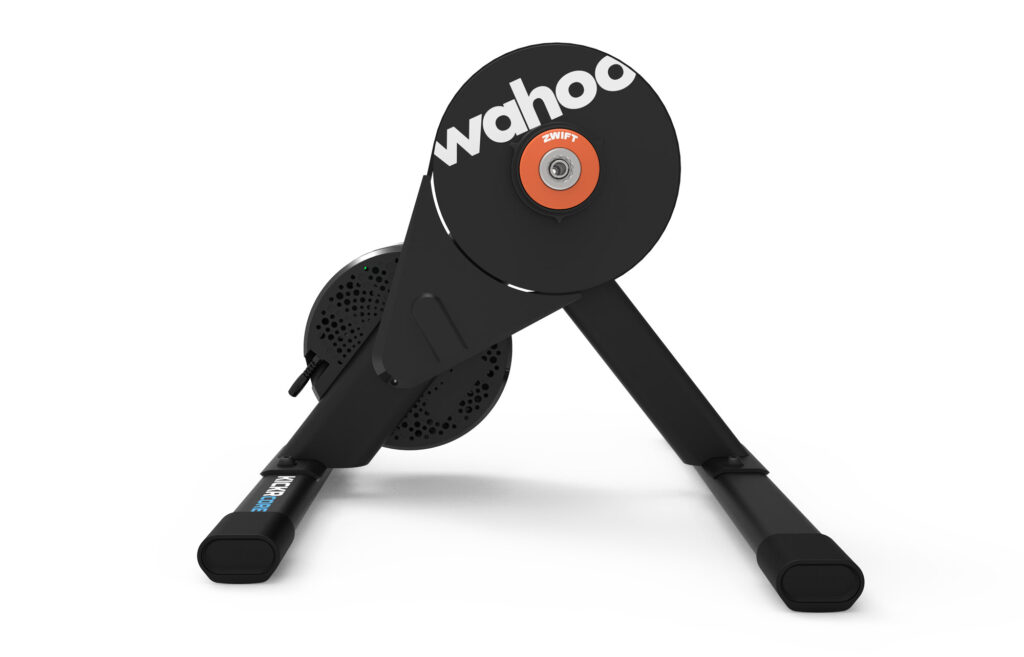
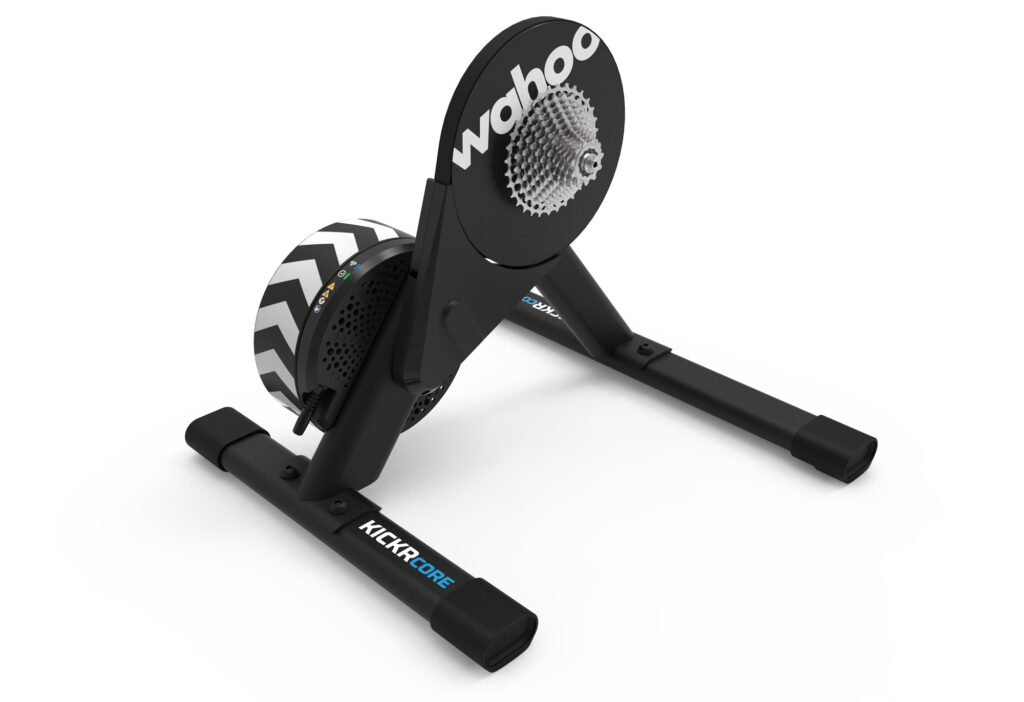
We are big fans of the KICKR CORE 2 smart trainer. Simon von Bromley / Our Media
The original KICKR CORE became an icon during the smart trainer revolution, offering excellent ride feel, data accuracy and quality construction at an affordable price.
This second-generation model, released earlier this year, carries on the legacy but brings it thoroughly up to date with added connectivity features and increased accuracy.
Our indoor cycling guru, Simon Von Bromley, gave the KICKR CORE 2 a solid 4.5 stars in his review last month, with one of his few niggles being the small price increase.
Thankfully, with the savings from Zwift’s Black Friday sale, you can buy the trainer for the same price as the original.
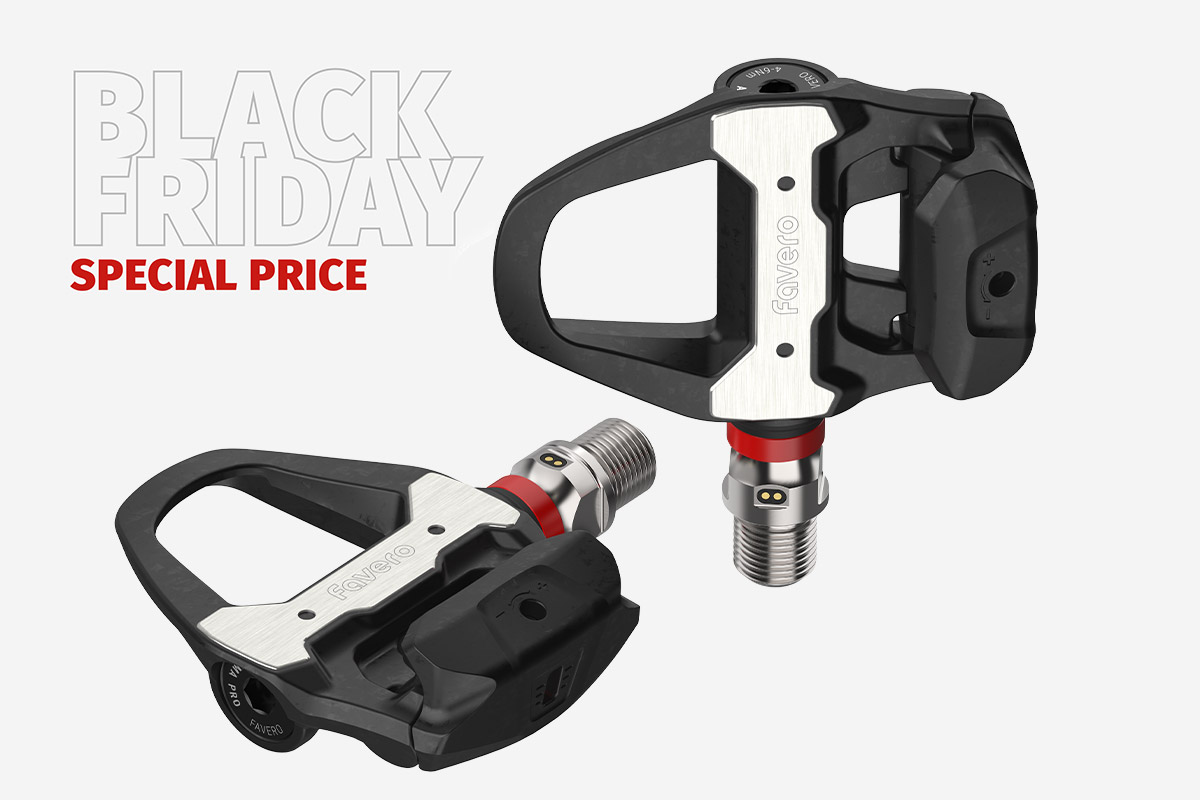
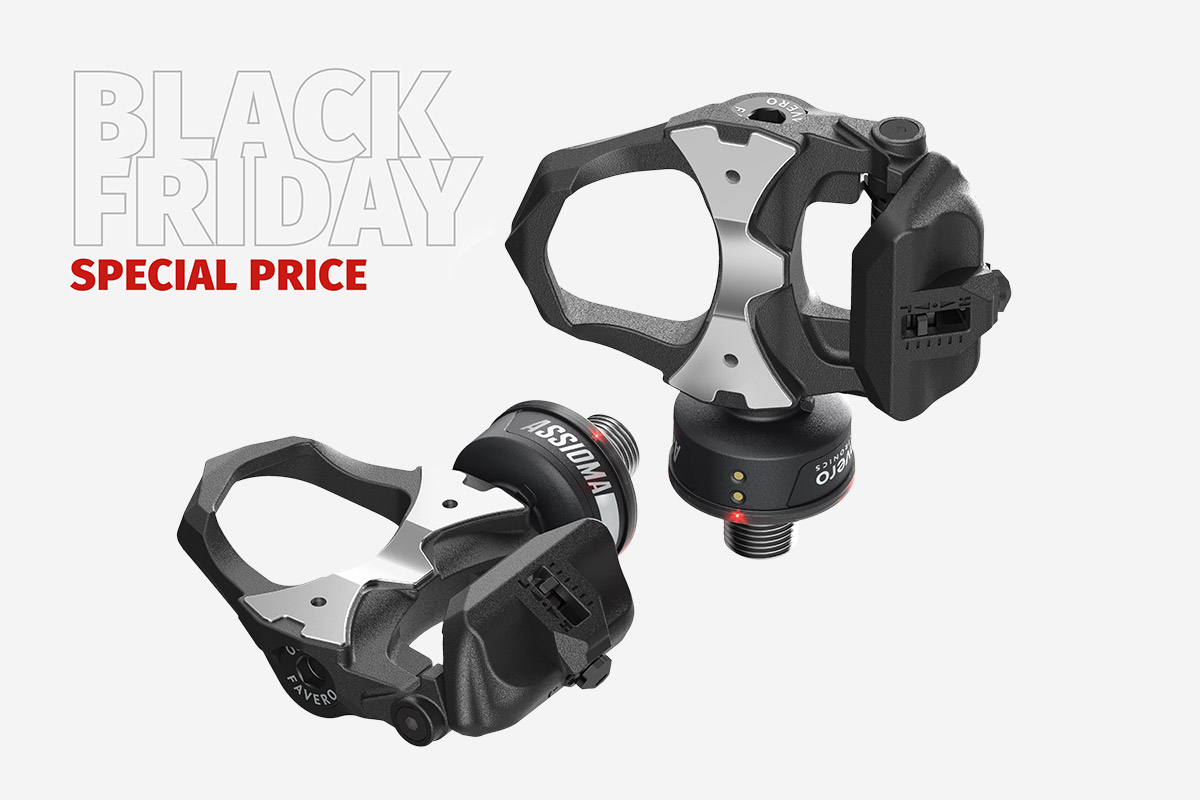
Favero has become a big-name player in pedal-based power meters, and the Italian brand is having a Black Friday sale on all of its product lines, including the Assioma PRO RS, Assioma PRO MX and Assioma – with free shipping to boot.
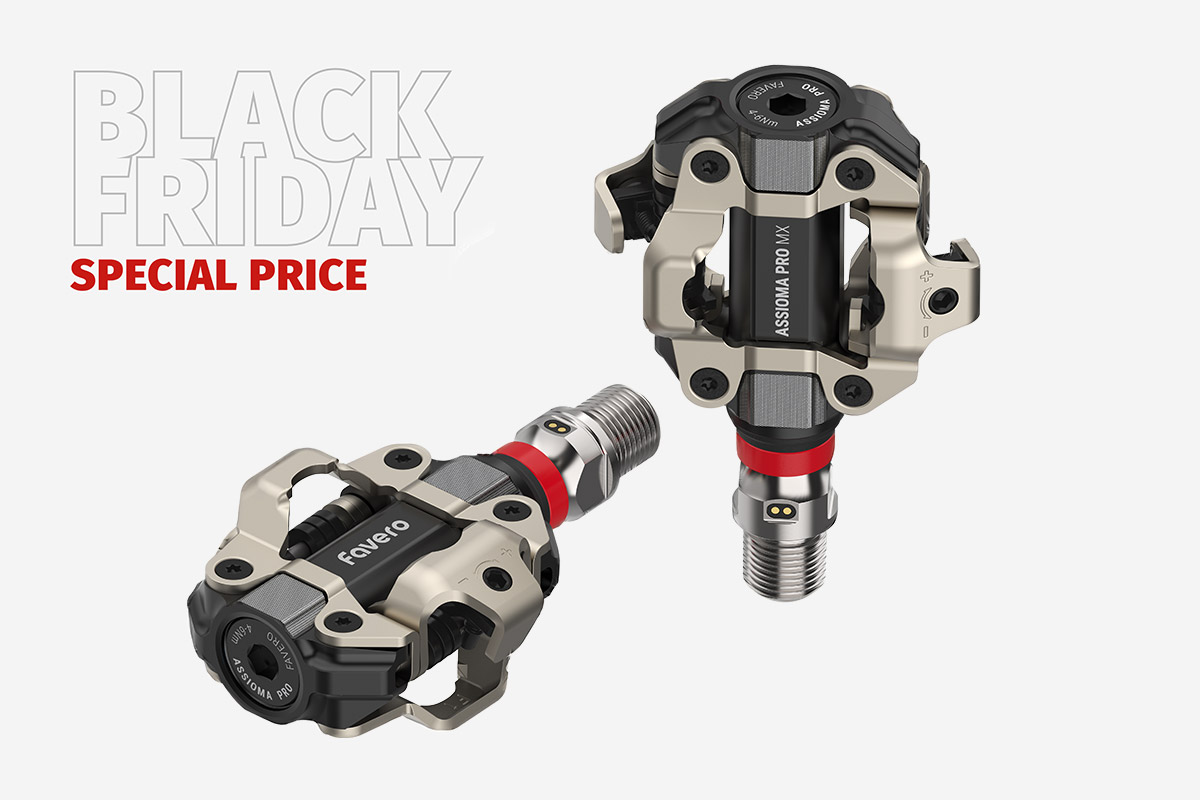
The Assioma Pro MX are one of the few mountain pedal-based power meters. Favero
Using the same power meter-equipped axle as the Assioma PRO RS, the Assioma PRO MX uses an SPD® cleat system that will be familiar to mountain bikers and gravel riders.
The pedal body is made from 6061-T6 aluminium to withstand abuse on the trail.


 zFondo Series on Gran Fondo
 Bonus XP
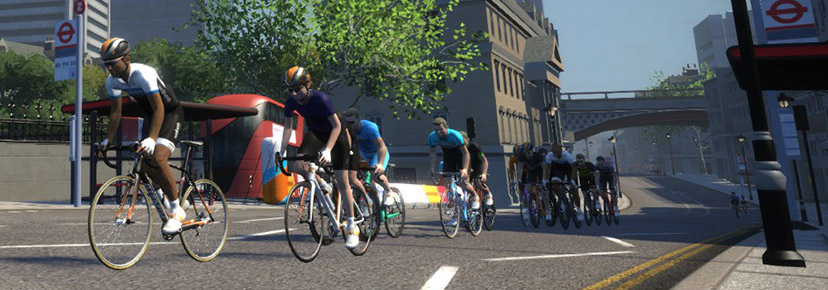
 VirtuSlo 4Endurance League 2025