How the Race Was Lost (and Won): ZRL TTT on Southern Coast Cruise

This week. the first round of Zwift Racing League 2025/26 kicked off with a team time trial on Watopia’s new Southern Coast Cruise route. I knew the rolling roads would present a challenge, and I was also riding with a new squad. Read on to learn how our race unfolded!

On Joining a New Team

Before getting into the story of the race, I want to unpack my experience moving to a new team for this season of ZRL, as there are useful takeaways here for both Zwift HQ and the Zwift community.

I’ve ridden with DIRT since the beginning of ZRL back in October 2020, and this season I was just looking for something… different. Nothing against DIRT, of course. They’re a huge team full of great people who will always have the best acronym-based team name (Dads Inside Riding Trainers). I was just looking to ride with a fresh bunch of folks and experience how other teams work.

Finding a Team

So I put my name out there on the WTRL Zwift Racing League Facebook page, and lots of teams reached out. (Apparently, mid-cat B riders who can’t climb are in high demand these days!) I ended up going with The Coalition because I already knew lots of folks on the team, I like their ethos of fair racing, and they seem very well-organized.

As instructed by their helpful website, I joined the Coalition Discord server and started working through the steps to fully join the team. Honestly, it was a bit overwhelming. There are several things that need to happen in order to get the team kit, join a ZRL team, and actually get to race. But their website and team leaders were very helpful and on the ball, and soon enough I’d submitted my weigh-in and height verification videos, been assigned to a ZRL team, and unlocked the kit.

Development Division

My new ZRL team is Coalition Delusion, and we’re racing in the Lime B1 Open Development league. The “development” divisions are a new feature introduced this round with a lower zFTP cap enforced within each category (e.g., B category zFTP max = 3.79 W/kg). According to WTRL “This ensures a fairer and more supportive racing environment for improving athletes.” But in practice, I think it really means low and mid-cat B riders have a place in ZRL where they can enjoy team racing again, instead of going into the meatgrinder that is B1! (I’ve talked about this at length before, so I’ll spare you the details.)

This Could Be Better

Props to Coalition for running a tight yet welcoming ship. But let’s be clear: Coalition, and all other Zwift teams, are forced to do the work because there’s no other alternative. And that’s just silly, given that Zwift is almost 11 years old, and we’re in our 16th ZRL round.

Zwift should have built teams into the platform from day one, making it easy to connect with others and enabling native team functionality in races. It would have removed barriers to entry and made team organizing and racing even cooler. (And it still would.)

And after 15 rounds of racing, there should be an easy way to find a ZRL team that doesn’t involve posting a message on a Facebook group. That just doesn’t scale when you’re dealing with thousands of riders, and it’s not a user-friendly experience for new riders.

With that vent finished, let’s get on with the race.

Planning + Warmup

While I’ll occasionally skimp on completing a full warmup before a one-off scratch race, I’m always careful to warm up thoroughly before important races like ZRL.

I was already one dirty chai and a few pieces of Neuro caffeine gum into my day by the time I got on the bike at 9:30am, so I was nicely caffeinated. I’d also applied some PR Lotion to my legs (don’t knock it ’til you’ve tried it), then I rode a 30-minute warmup, keeping the effort mostly zone 2, with a few spinups to get my heart rate up in zone 4.

As often happens in TTTs, a teammate had to drop out at the last minute, which meant we scrambled to find a sub. We finally found Adrian, captain of another Coalition team, who was kind (and crazy) enough to join us even though he’d be racing with another team earlier that day.

Teammate Chris M wasn’t able to race, so he volunteered to DS for this TTT. It’s always nice having a DS on Discord who isn’t riding in the race, as they can calmly direct the team, leaving the riders to focus on their efforts.

While warming up, I looked at our team’s final “pull sheet.” This document, put together by our Captain Neil, listed the order we would take our pulls, plus our target pull length and wattage. I noted I was the last rider in the list, so I added a “6” at the start of my name in game. I’d be targeting 350W 60-second pulls, and the wheel I’d be sitting on otherwise was Andrew’s. Simple enough.

After signing into Discord and getting my OBS recording started, it was time to enter the pens. Let’s race!
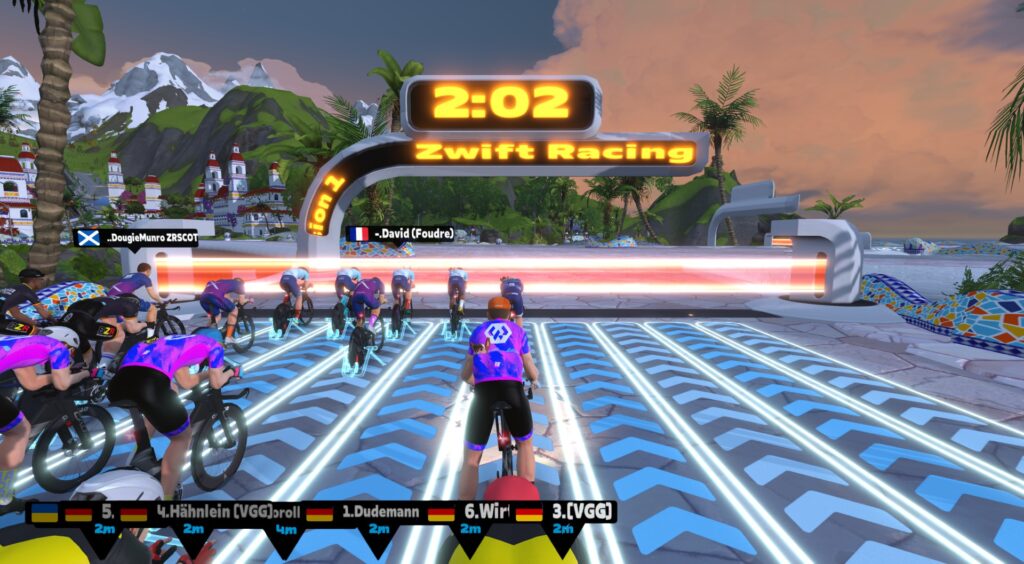
The Race

This being our first-ever TTT together, I think we were all curious about how well we’d work together. TTTs can get messy real quick if you aren’t organized beforehand or have just one or two inexperienced riders.

But we fell into order quickly right out of the gate, sliding into that uber-efficient single-file formation that TTT riders strive for. Our line looked so good, in fact, that I tried to snap some good pics. Problem was, every time I changed to the drone camera, I would get out of position myself! (Sorry, guys…)

We cycled through our turns on the front, calling out our target time when we hit the front “Eric on until 12:30” and calling out when we had 10 then 5 seconds left on our pulls.

The team was working well together, and Chris was doing a great of DSing, but there were two things I was seeing:

  • Our gap to the team ahead (BZR) was over a minute, meaning they were faster so far
  • Adrian, our last-minute sub, was struggling to take pulls

You can’t panic in a TTT, though. Plan your race, then race your plan. We had known Adrian might struggle in his second race of the day, so when he decided to drop off around the LAX roundabout, we smoothly transitioned into rotating as a unit of 5.

I wasn’t sure how 1-minute pulls would feel, as I’d always been the guy doing 30-second pulls in the past, usually on teams where most of the riders were stronger than me! But I was feeling good as we kept chugging along. Captain Neil and I were probably the worst offenders when it came to overlapping wheels. I blame it on my lack of recent TTT experience. And I’ll let Neil make up his own excuse…

With 10.9km to go, teammate Rob fell off the back – I’m still not sure what happened, but it sounded on Discord like he said he had to hop off the bike! He went to zero watts for 15 seconds, which would normally be a death sentence in a Zwift race. But he had hopped off on the downhill heading into the Woodside Sprint, which kept his avatar moving faster than if he’d hopped off on a flat or climb.

We eased a bit, and he pushed hard, and we were back together just 40 seconds later. These kinds of events happen often in TTTs and can really slow a team if handled incorrectly. So kudos to Rob for the impressive push to rejoin, and good job to the team overall for easing without easing too much.

We exited the Summit City Velodrome turnaround with 2.7km to go, and up the road I saw we were in a dead heat with the BZR squad, having brought back a few seconds in the last few minutes. This was going to be close!

We held formation until there were just 800 meters to go. Then I decided to power up and go all-in for the final 30-45 seconds, since I had more gas in the tank and could lend a helpful draft to anyone behind. All in to the line!

I averaged 470W for the final 60 seconds, finishing just behind Andrew as the second rider in my team. Our final time, taken off our fourth rider, would be 36:07.609.

See my ride on Strava >

Watch the Video

Results and Takeaways

If you’ve ever raced in ZRL, you know what comes next after crossing the finish line: the agonizing wait for the results to show up on the WTRL website!

Usually they show up within 15-30 minutes, but for this, the first race of Round 1, we kept waiting… and waiting…

It wasn’t until Thursday morning, almost 48 hours after our race, that the results table was populated. Apparently WTRL and Zwift were making lots of changes to backend systems and websites in the past few weeks, and those changes, coupled with lots of last-minute team registrations and changes, meant WTRL was scrambling to get results processed and displayed quickly. In fact, some teams got their race passes late, and weren’t even able to race. Ouch.

Read more in this Facebook post from WTRL >

I feel bad for Martin and his team at WTRL, who have been putting in long hours to get ZRL Round 1 launched. I know they’ve been working crazy hard.

But at the same time, it has to be said: this is the 16th round of Zwift’s flagship team race series. The experience should be better. Zwift and WTRL can do better.

Here are the results from our race:
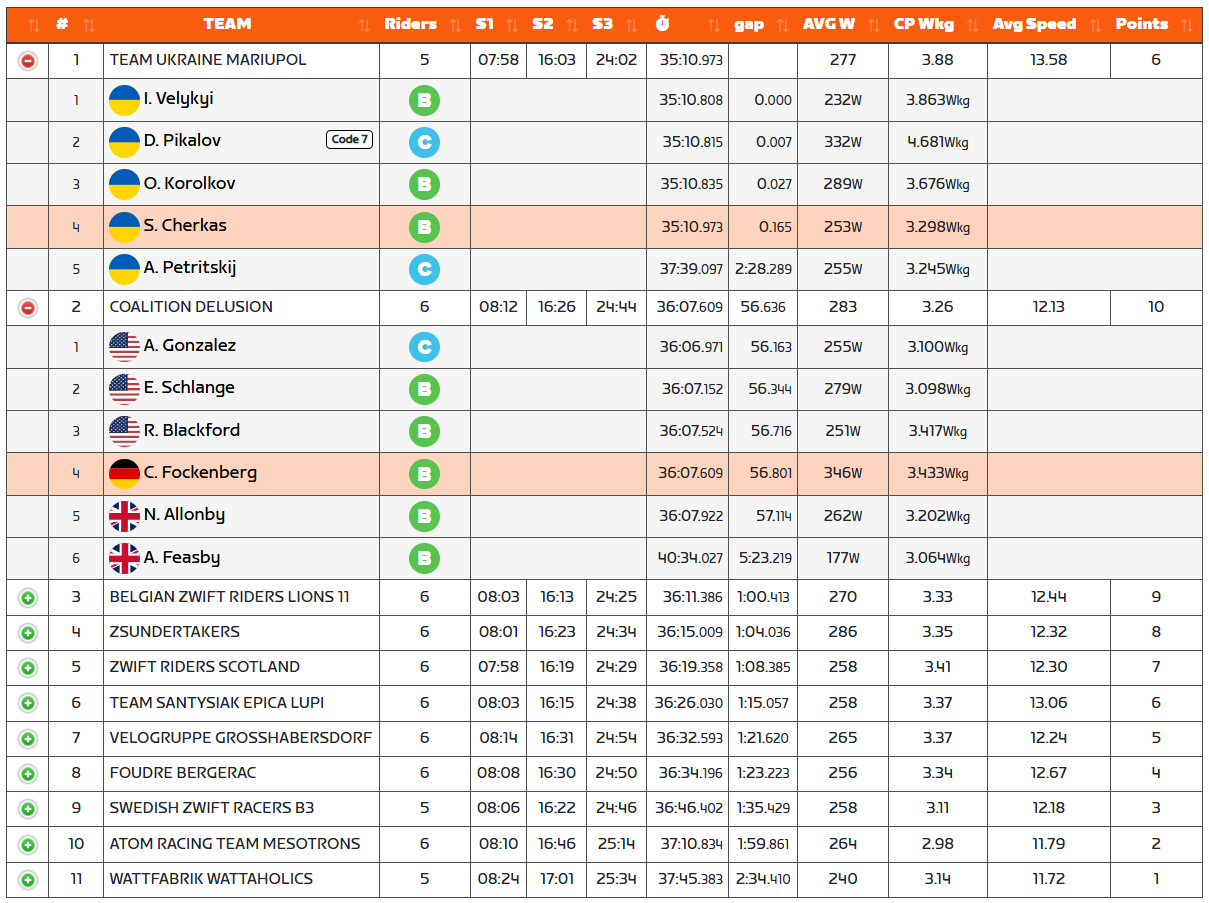
A bit confusing, right? So, Team Ukraine Mariupol turned in the fastest time on the day, and my team (Coalition Delusion) was second-fastest. But (and this is important) one rider on Team Ukraine received a Code 7.

What is a code 7? Well, I searched WTRL’s rulebook and website for a definition, and couldn’t find one. But I did find this in the rulebook:

5.2.7: Racers found to be exceeding the limits in any race and receive a Code 7 or 8 disqualification will be removed from that team and will not be permitted to race with that team for the remainder of the Round. Racers receiving a Code 7 or 8 are encouraged to consider riding for a team in a higher division or category.

Poking around various forum and Facebook comments, Code 7 seems to be defined as “Rider has exceeded Division Power Limits”. Makes sense, as the rider in question averaged 4.681 W/kg for the race, when the zFTP limit for B Development divisions is 3.79 W/kg!

Receiving a Code 7 in a TTT is especially problematic, because in theory, an overpowered rider could tow his team to the line. How can that situation be handled fairly? WTRL’s rulebook says:

4.3.3 C: If a team fields an ineligible racer in a Team Time Trial, the team will be awarded 50% of the League points they would otherwise have earned.

So it seems we both won and lost our TTT. Team Ukraine was faster, but their points were cut in half (and rounded up?) due to the Code 7. In the end, since we received the highest number of points. I’ll consider it a win.

On a pacing note, I think my team did a great job of not going too hard out of the gate, so we had gas in the tank to finish strong. We probably started a bit too slowly, in fact, but this sort of “negative split” pacing seems to be really effective in team time trialing. Well done all, and kudos to Captain Neil, DS Chris M, and Andrew, Chris F, Rob, and Adrian for strong planning and execution.

Personally, this was one of the easier TTTs I’ve raced. That’s not to say it was easy, of course: I was bang on my best power for 2025 in the 32-35 minutes window. But I wasn’t struggling to hold on, and I had a bit more punch left at the end than most TTTs I’ve endured. So that was nice.

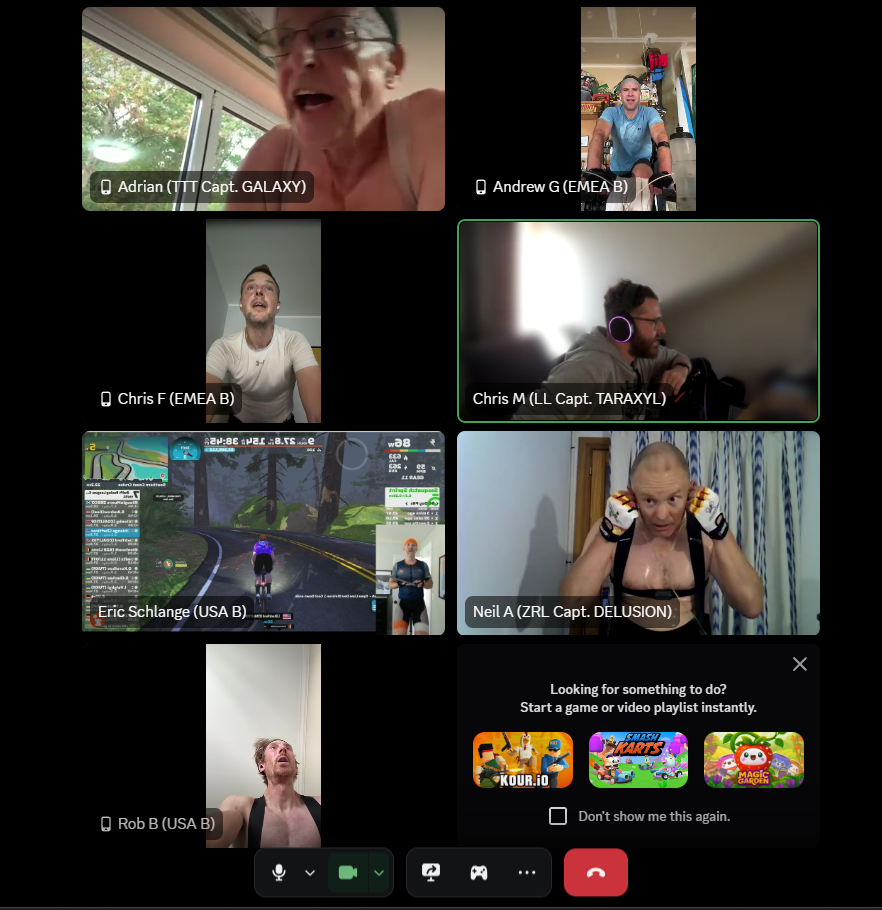
At the end of the race, as Adrian was finishing up his ride, we took a Discord snapshot:
See you all next week!

Your Thoughts

How did your first race of round 1 go? Share below…

China’s DeepSeek Says Its Hit AI Model Cost Just $294,000 To Train

Chinese AI developer DeepSeek said it spent $294,000 on training its R1 model, much lower than figures reported for U.S. rivals, in a paper that is likely to reignite debate over Beijing’s place in the race to develop artificial intelligence. Reuters: The rare update from the Hangzhou-based company — the first estimate it has released of R1’s training costs — appeared in a peer-reviewed article in the academic journal Nature published on Wednesday.

DeepSeek’s release of what it said were lower-cost AI systems in January prompted global investors to dump tech stocks as they worried the new models could threaten the dominance of AI leaders including Nvidia. Since then, the company and founder Liang Wenfeng have largely disappeared from public view, apart from pushing out a few new product updates.

[…] The Nature article, which listed Liang as one of the co-authors, said DeepSeek’s reasoning-focused R1 model cost $294,000 to train and used 512 Nvidia H800 chips. Sam Altman, CEO of U.S. AI giant OpenAI, said in 2023 that what he called “foundational model training” had cost “much more” than $100 million – though his company has not given detailed figures for any of its releases.


Read more of this story at Slashdot.

Software update shoves ads onto Samsung’s pricey fridges

Days after someone revealed the news on social media, Samsung confirmed today that it is showing advertisements on some US customers’ smart fridges. Samsung said the ads showing on some Family Hub-series fridges are part of a pilot program, but we suspect that they may become more permanent additions to Samsung fridges and/or other types of screen-equipped smart home appliances.

In a statement sent to Ars Technica, Samsung confirmed that it is “conducting a pilot program to offer promotions and curated advertisements on certain Samsung Family Hub refrigerator models in the US market.”

Samsung currently lists nine Family Hub refrigerators in the US, which have MSRPs ranging from $1,800 to $3,500. Family Hub fridges have 21.5- or 32-inch screens, which, until now, users have had autonomy over for displaying helpful or fun things, like photos and videos, memos, weather, timers, and a web browser. Some of those abilities require a Wi-Fi connection or a Samsung account.

Read full article

Comments

I’m a Full-Time Creator, and Here’s the Gear That Made My Apartment Into a Video Studio on a Budget

I’ve worked out of my basement apartment as a content creator and videographer for several years now. As a result, I’ve had to find creative and unique ways to maximize space and find effective (yet inexpensive) gear to create my videos at the highest level possible.

Sometimes, that can seem pretty overwhelming, especially if you’re just getting started. But you really only need to focus on three things: audio, video, and lighting. Here’s some of how I built my home studio, what I use to make videos like the one you can watch right now in this story, and how you can do the same, even in a small living space.

Start with great audio

When I first started making videos, I really underestimated the value of quality sound. I thought I’d need some crazy-expensive microphone to get professional-sounding audio.

Fortunately, smartphone mics have improved drastically over the years. In a quiet room with limited background noise, your phone is more than capable of giving you decent audio. If you want to make your videos sound more professional, or you plan to record outside often, consider getting an external microphone.

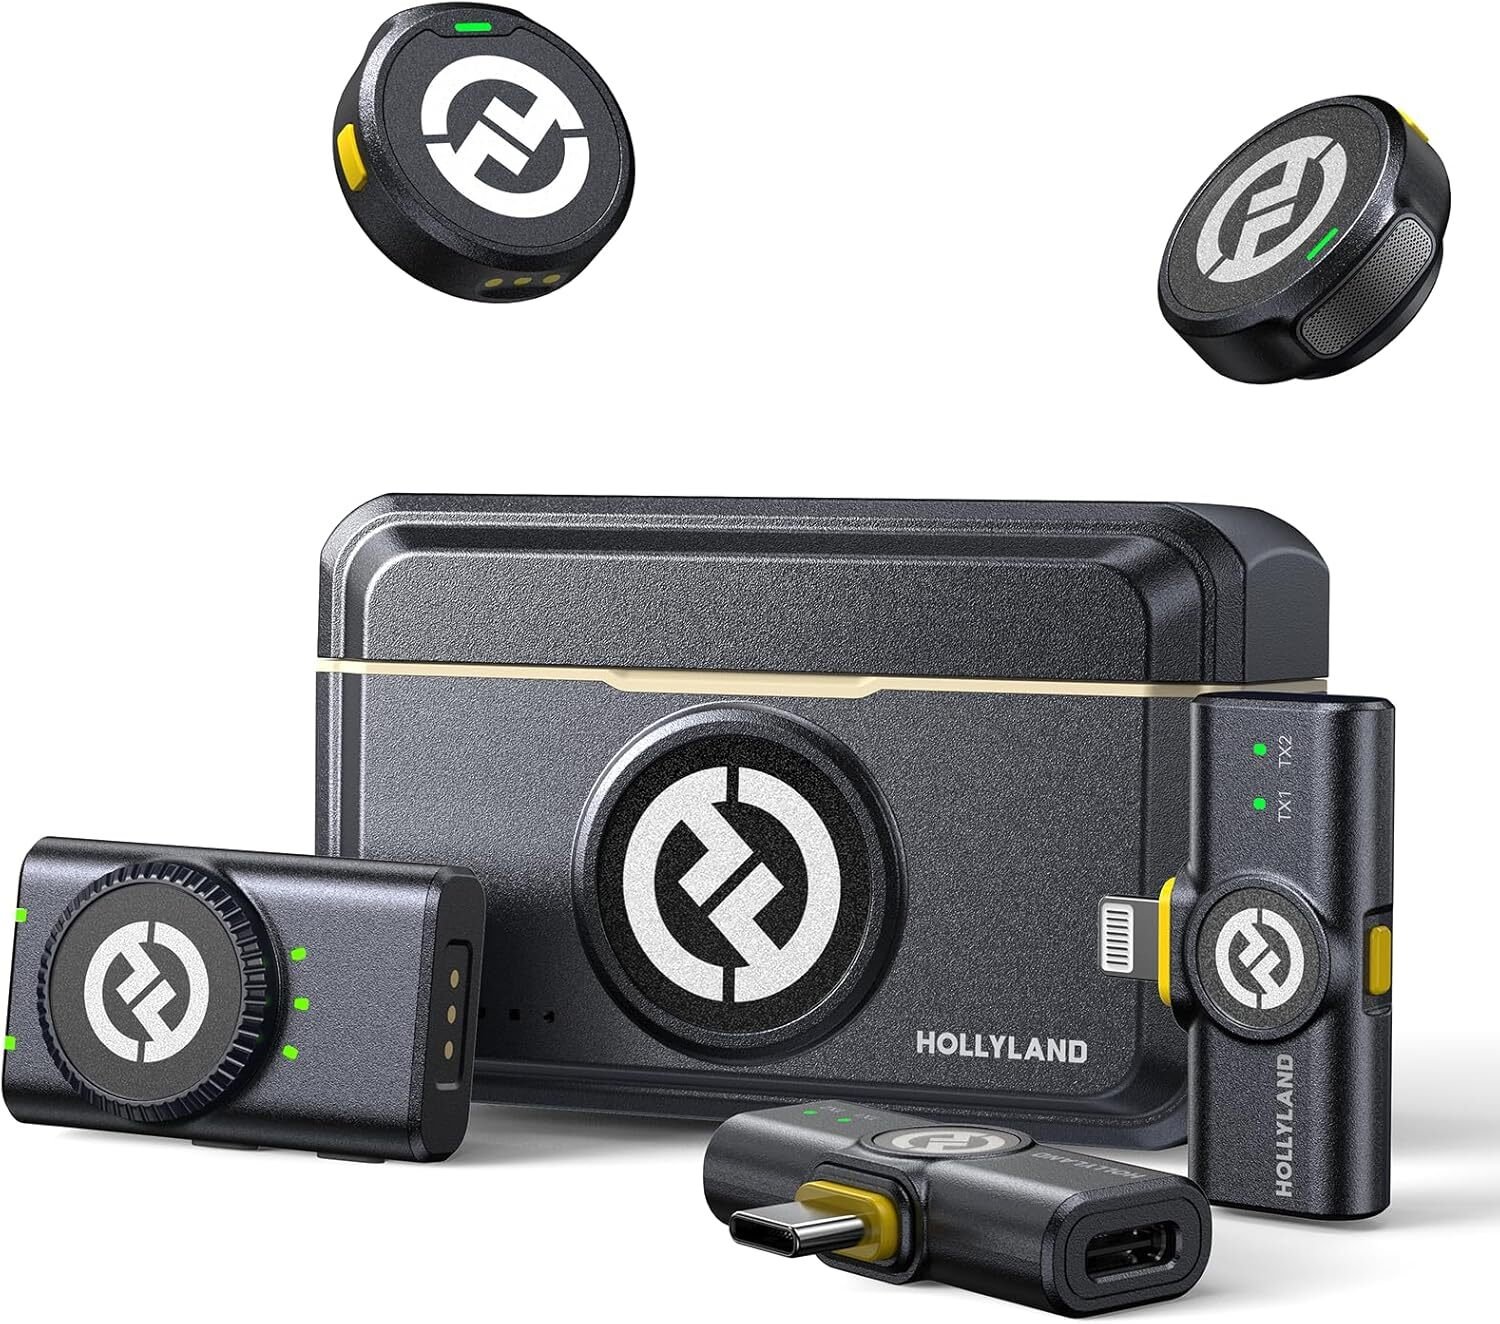
For on-the-go recording, I use the Hollyland Lark M2. Lavalier and lapel mics are an absolute must-have for any content creator, especially if you hope to go out into the world to record. There are tons of versions to choose from, but my go-to has always been the Hollyland line of products. What makes these particularly special is how easily they integrate with both cameras and phones, and their noise-cancelling feature comes in clutch in areas with a lot of background noise.

I’ve used these on racetracks, here at home, and at several car conferences over the years, and have never had a problem with overpowering background noise. They also come in an AirPods-style charging case, which not only fits in your back pocket, but also ensures you never have to deal with a dead mic while you’re out filming.

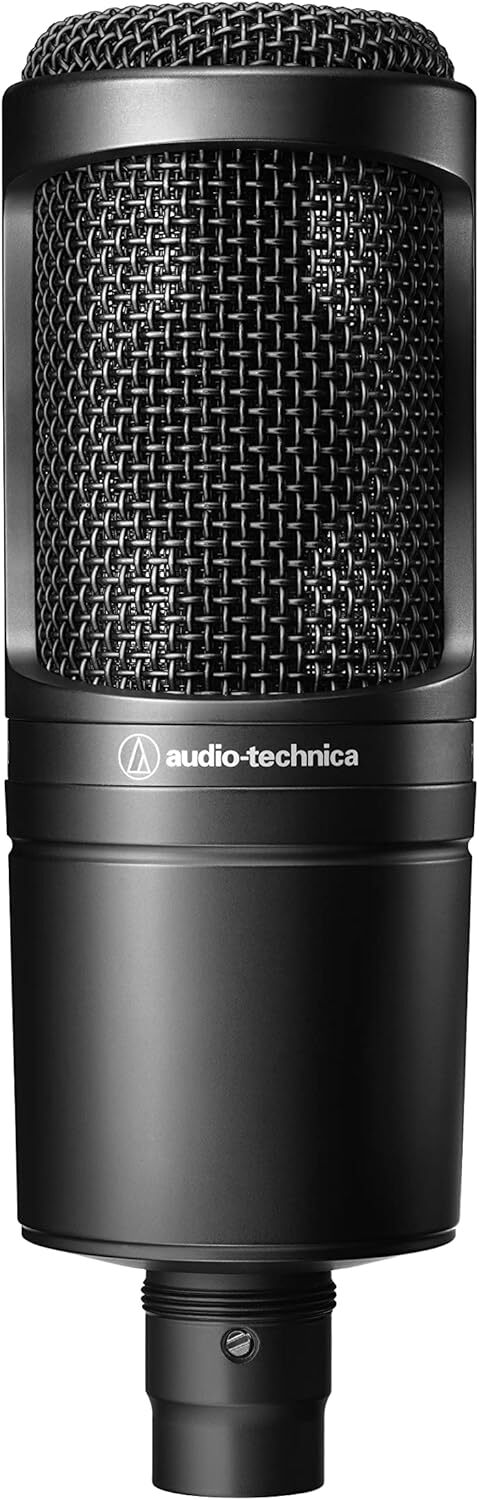
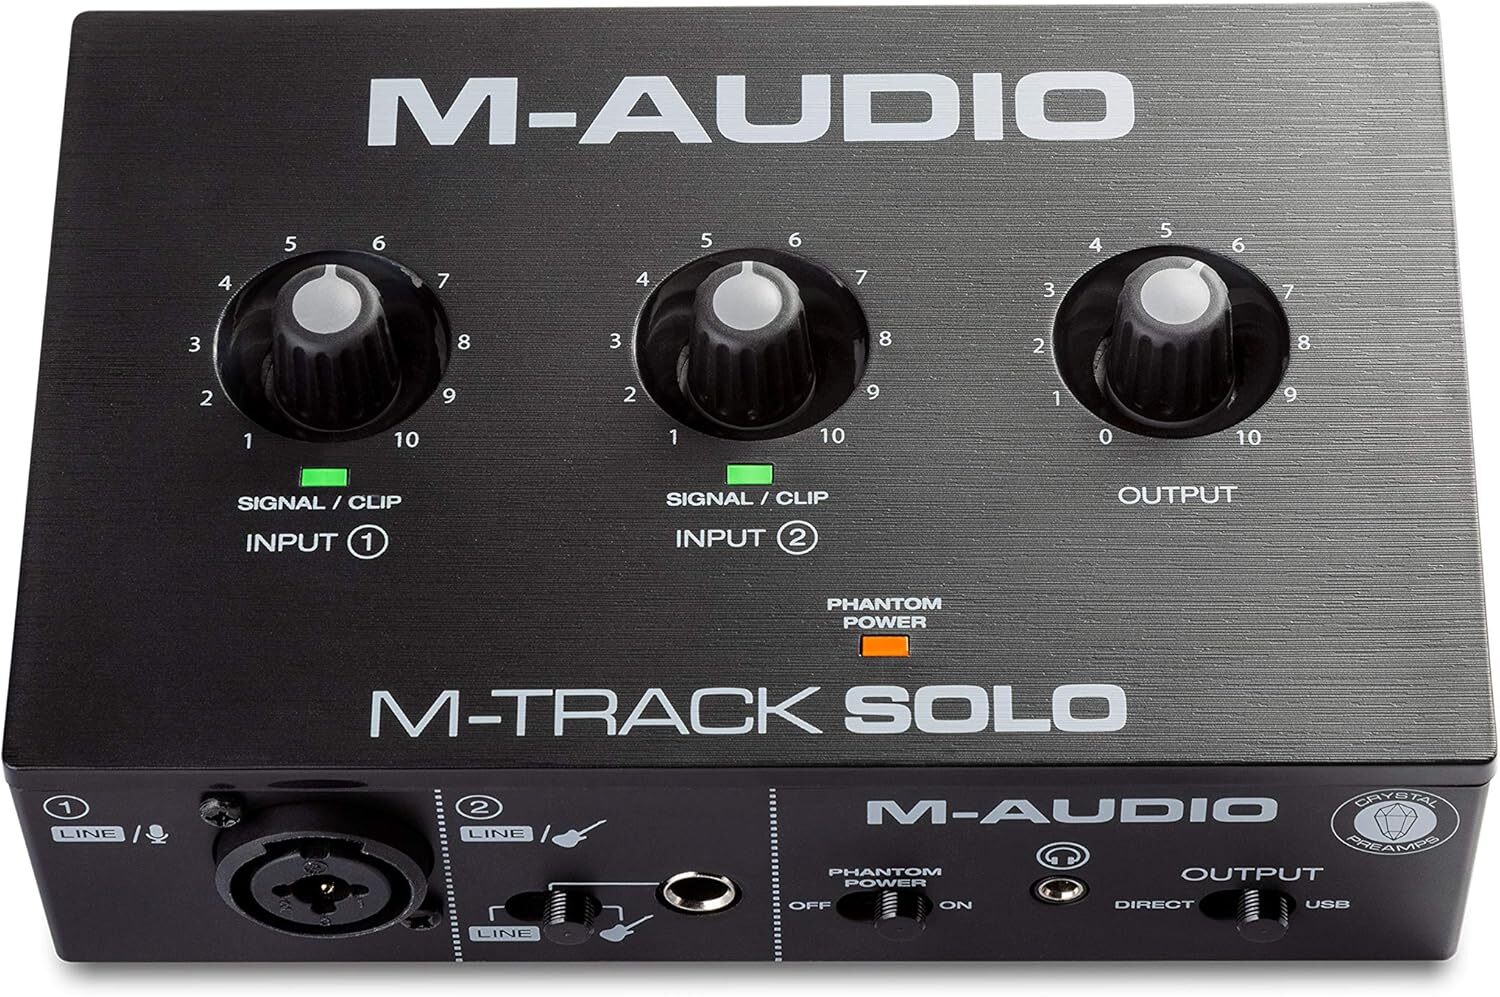
If you’re looking to set up a more permanent place to record, I’ve always defaulted to the Audio-Technica AT2020. To use a condenser microphone like this, you’ll also need an audio interface with phantom power to connect it to your computer. I use the M-Audio M-Track to accomplish both of these requirements and have had mine for over four years now. While it doesn’t have as many features as some higher-priced options, the M-Audio M-Track is more than enough for what I need, and it’s usually less than $50.

Layer in quality video

Good audio is awesome, but it really doesn’t mean much if you don’t have some solid video to go along with it. Just like with audio tech, it’s easy to overcomplicate your setup and add extra work that you really don’t need as a solo creator.

Under most circumstances, the best tool to have on hand is your phone camera. If you have an iPhone or Android from the past 5-7 years, it’ll have an HD camera you can use to film high-quality video without breaking the bank.

Let’s use my iPhone 15 as an example. If you go up to the top-right corner of your camera app settings, you’ll usually see this little “HD” and “30”, which determines your resolution and frame rate for the video you’re recording. I film in either 4K 30fps or 4K 60fps so I can maximize every bit of my phone’s capabilities. 

Normally, you won’t need more than HD (1080p) and 30fps to film good video. For more stunning visuals, you can go all the way up to 4K and 60fps, which is comparable to what you’d get from a DSLR or stationary camera. The downside is that the video files will be much larger and will take up more of your phone’s internal storage. 

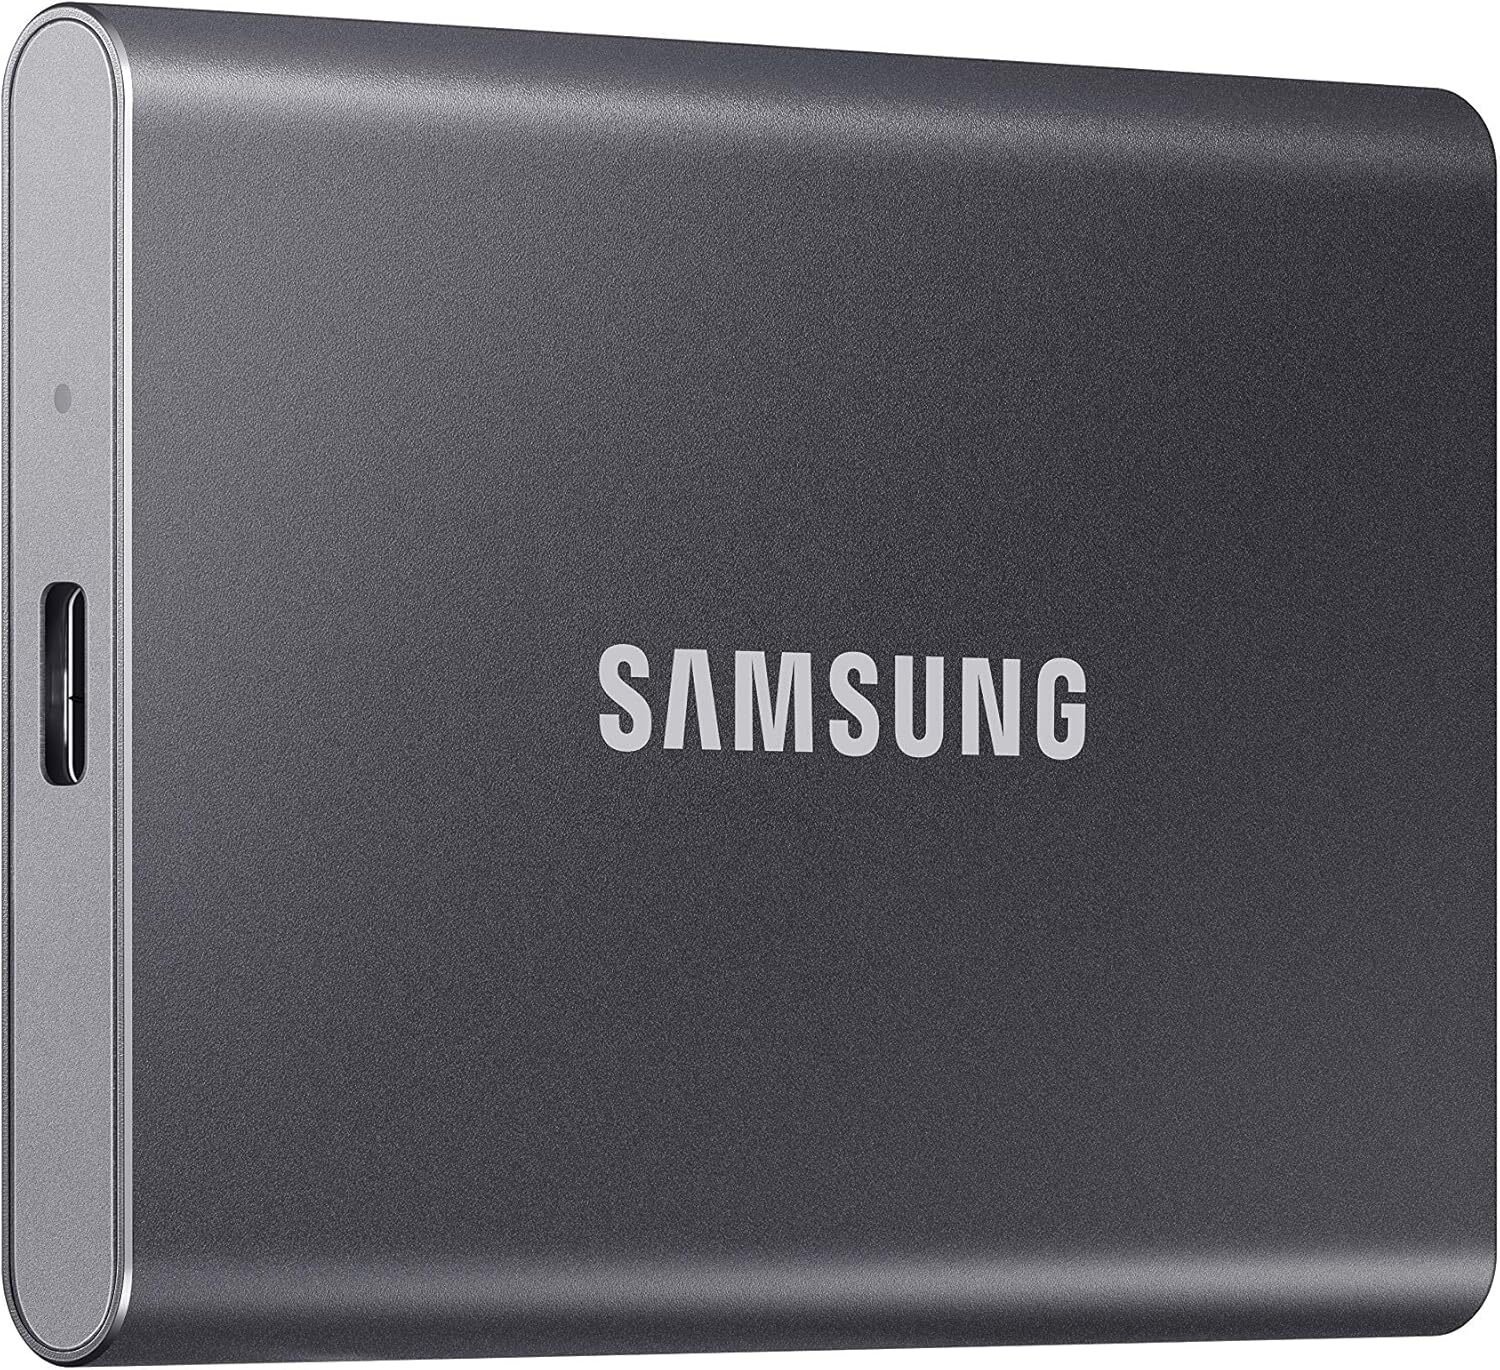
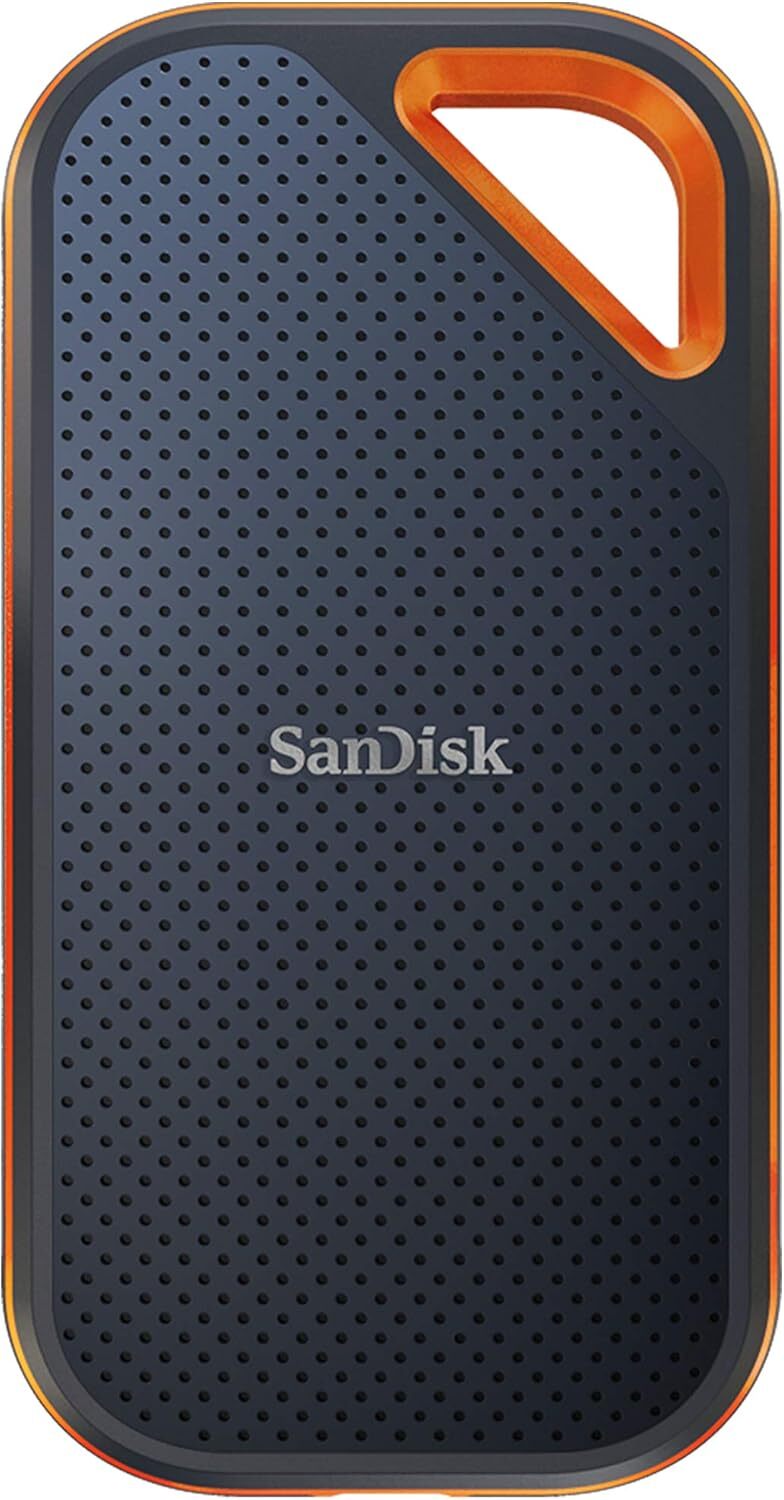
Needing adequate storage space is why one of your best friends in your content creation journey is a reliable external hard drive for your videos and audio. I highly recommend something like the Samsung T7 or the SanDisk Extreme Pro, both of which give you ample storage to create folders and organize any creative concepts you’re working on.

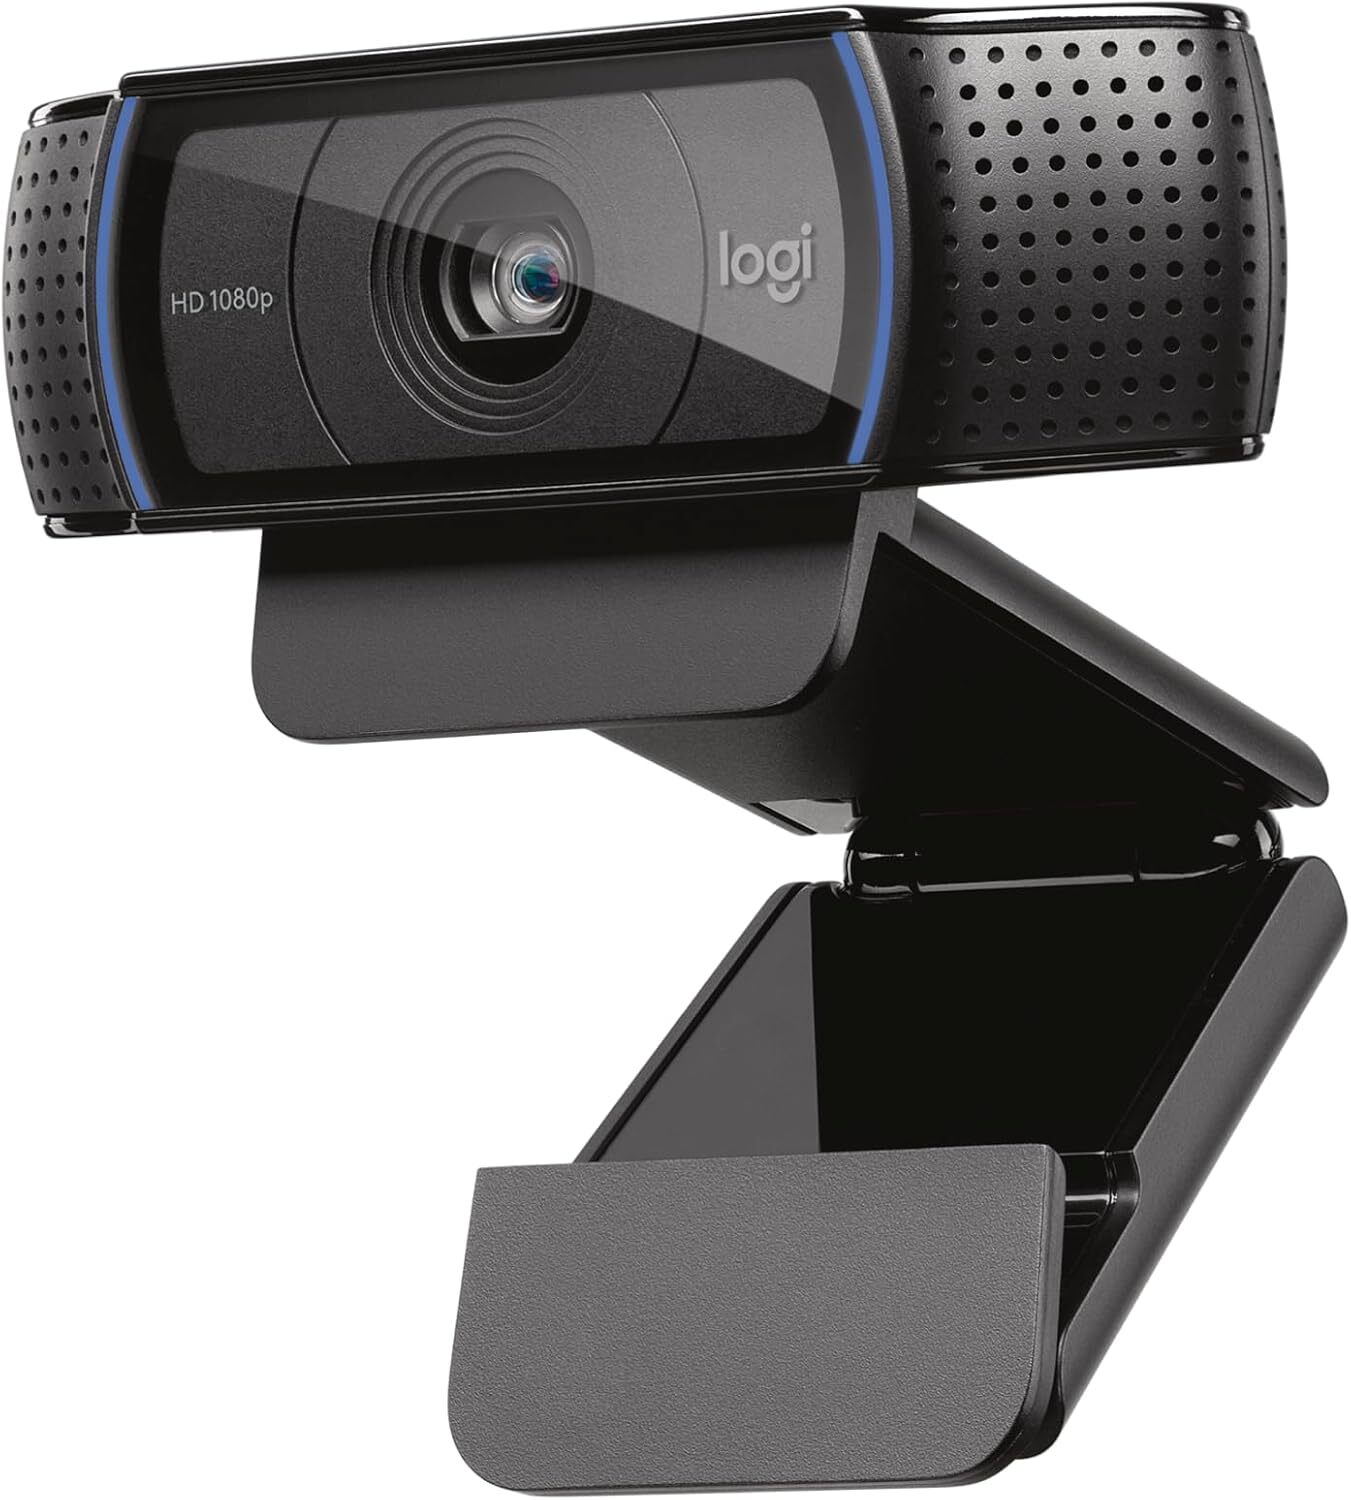
If you’re doing any streaming or stationary recording, I recommend the Logitech C920x HD. I’ve used this camera for everything from Instagram reels to Zoom calls, and with its included LogiTune software, you can dial in your color and framing settings before you shoot. As an all-around quality camera, it really doesn’t get much better than this, especially for less than $70.

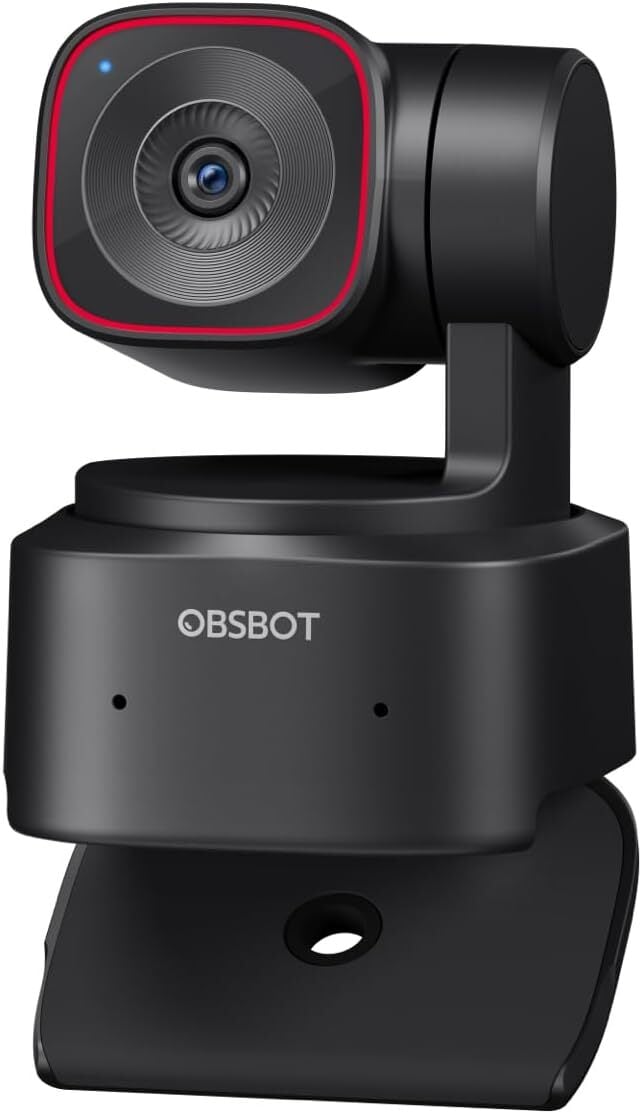
If you want to level up even more and have a bit more budget to work with, take a look at the Osbot Tiny 2 Lite 4K Webcam. This one gives you more functionality, including 4K/60fps capability and gesture control, while also supporting horizontal, portrait, and even mirrored aspect ratios.

Add lighting for balance and style

One of the most under-appreciated elements of content creation is good lighting. A good lighting setup can pay massive dividends on your visual quality and adds a whole lot to your video setup.

I’m personally a massive fan of the Govee line of products because of their many options and adjustment settings. I run all my lights off of Govee’s app from my iPad or phone, which allows me to change my lighting setup on the fly, even in the middle of a recording session.

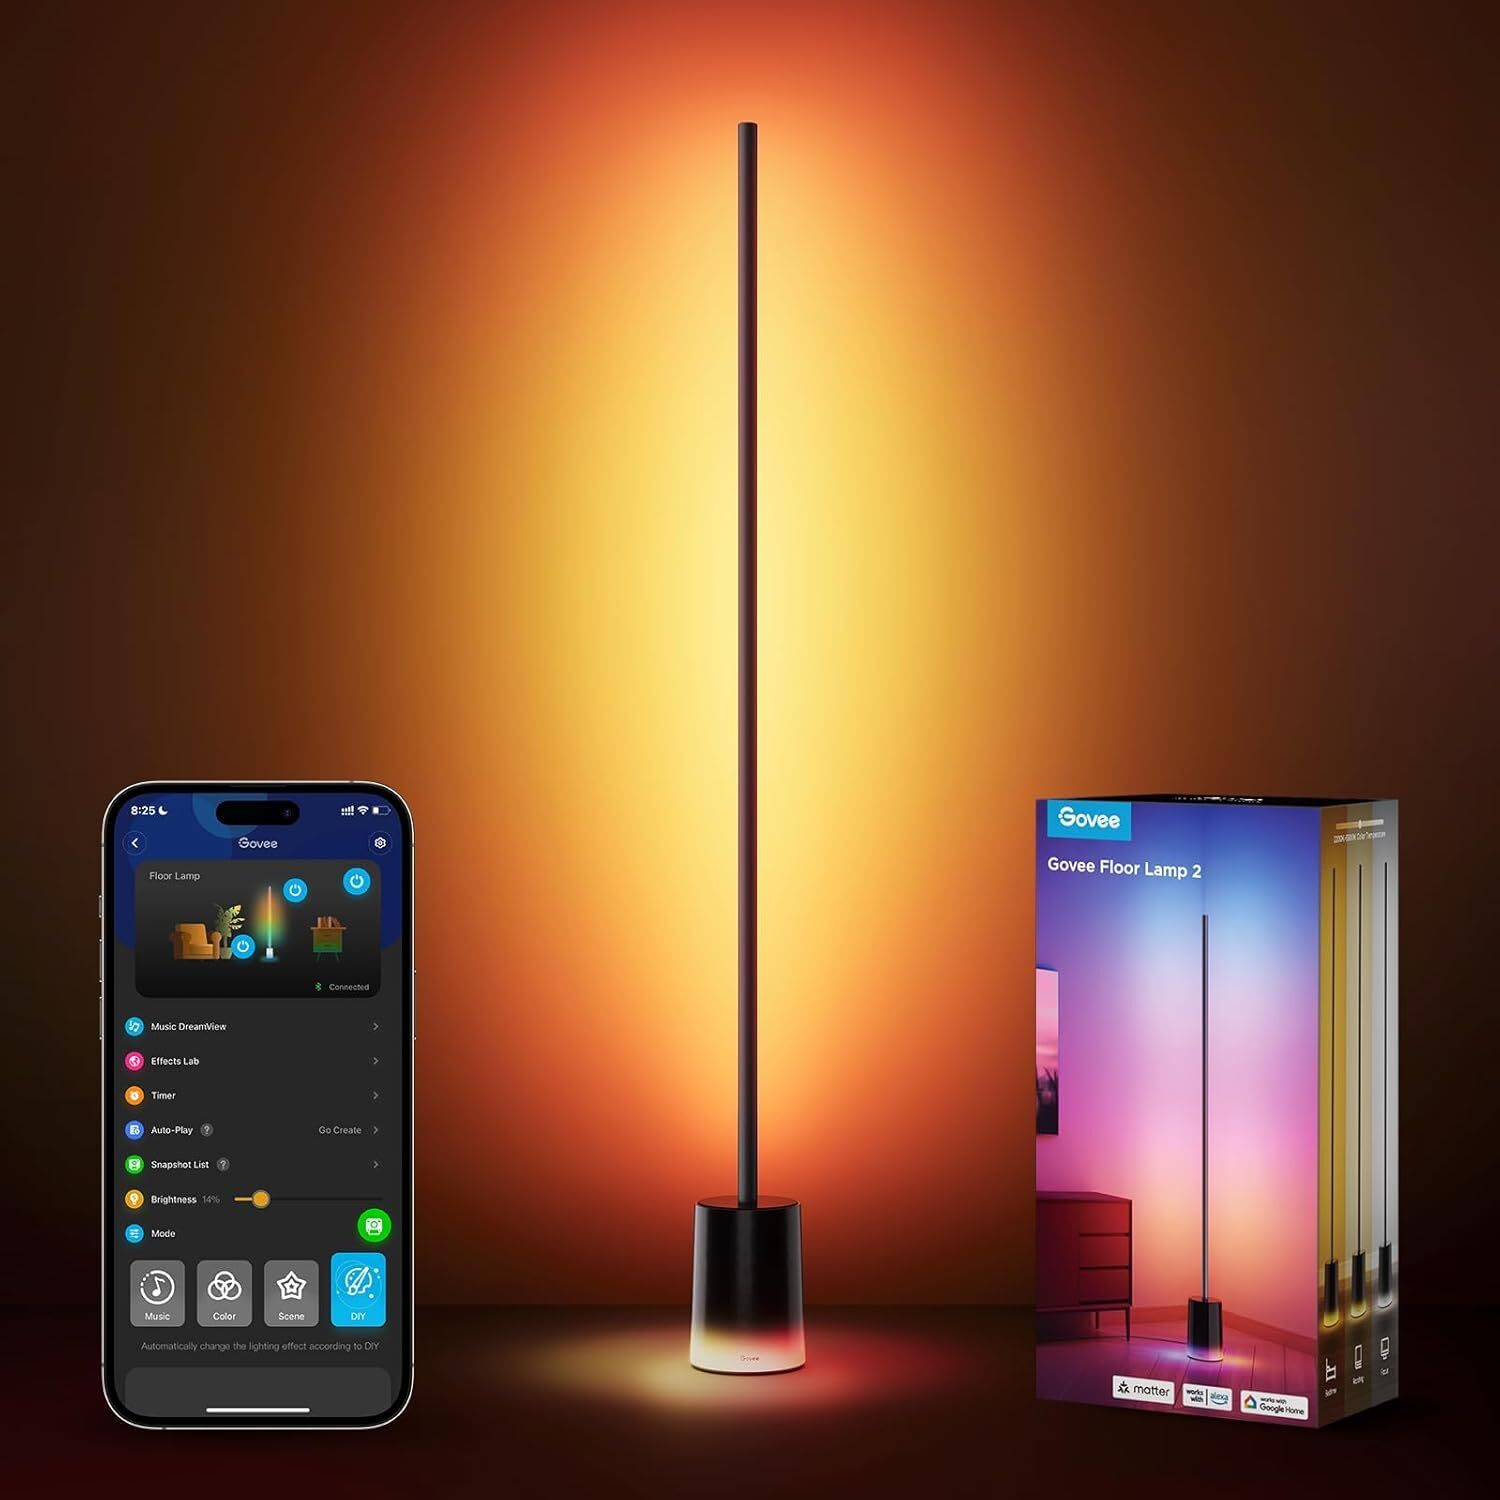
The Govee Floor Lamp is one of the most flexible and dynamic options that you can add to your studio space. With more than 80 customizable presets and adjustable brightness from 2200K to 6500K, this light gives you more than enough options to change the entire vibe of your videos and living space. It also doubles as an effective key light for your main source of on-camera illumination.

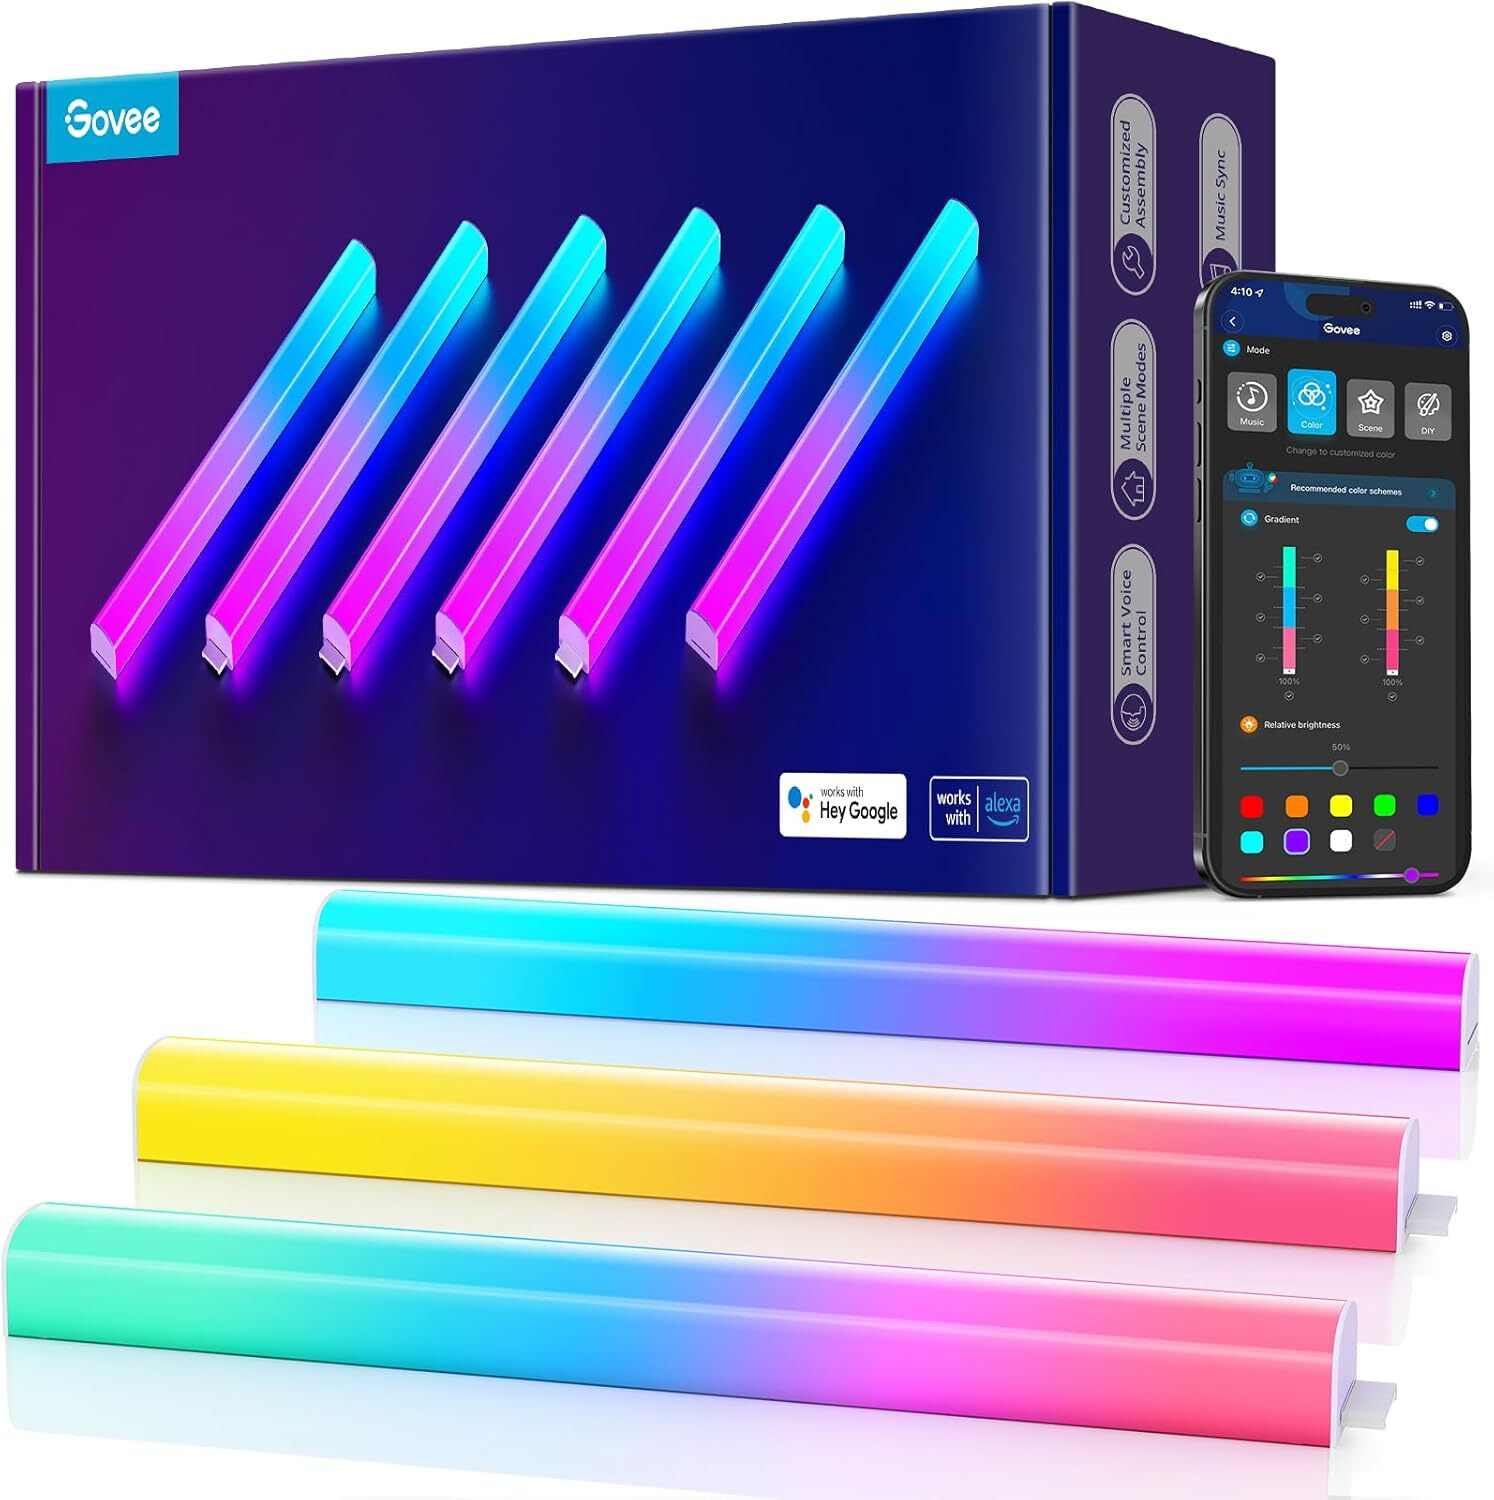
This also pairs beautifully with one of my favorite lighting devices of all time, the Govee Glide Wall Lights. These are everywhere in my studio, and for good reason: Not only do they integrate perfectly with other Govee products, but they also make for amazing backlights in a video setup. You can dial them in as much or as little as you want, and Govee’s app gives you more than 64 presets to find your perfect balance.

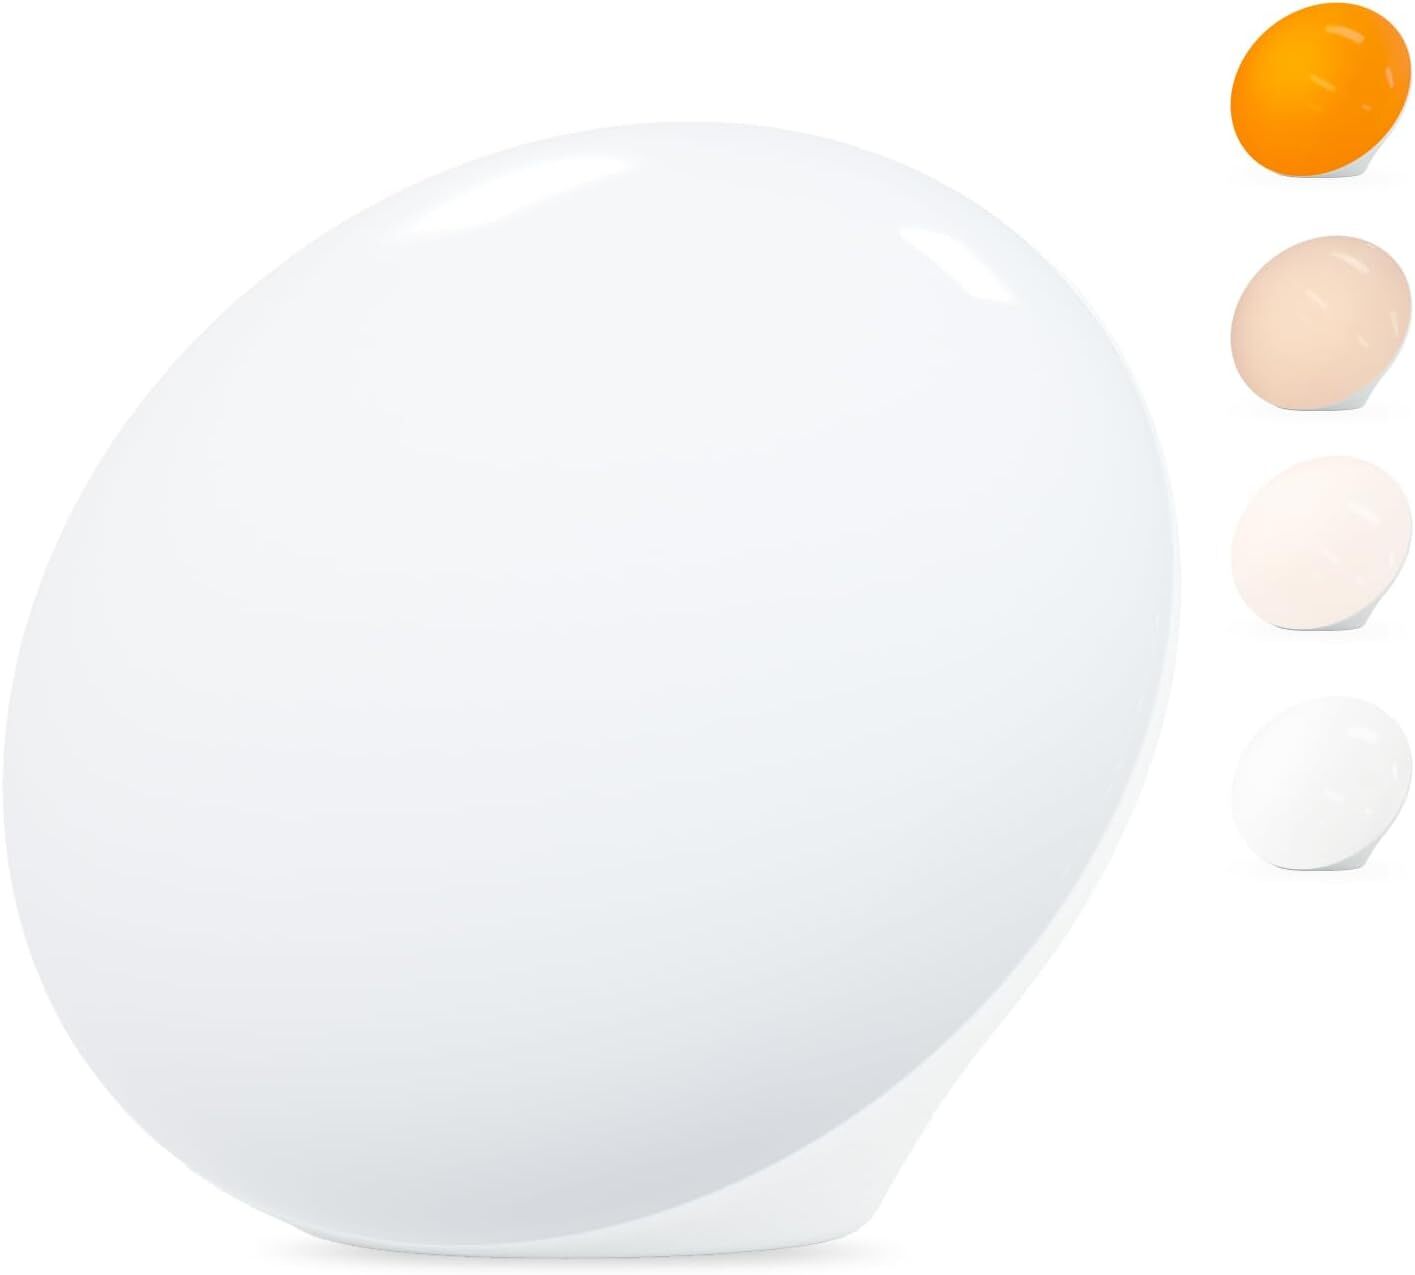
Another great addition that I highly recommend is a cheap sun lamp to balance out your ambient lighting in low-light areas. Since I’m in a basement, there’s not much natural light to work with. So to combat that downside, a lamp helps replicate the natural ambience of a sunlit room and looks much better on camera. My personal favorite is the LASTAR Sun Lamp, as it gives you dynamic brightness and various color temperature options.

Get the gear, then start getting creative

No matter what you decide to use when creating your own home studio, always remember that your studio should be a reflection of the content you want to create. Look at content creators you like and see what they’re using to improve the quality of their videos.

As a motorsport and car nerd, all of my recording zones have elements of racing and car culture to emphasize the specialty that I bring to the table. Whether it’s LEGO, car models, or vintage signs, my goal was to create a space that would reinforce the topics I care about in a subtle yet effective manner. So have fun with it, and use these basics to transform your living, recording, or creating space into something you’re truly proud of.

Steam is ending support for Windows 32-bit next year

Steam is officially dropping Windows 32-bit support at the end of this year, the company announced today. The only 32-bit version of Windows that is currently supported by Steam is Windows 10 32-bit. The company says 0.01 percent of systems reported through the Steam Hardware Survey are using that version of Windows. On any given day, Steam sees just over 36 million daily users, so it’s safe to assume that this change will only affect a few thousand gamers.

While this doesn’t mean that your Steam client running on Windows 10 32-bit will self-destruct at midnight on January 1, it does mean that you will no longer receive updates or technical support. Microsoft is also sunsetting Windows 10 on October 14 of this year, which will similarly mean an end to security updates.

Valve will still support Steam on Windows 10 64-bit for the time being. Windows 11 doesn’t offer a 32-bit version, making it the first version not to offer 32-bit since the feature was introduced with Windows NT in 1993.

“Core features in Steam rely on system drivers and other libraries that are not supported on 32-bit versions of Windows,” Steam explained in the announcement. Hopefully this change frees up enough bandwidth at Valve to get Half-Life 3 over the finish line.

This article originally appeared on Engadget at https://www.engadget.com/gaming/pc/steam-is-ending-support-for-windows-32-bit-next-year-171057805.html?src=rss

FCC derided as “Federal Censorship Commission” after pushing Jimmy Kimmel off ABC

ABC pulled Jimmy Kimmel’s show off the air yesterday, shortly after Federal Communications Commission Chairman Brendan Carr urged the Disney-owned company to take action against Kimmel or face consequences at the FCC over Kimmel’s comments about Charlie Kirk’s killer.

Carr appeared on right-wing commentator Benny Johnson’s podcast yesterday and said, “We can do this the easy way or the hard way. These companies can find ways to change conduct, to take action, frankly on Kimmel, or there’s going to be additional work for the FCC ahead.” Carr urged Disney to suspend Kimmel and said broadcast stations that carry ABC content should refuse to carry Kimmel’s show.

After Carr’s comments and a statement by Nexstar that it would preempt Kimmel’s show on its ABC-affiliated stations, ABC confirmed in a statement that “Jimmy Kimmel Live! will be preempted indefinitely.” The decision was made by Disney CEO Robert Iger and TV division head Dana Walden, The New York Times reported. We contacted ABC today and will update this article if we get a response.

Read full article

Comments

Amazon Violated Online Shopper Protection Law, Judge Rules Ahead of Prime Signup Trial

Amazon violated consumer protection law by gathering Prime subscribers’ billing information before disclosing the service’s terms, a judge ruled on Wednesday, handing the U.S. Federal Trade Commission a partial win. From a report: The ruling by U.S. District Judge John Chun in the case accusing Amazon of deceptive practices to generate Prime subscriptions puts the company at a disadvantage at trial.

The FTC is poised to argue that the online retailer signed up tens of millions of customers for Prime without their consent, and thwarted tens of millions of cancellation bids through complex cancellation methods. The agency says those actions violated the Restore Online Shoppers Confidence Act (ROSCA).


Read more of this story at Slashdot.

Gemini in Chrome no longer requires a subscription

Back at I/O 2025, Google began integrating Gemini into Chrome. At the time, you needed an AI Pro or AI Ultra subscription to access the AI assistant in the browser. That’s changing today. Google has begun rolling out the tool to all Chrome desktop users on both Windows and Mac. Provided you have Chrome’s language set to English and live in the US, you’ll see a new sparkle icon at the top of the interface. Tapping it will allow you to start making requests of Gemini. 

You can also use the tool on a smartphone. On Android, you can do so by holding your phone’s power button. On iOS, meanwhile, Google is working on bringing the assistant to the Chrome app.  

A GIF demonstrating Gemini in Chrome, which is accessible through a new dedicated shortcut.
Google

Since its introduction at I/O, Google has made some enhancements to how Gemini works inside of Chrome. To start, the tool can now work across multiple tabs, allowing it to compare and summarize information from different websites. At the same time, Gemini can access your browsing history thanks to a new recall feature. Google suggests this can be helpful in situations where you can’t quite remember where you saw something online. Instead of manually sifting through your browser history, you can write a prompt like “what was that blog I read on back to school shopping?” and Gemini will take care of the rest.

The new version of Gemini for Chrome also offers deeper integrations with other Google services, including Calendar, YouTube and Maps. For instance, you can ask the assistant to schedule meetings for you, and if you’re working through a long YouTube video, Gemini can generate timestamps you can use to jump around the video.

A GIF demonstrating Gemini in Chrome's browser history recall ability.
Google

At the start of May, Google began using Gemini Nano to upgrade Chrome’s Enhanced Protection suite. On Thursday, the company said Gemini Nano would also soon work to protect users against websites that use fake viruses or giveaways to trick them. Google has also added an algorithm that will learn your preferences for granting permissions. When it determines you’re unlikely to grant a website permission to access your computer’s camera or location, it will present those requests in a less intrusive way. Similarly, Google will add an AI designed to make it easier to update compromised credentials through Chrome’s built-in password manager. Starting with a handful of supported websites — including Coursera, Duolingo and Spotify — you’ll be able to change your passwords with a single click.

In the coming months, Google plans to bring agentic capabilities to Chrome, meaning Gemini will be able to complete tasks for you. For example, the company envisions people using this feature to do their weekly grocery shopping through Instacart. The company first previewed this capability with Project Mariner at the end of 2024. Over the last year, a few different companies have released their own takes on web-surfing agents with mixed results. For example, people have complained of OpenAI’s Operator failing to complete some tasks.

A GIF demonstrating Chrome's Gemini agent completing an Instacart purchase.
Google

“Our hope is that by the time this gets to users, we’ve done away with many of the potential snafus,” said Mike Torres, vice president of product for Chrome, during a media briefing Google held ahead of today’s announcement. “This is an experimental experience we’re continuing to improve. We’re not going to do something that comprises the user experience.”

Last but not least, Google is adding an AI Mode mode shortcut directly to Chrome’s address bar. If you need a refresher, AI Mode is Google’s dedicated search chatbot. At I/O 2025, the company made it available to every Search user in the US. Now you can access it without navigating to Google first. When I asked Torres about the button, he was quick to note users don’t have to use the shortcut. “What we’re trying to do is maintain users’ existing behavior,” he added.

As with any major update from Google, it may take a few days for the new features to roll out to your installation of Chrome.

This article originally appeared on Engadget at https://www.engadget.com/ai/gemini-in-chrome-no-longer-requires-a-subscription-170045611.html?src=rss

Nvidia will invest $5 billion in Intel, co-develop new server and PC chips

In a major collaboration that would have been hard to imagine just a few years ago, Nvidia announced today that it was buying a total of $5 billion in Intel stock, giving Intel’s competitor ownership of roughly 4 percent of the company. In addition to the investment, the two companies said that they would be co-developing “multiple generations of custom data center and PC products.”

“The companies will focus on seamlessly connecting NVIDIA and Intel architectures using NVIDIA NVLink,” reads Nvidia’s press release, “integrating the strengths of NVIDIA’s AI and accelerated computing with Intel’s leading CPU technologies and x86 ecosystem to deliver cutting-edge solutions for customers.”

Rather than combining the two companies’ technologies, the data center chips will apparently be custom x86 chips that Intel builds to Nvidia’s specifications. Nvidia will “integrate [the CPUs] into its AI infrastructure platforms and offer [them] to the market.”

Read full article

Comments

Notepad’s AI writing features will soon run locally on Copilot+ PCs

CoPilot+ PC owners have a new perk in the pipeline. Your AI PC will soon perform Notepad’s AI writing features on-device — no subscription required. The app’s summarize, write and rewrite options were introduced earlier this year.

Up to this point, you’ve needed a CoPilot Pro or Microsoft 365 subscription to use Notepad’s AI writing tools. So, if you’ve splurged on an AI PC, this could save you a few bucks each month. And if you have both a subscription and a CoPilot+ PC, it lets you choose between local and cloud generation.

Microsoft is rolling out the new local AI feature now for its Windows Insider beta testers. It’s available in English only, at least for now.

Sample image showing Microsoft Paint's new
Microsoft

Paint is also getting some love in the latest Insider builds. You can now save projects, Adobe-style. If you’re in the middle of an edit, you can choose File > Save as project. You can then select a location to save the .paint file and pick up later where you left off.

On top of that, Paint is also adding an opacity slider to the pencil and brush tools. Nobody in their right mind will describe MS Paint as a Photoshop rival. But at least the simple drawing and editing app is growing slightly more advanced. It’s gotten a renewed focus from the company after adding AI image generation chops last year.

Last but… definitely least is an update to Snipping Tool. Insiders will see a new quick markup option in the screenshot app. After snipping something onscreen, you’ll find the feature in the capture toolbar. You can then scribble away before saving.

All the Windows updates are available in the Canary and Dev Insider channels. Anyone with a Microsoft account can sign up for free. The company does occasionally cancel beta features before they’re released to Windows proper. But that’s more the exception than the rule.

This article originally appeared on Engadget at https://www.engadget.com/ai/notepads-ai-writing-features-will-soon-run-locally-on-copilot-pcs-163518223.html?src=rss

New attack on ChatGPT research agent pilfers secrets from Gmail inboxes

The face-palm-worthy prompt injections against AI assistants continue. Today’s installment hits OpenAI’s Deep Research agent. Researchers recently devised an attack that plucked confidential information out of a user’s Gmail inbox and sent it to an attacker-controlled web server, with no interaction required on the part of the victim and no sign of exfiltration.

Deep Research is a ChatGPT-integrated AI agent that OpenAI introduced earlier this year. As its name is meant to convey, Deep Research performs complex, multi-step research on the Internet by tapping into a large array of resources, including a user’s email inbox, documents, and other resources. It can also autonomously browse websites and click on links.

A user can prompt the agent to search through the past month’s emails, cross-reference them with information found on the web, and use them to compile a detailed report on a given topic. OpenAI says that it “accomplishes in tens of minutes what would take a human many hours.”

Read full article

Comments

$599 MacBook With iPhone Chip Expected To Enter Production This Year

An anonymous reader shares a report: Apple supply chain analyst Ming-Chi Kuo today reiterated that a more affordable MacBook powered by an iPhone processor is slated to enter mass production in the fourth quarter of 2025, which points towards a late 2025 or early 2026 launch.

Kuo was first to reveal that Apple is allegedly planning a more affordable MacBook. In late June, he said the laptop would have around a 13-inch display, and an A18 Pro chip. Kuo said potential color options include silver, blue, pink, and yellow, so the laptop could come in bright colors, like 2021-and-newer models of the 24-inch iMac.

This time around, he only mentioned the MacBook will have an unspecific iPhone processor. Apple recently introduced the A19 Pro chip, which has 12GB of RAM, so it will be interesting to see if the lower-cost MacBook uses that chip instead. The entire Mac lineup has started with at least 16GB of RAM since last year, with the only option with 8GB being the MacBook with an M1 chip, which is sold exclusively by Walmart for $599.


Read more of this story at Slashdot.

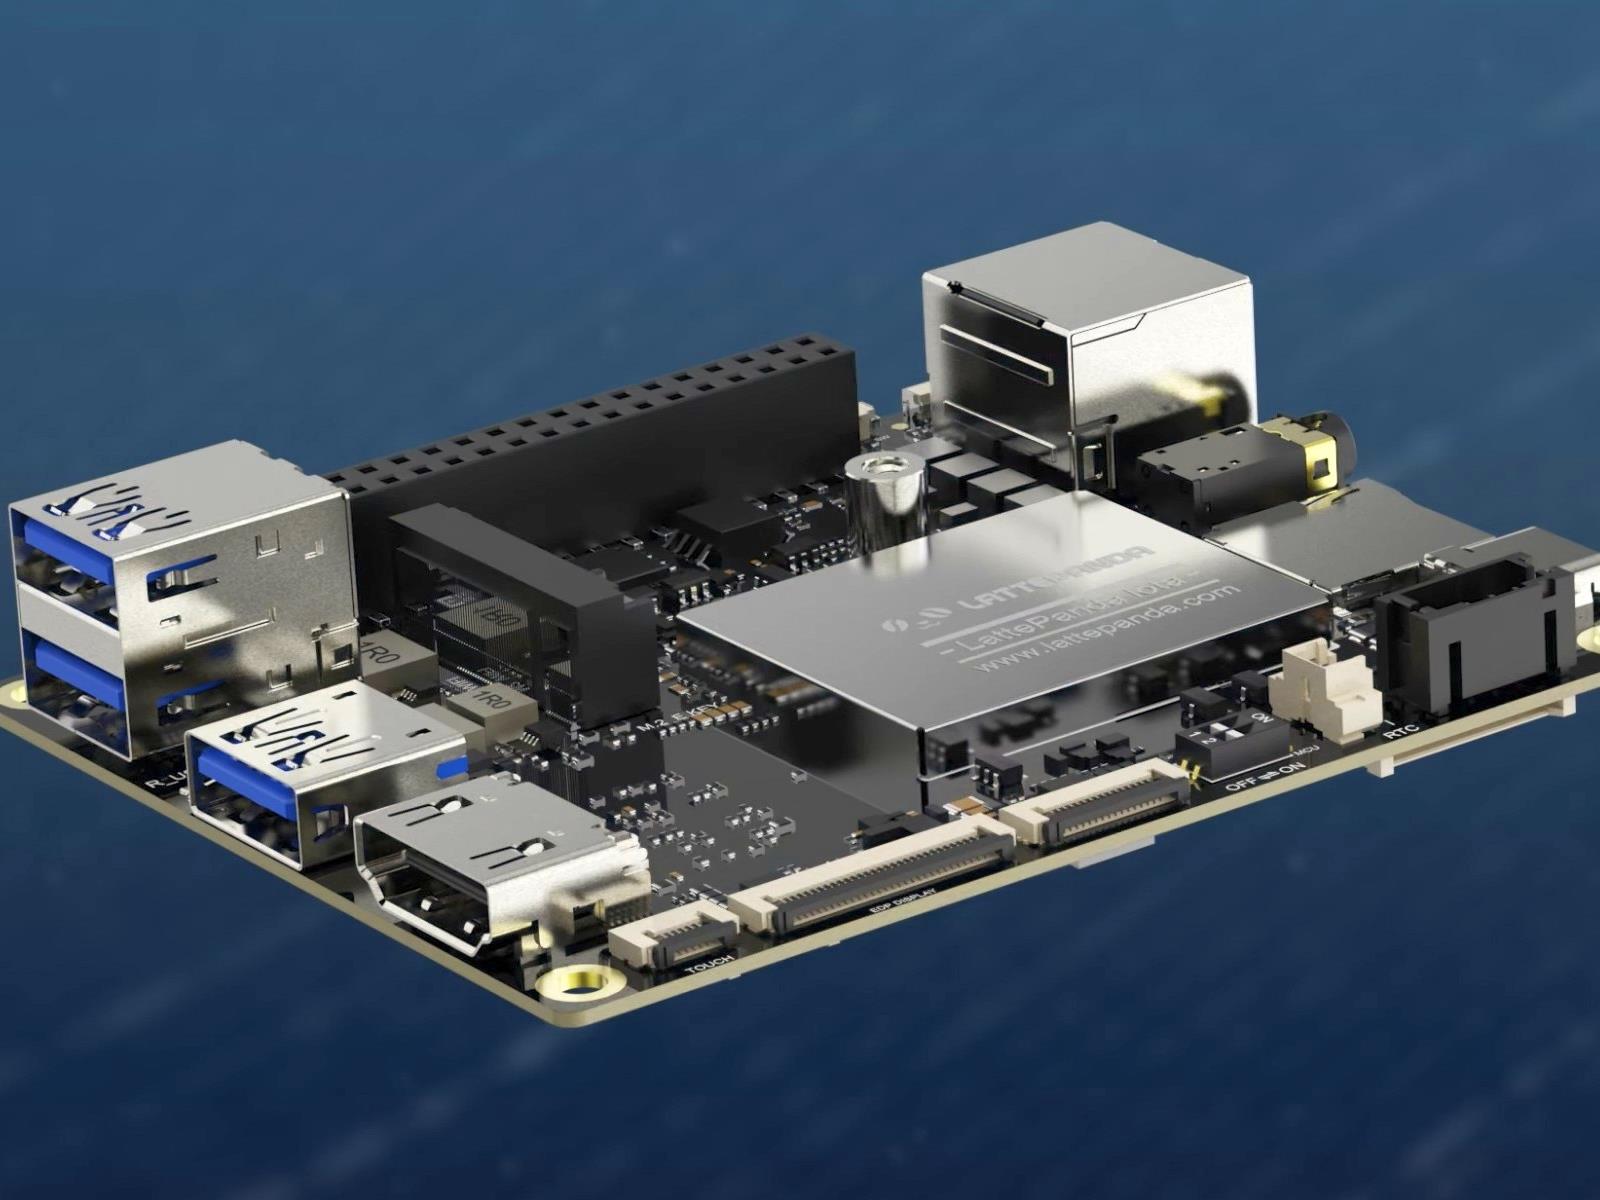
LattePanda IOTA Palm-Sized Intel x86 SBC Is Here To Challenge Raspberry Pi 5

LattePanda IOTA Palm-Sized Intel x86 SBC Is Here To Challenge Raspberry Pi 5
Performance usually isn’t a first-order concern when you’re buying a single-board computer, but it definitely can have an impact on what sort of workloads you can run with your micro machine. If the performance of the Raspbery Pi 5 isn’t doing it for you, how about the new Lattepanda IOTA? This one-board beastie packs in an Intel Processor

How to Schedule a Demo for Meta’s New Ray-Ban Display Smart Glasses

We may earn a commission from links on this page.

Did you know you can customize Google to filter out garbage? Take these steps for better search results, including adding Lifehacker as a preferred source for tech news.


Yesterday, at its 2025 Meta Connect conference, Meta finally unveiled its first Ray-Ban smart glasses that actually have a screen inside them. I have yet to try them for myself, but according to my colleagues over at CNET, seeing is believing. If you want to book a demo to try out the new Meta Ray-Ban Display glasses, you’re in luck: They’re popping up in select stores across the country, and you can already schedule your visit. In fact, you’ll need to if you actually want to take a pair home.

What are the Meta Ray-Ban Display Smart Glasses?

Meta’s Ray-Ban Display smart glasses are similar to the smart glasses the two companies have already been releasing since 2021, but if the name didn’t give it away already, now they have a screen inside them. This isn’t AR, so you don’t get head tracking or a large virtual display situated in your environment, but you do get a little heads-up 600×600 screen over your right eye that you can use to, say, check on texts or watch an Instagram Reel. It’s also private, according to my colleagues over at CNET, with some clever manufacturing keeping people from seeing what’s on your display through the transparent lens.

And it comes with a special “neural wristband” for actually navigating content, which can pick up thumb movements, pinches, and the like and translate them into swipes and taps.

It all sounds fancy— dare I say “innovative”?—even if it comes with a $799 price tag (the last generation of Meta Ray-Ban smart glasses was $379). But if you’re going to be dropping that much on such an unproven product, I don’t blame you for wanting to go hands-on with it before buying. And it seems, neither does Meta.

How to try out the Meta Ray-Ban Display Smart Glasses

Even though Meta’s Ray-Ban Display Smart Glasses technically start shipping on Sept. 30, you can’t buy them online. Instead, you’ll have to do an in-store demo before you can actually get a pair. These demos are available at Ray-Ban stores, but also partners including LensCrafters, Sunglass Hut, and Best Buy. You can book demos straight through a specific store’s site if you have a favorite, as seen on this Best Buy link, but the best way to see all the demos available near you is through Meta’s own site.

Just navigate to this scheduler page on the Meta site and enter your address to see participating stores near you and the dates when they have demos available. Then hit “Schedule a Demo” on a store of your choosing to be taken to that store’s site to finish booking.

While Meta’s site showed me appointments starting today, none of the stores I clicked through to had availability until October, so don’t be surprised if the scheduler’s data is a little behind.

What do you need for your Ray-Ban Display Demo?

Generally, you can just head to your Ray-Ban Display Demo and be golden. But if you wear prescription lenses, you’ll either need to wear contacts or know your lens details. Meta’s demo kits can accommodate a range of -4.00 to +4.00 prescriptions, so plan accordingly.

Then, it’s just a matter of trying the glasses on. When you’re done, you can either buy your pair, or hold off. If you wait, you’ll be sent an email with details from your appointment.

Meta says it’s limiting purchases to people who have tried a demo right now to ensure fit and satisfaction, but that more buying options will come “over time.” That’s great news for folks who live outside of the U.S., as demos are currently limited to Meta’s home country. However, the company says demos will expand to Canada, France, Italy, and the U.K. in early 2026.

A former Facebook lobbyist is now in charge of the EU’s Facebook regulator

A former lobbyist for Meta is now in charge of the EU’s chief regulator for big tech firms, according to reporting by The Irish Times. Niamh Sweeney has been named commissioner of the Data Protection Commission (DPC), which is one of the largest EU data protection authorities.

Prior to this, she worked at Meta for six years. Sweeney was director of European public policy at WhatsApp and head of Irish public policy at Facebook for many of those years. She becomes the third active commissioner of the regulatory body, joining Des Hogan and Dale Sutherland.

“As the responsibilities and scope of the DPC continue to grow, I am pleased that three commissioners will now lead and manage this key regulatory body,” said Ireland’s Minister for Justice Jim O’Callaghan.

� A former Meta lobbyist will join the DPC as a commissioner in October.

With this appointment, the Irish government does not even pretend to care about enforcing EU law anymore.

Read our full statement on the matter here:https://t.co/1AFv9qfKSG

— noyb (@NOYBeu) September 18, 2025

The organization has welcomed Sweeney’s appointment, saying it looks forward to “working with her as the DPC continues to uphold the EU’s fundamental right to data protection.” However, this regulatory body is notorious for being friendly to big tech, as is Ireland in general.

The country offers a low corporate tax rate and tends to be lenient when it comes to regulations. The DPC has developed a reputation for not actually calling on big tech companies to pay out fines for violating laws like the EU’s General Data Protection Regulation. As a matter of fact, the organization has only managed to collect around 0.6 percent of the billions of dollars in fines levied toward tech companies.

Some of these violations were attributed to Meta itself. The company was fined nearly $300 million after a data breach impacted Facebook accounts throughout the globe. Meta was fined another $100 million after it was found to be storing passwords in plain text, which is a GDPR violation. Here’s hoping Sweeney is willing to step up against her old bosses.

This article originally appeared on Engadget at https://www.engadget.com/big-tech/a-former-facebook-lobbyist-is-now-in-charge-of-the-eus-facebook-regulator-154444108.html?src=rss

Trump’s Golden Dome will cost 10 to 100 times more than the Manhattan Project

One thing that’s evident about President Donald Trump’s proposal for the Golden Dome missile defense shield is that designing, deploying, and sustaining it will cost a lot of money, at least several hundred billion dollars, over the course of several decades.

Beyond that, it’s really anyone’s guess. That doesn’t sit well with some lawmakers, but the Republican-controlled Congress committed $25 billion in July as a down payment for new missile-defense technologies.

The White House stated in May that Golden Dome will cost $175 billion over three years, but a new study from a center-right think tank concludes that it is simply not enough to develop the kind of multi-layer shield Trump described in a January executive order. It’s also clear that it will take longer than three years to implement the full spectrum of defense capability envisioned for Golden Dome.

Read full article

Comments

[$] Extending the time-slice-extension discussion

Time-slice extension is a proposed scheduler feature that would allow a
user-space process to request to not be preempted for a short period while
it executes a critical section. It is an idea that has been circulating
for years, but efforts to implement it became
more serious
in February of this year. The latest developer to make an
attempt at time-slice extension is Thomas Gleixner, who has posted a new patch set
with a reworked API. Chances are good that this implementation is close to
what will actually be adopted by the kernel.

How to Adjust Strava’s Training Zones so They’re Actually Useful

Strava’s new Training Zones feature promises to help runners and cyclists better understand their training load across metrics like heart rate, power, and pace. That sounds like useful information, but if you’ve recently discovered that most of your runs fall into what’s commonly called the “gray zone” (Zone 3), take a deep breath: You aren’t doing everything wrong, you don’t need to panic, and you definitely don’t need to completely overhaul your training.

Here’s why—and how you can use training zones as the helpful tool they’re meant to be, rather than as a source of anxiety.

What are training zones?

Before diving into how Strava offers insights into training zones, let’s quickly go over what they really are. As Lifehacker senior health editor Beth Skwarecki has previously explained, talk of different zones is overhyped, since these zones aren’t clearly defined.

Most talked about is the coveted Zone 2, even though no one can agree on what exactly it is. On the flip side, I always see warnings about Zone 3 being the “no man’s land” of training—too hard to be easy, too easy to be hard. This dread is overblown.

Zone 2 training is celebrated because it helps build your aerobic base and burns calories without incurring significant fatigue. But guess what Zone 3 training also does? It builds your aerobic base, it burns even more calories, and it typically adds only marginally more fatigue than Zone 2. For most recreational runners, the difference between the zones is far less dramatic than the online discourse suggests.

Heart rate zones are indeed a completely valid way to describe how hard you’re working during a cardio workout. But it’s hardly a matter of “Zone 2 good, Zone 3 bad,” particularly given that different devices and apps define the zones differently. Your “Zone 2” might be 60% to 70% of max heart rate on an Apple Watch, but 65% to 75% on a Peloton. At 73% of your max heart rate, the Apple Watch would categorize your effort as Zone 3, while the Peloton would call it Zone 2. Which is right? Neither, really—because these boundaries are largely arbitrary.

The concept of training zones is sound when considered in the right context, but the specific percentages and boundaries aren’t set in stone. They’re guidelines, not gospel. Your physiology doesn’t magically change the moment you cross from 69% to 71% of your max heart rate. And if you’re a recreational runner focused on health and enjoyment, the difference between Zone 2 and Zone 3 is a mere technicality.

How Strava’s Training Zones actually work

Strava’s Training Zones use a familiar five-zone system. The feature allows you to filter by sport and analyze training load across different timeframes (seven days, one month, and three months), providing insights into how your training varies across activities.

Heart Rate Zones:

  • Zone 1 – Endurance

  • Zone 2 – Moderate

  • Zone 3 – Tempo

  • Zone 4 – Threshold

  • Zone 5 – Anaerobic

These zones indicate exercise intensity levels and are automatically calculated based on your max heart rate. Strava uses the standard formula of 220 minus your age, defaulting to 190 bpm if no age is provided. Your zones update automatically on your birthday unless you’ve manually set your max heart rate.

Adjust your Strava Training Zones to eliminate your workout anxiety

Luckily, you don’t need to accept the default settings as law. Strava allows subscribers to set different heart rate zones for running versus cycling, and you can adjust these zones anytime.

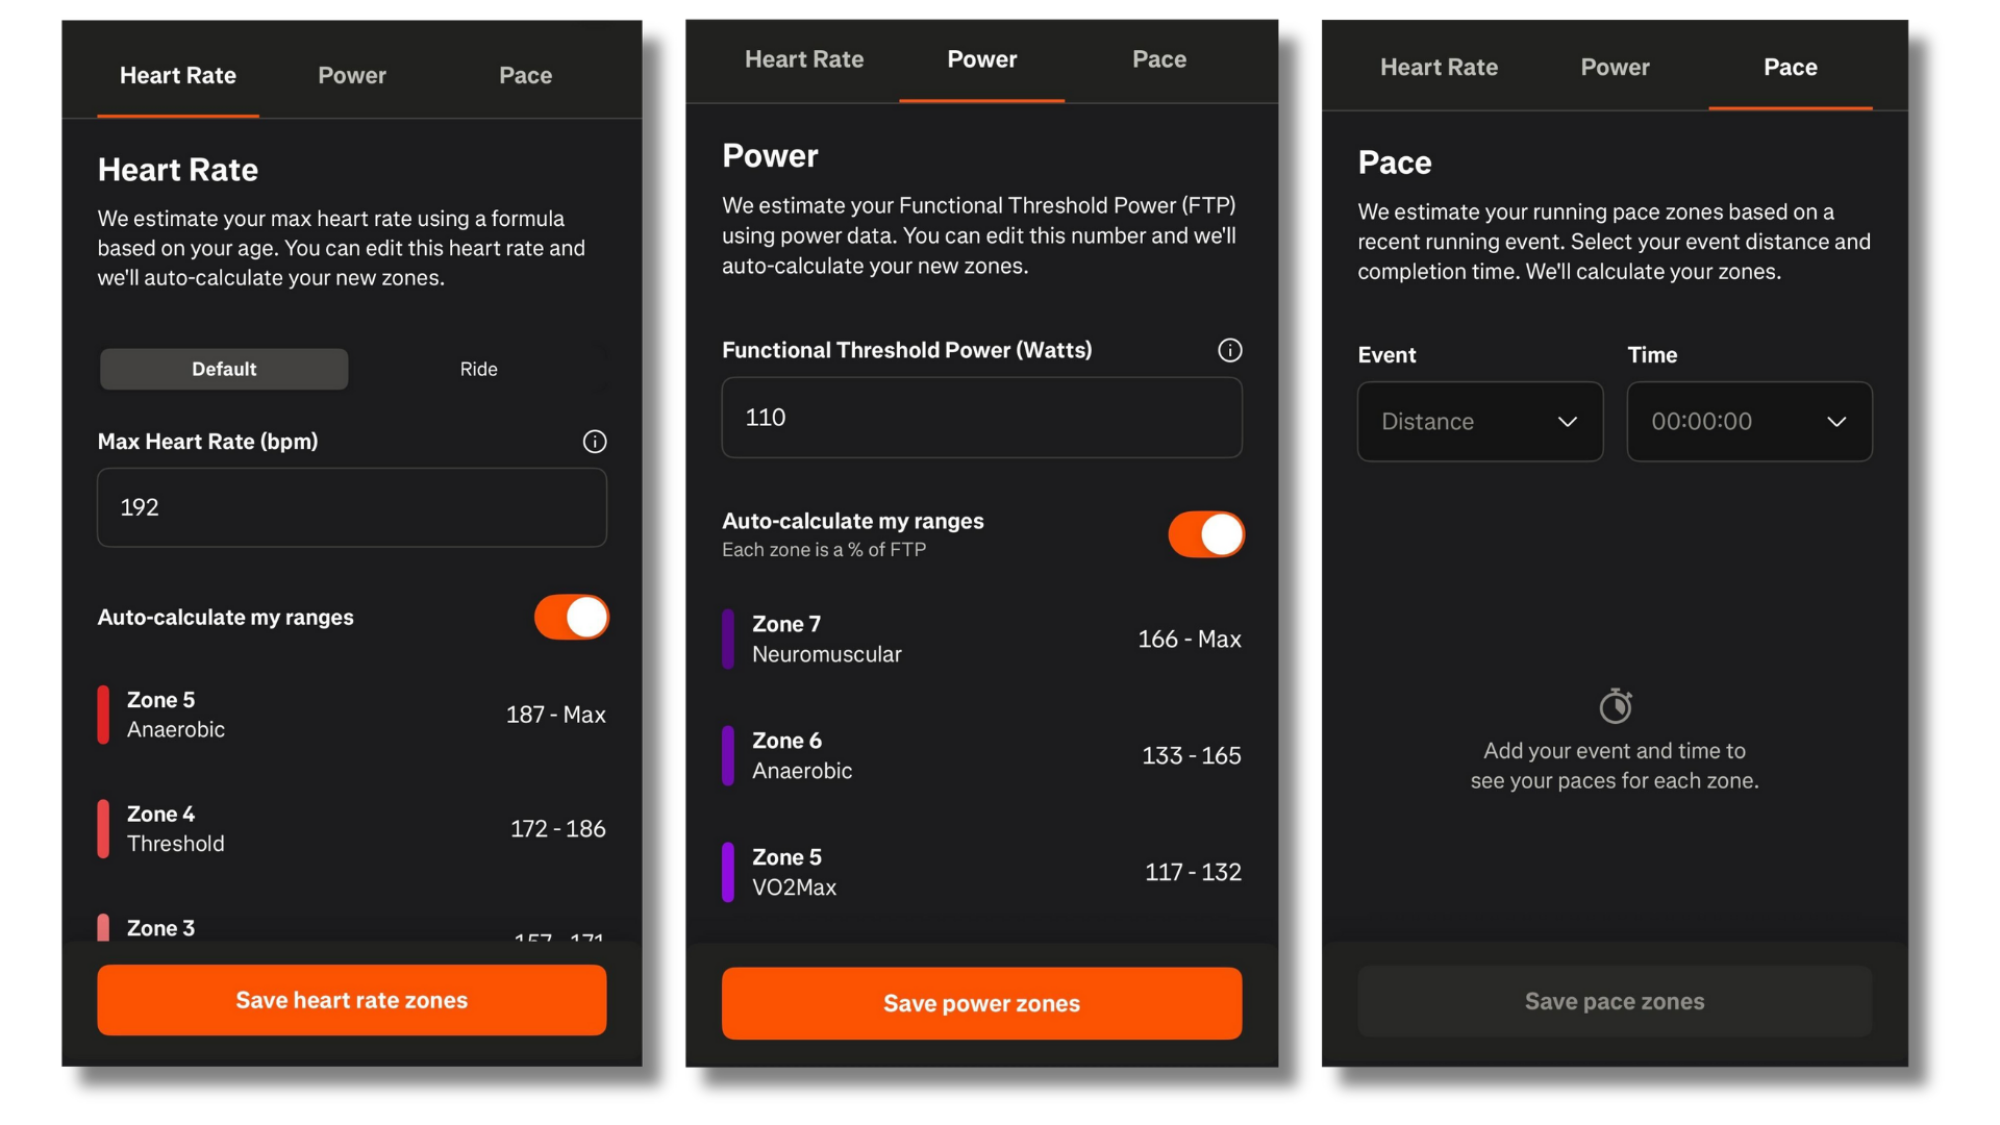
When you scroll down in the Progress tab on Strava, you’ll see Training Zones. Within that menu, select the Pencil (edit) icon. If you know your actual max heart rate from testing, use that instead of the age-based estimated maximum.

Training Zones in Strava
You can manually edit your training zones in Strava.
Credit: Meredith Dietz

Even if you don’t have exact numbers, you can adjust your zones based on feel. Your perceived exertion might be a better guide than your heart rate monitor. Toggle the “auto-calculate” option to manually adjust each individual heart rate zone. If Strava tells you you’re in Zone 3-4, but you can easily hold a conversation during that workout, you could then widen the range for Zone 2 to more accurately reflect what you know to be lower effort for you. When a run feels easy and conversational, it’s probably serving its purpose, regardless of whether your device says you’re in Zone 2 or Zone 3.

Instead of obsessing over individual workout zones, examine your training distribution over weeks and months. Are you doing mostly easy runs with some harder efforts? That’s what matters, not whether your easy pace puts you at the top of Zone 2 or bottom of Zone 3.

The bottom line

Training zones should inform your training, not dictate it. They’re tools to help you understand intensity and plan progression, not rigid boundaries that determine success or failure. Strava’s Training Zones feature can provide valuable insights into your training patterns and help you make more informed decisions about your workouts.

The next time your watch beeps to tell you you’ve crossed into Zone 3, remember: The boundaries aren’t real, but how your body feels is.

Meta Unveils $799 Ray-Ban Display Glasses, New Specs With 2x Battery & Oakley Vanguard

Meta Unveils $799 Ray-Ban Display Glasses, New Specs With 2x Battery & Oakley Vanguard
At the annual Meta Connect 2025 event, CEO Mark Zuckerberg pulled back the curtain on a new lineup of smart eyewear and in the process doubled down on the company’s aggressive push into the competitive connected glasses market. The highly-anticipated announcement included a trio of new devices: the second-generation Ray-Ban Meta, the athlete-focused